
Compile Haiku
 DigitalBox
- Dev
- November 7, 2024
Building Haiku from the sources may appear to be a huge task at first sight, as it will build the entire system from scratch.
The best method is to build Haiku directly in Haiku according to the Haiku website.
And you know way ?
It's super easy.
This article is based on the method explained on the official website named "Building Haiku".
I will only talk about building Haiku 64 bits on an Haiku virtualized system.
Initial setup
My setup is as follow :
- Haiku Beta 5 installed under QEmu (UTM)
- Host OS is MacOS
- Machine is a MacBook Pro 2019 with 16 Gb of RAM
The QEmu disk is having a capacity of 15 Gb and the RAM is 12 Gb : 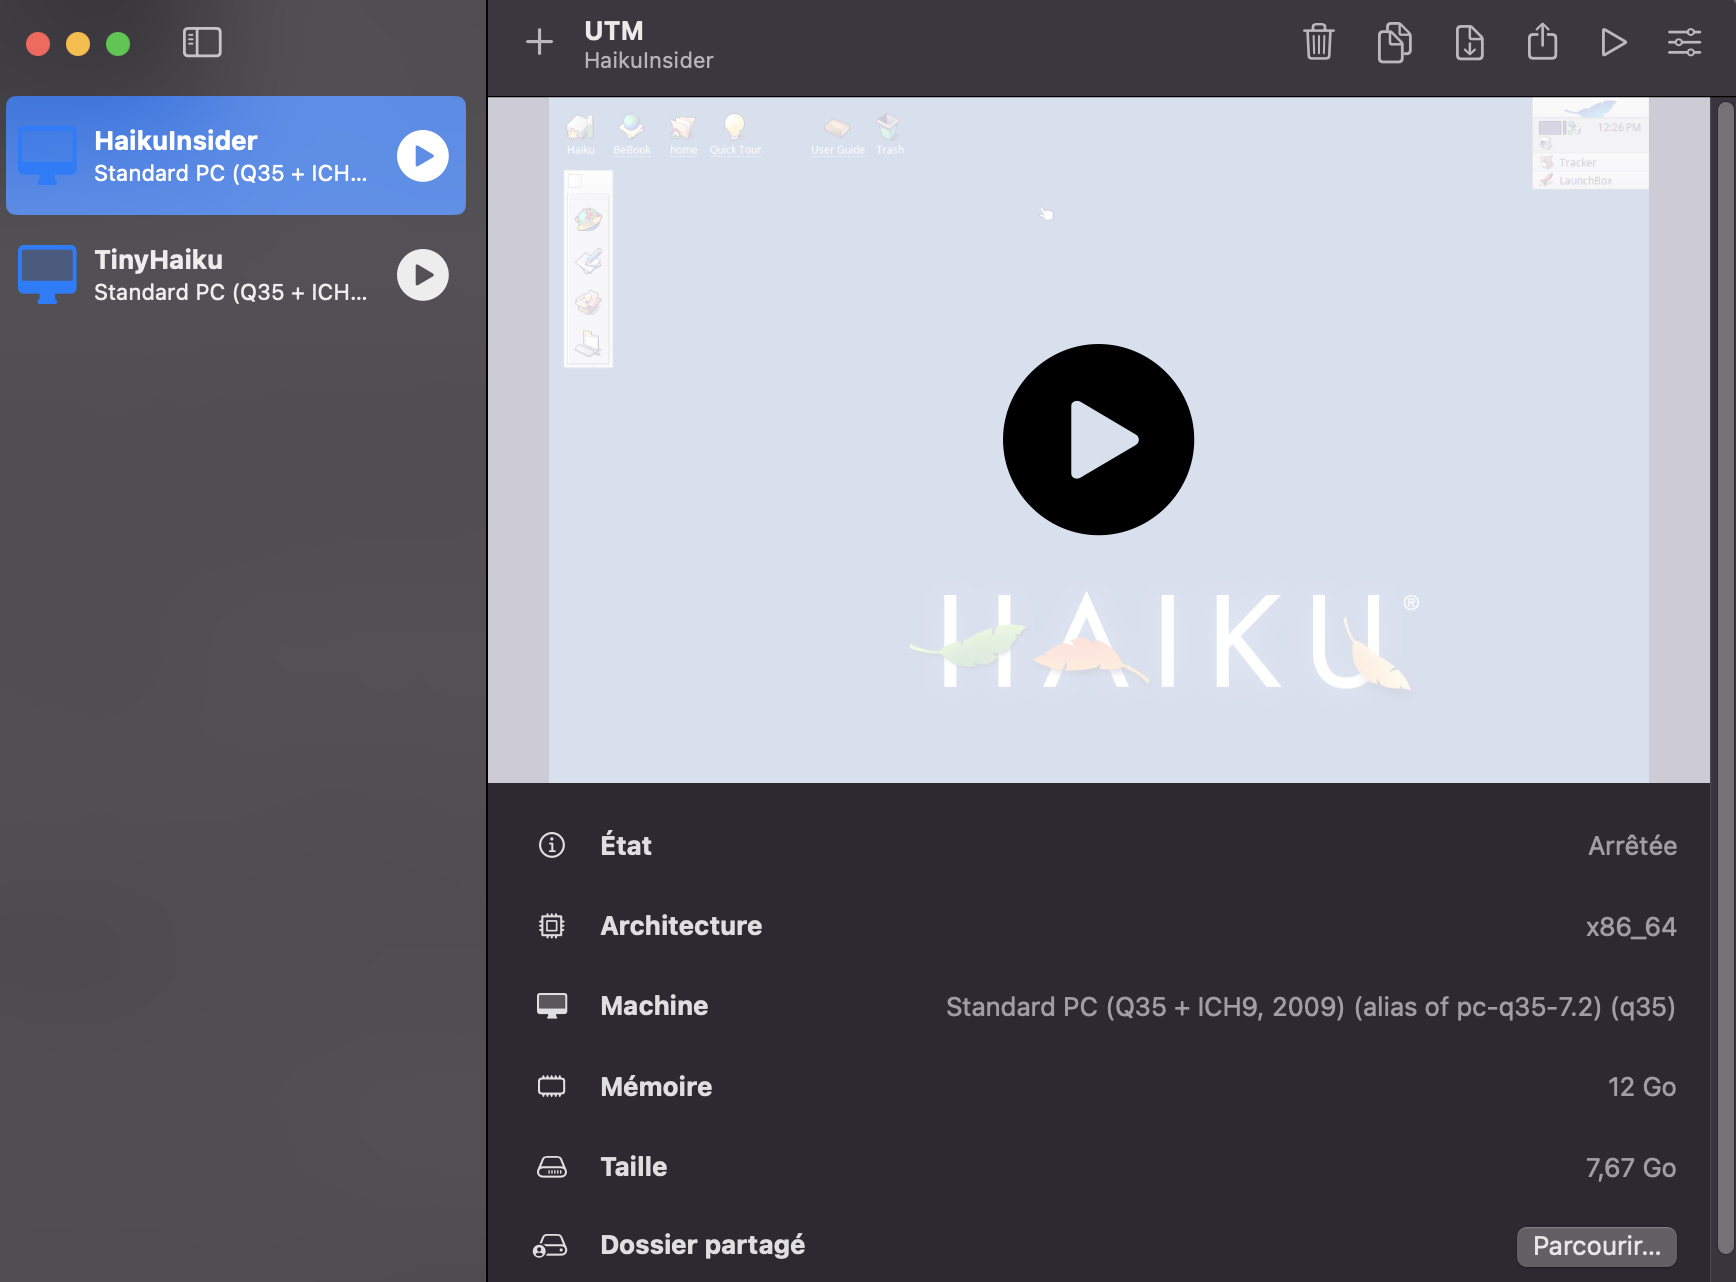
Even if 10 Gb of disk capacity could be enough to compile Haiku, I advise you to use at least 15 Gb.
Retrieve the sources
In order to retrieve the source code for the build tools, type in a Terminal under Haiku the below command :
git clone https://review.haiku-os.org/buildtools --depth 10
And for the latest version of the source code of the Haiku system itself, type :
git clone https://review.haiku-os.org/haiku --depth 10
It's important to keep the below directory structure for both the buildtools and haiku sources :
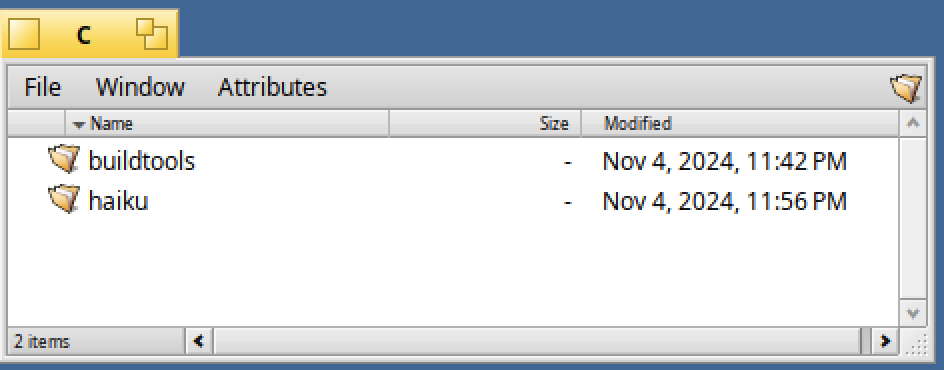
Please note, we will only build the system and we will not produce any commit in the code, so the below commands are just a best practice when you retrieve a source code from a GIT repo.
In a Terminal, indicate your GIT nickname and email if you have it (if not bypass with step) :
git config --global user.name "Nickname"
git config --global user.email "nick@email.org"
This setup should be reflected in the below GIT config file :
/boot/home/config/settings/git/config
Build tools
Now let's build the tools first.
This step is only needed once :
cd haiku
mkdir generated.x86_64
cd generated.x86_64
Then launch the below command to build the compiler and other tools :
../configure --cross-tools-source ../../buildtools --build-cross-tools x86_64
This step has required around 2 hours on my setup, so be patient until the below result is returned :

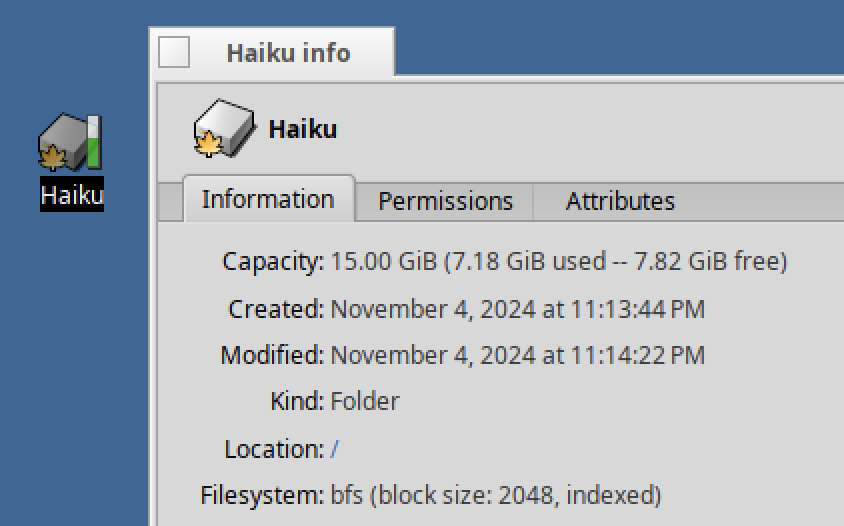
If you check the remaining disk capacity, it should be ok at this stage :
Before moving to building Haiku system, you need to install the xorriso tool, because we will build an ISO image once the system is compiled :
pkgman install xorriso
We are now good to start !
Building Haiku
For this step, we are supposed to be in the "generated.x86_64" folder.
Launch the below jam command to build the system :
jam -q -j12 @nightly-anyboot
Please replace the "-j12" option by your number of processors depending on your system.
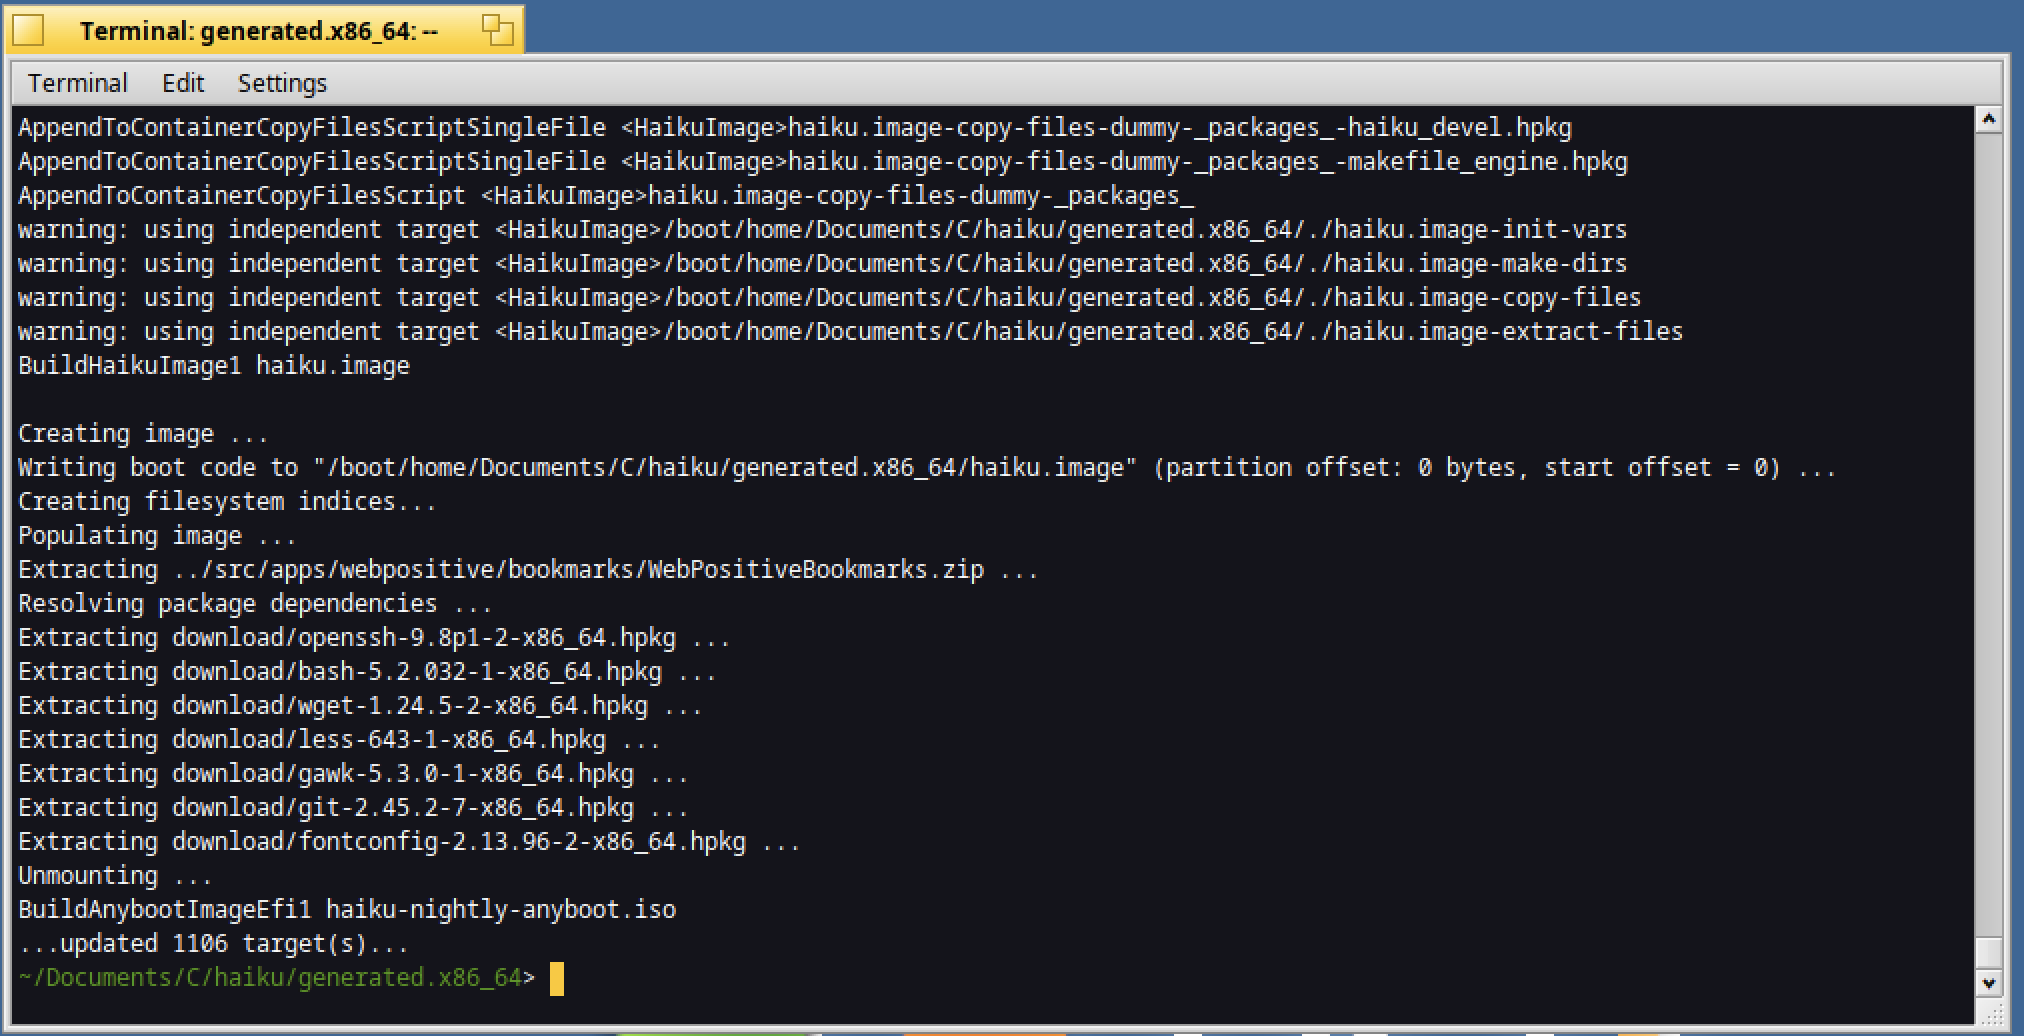
With my setup, it took around 2-3 hours to complete like below :
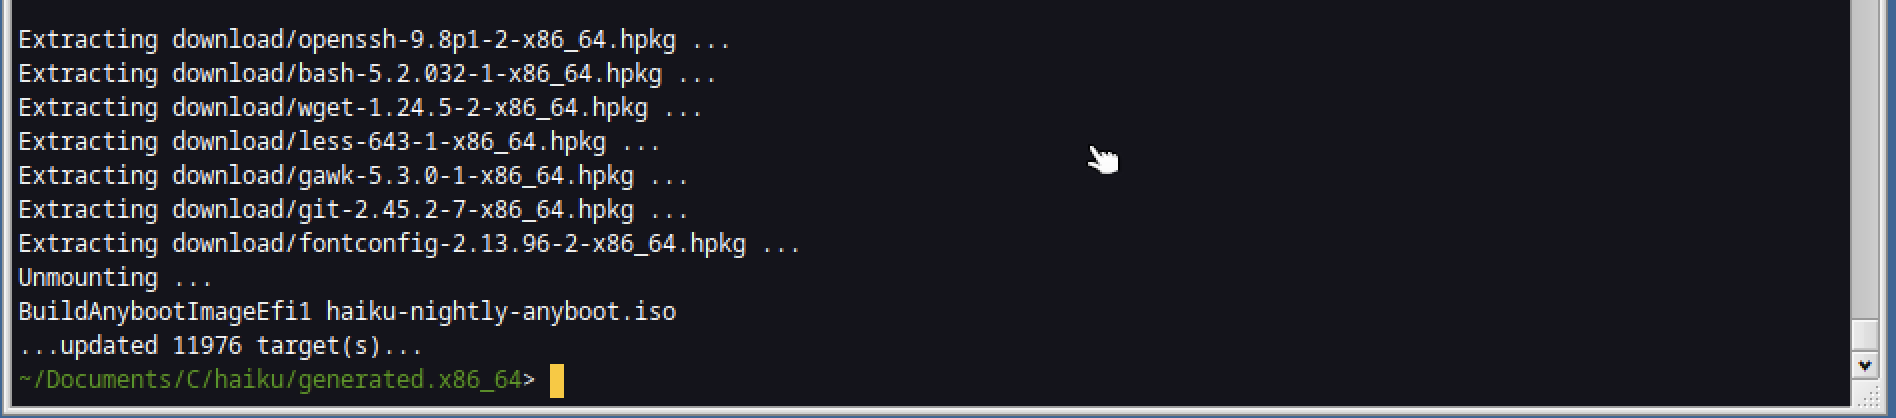
So be patient :)
You can check the disk capacity, and it still OK :

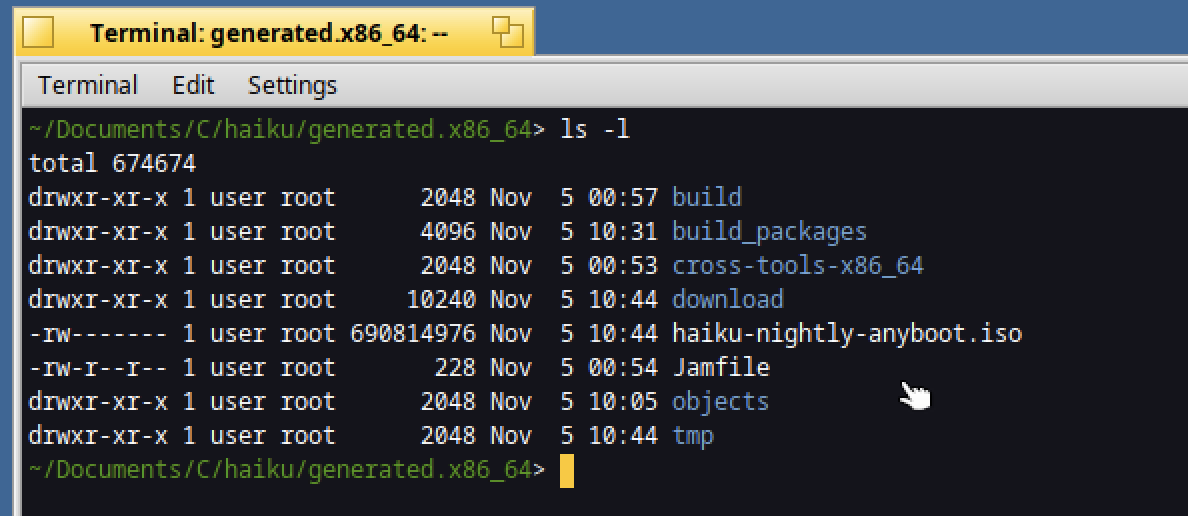
If the "haiku-nightly-anyboot.iso" file is generated, great you have build your first testing ISO from the sources !
As you can see the ISO image size is around 650 Mb :
Let's review how to test if the image is OK.
Testing the ISO
First retrieve the image from Haiku into your host OS.
If you don't know how to do, read the article "File sharing between Haiku and host OS" which explain all the details.
You should have something like this during the transfer :
scp user@192.168.64.20:/boot/home/Documents/C/haiku/generated.x86_64/haiku-nightly-anyboot.iso .

Once the file transfer is completed, you should have the below :

Now create a new VM in QEmu for instance and indicate the ISO file for the image.
Once started, you should have the below "Walter" logo for the installer :
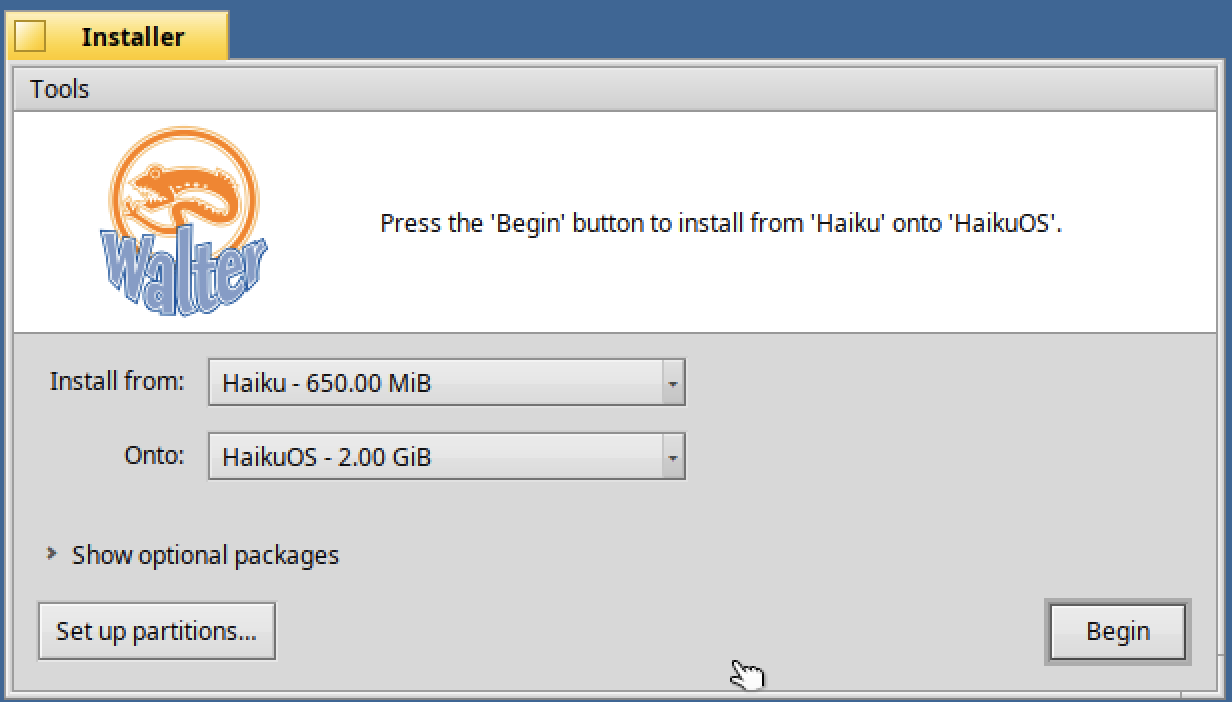
Proceed with the installation.
Once restarted, check the Haiku version :
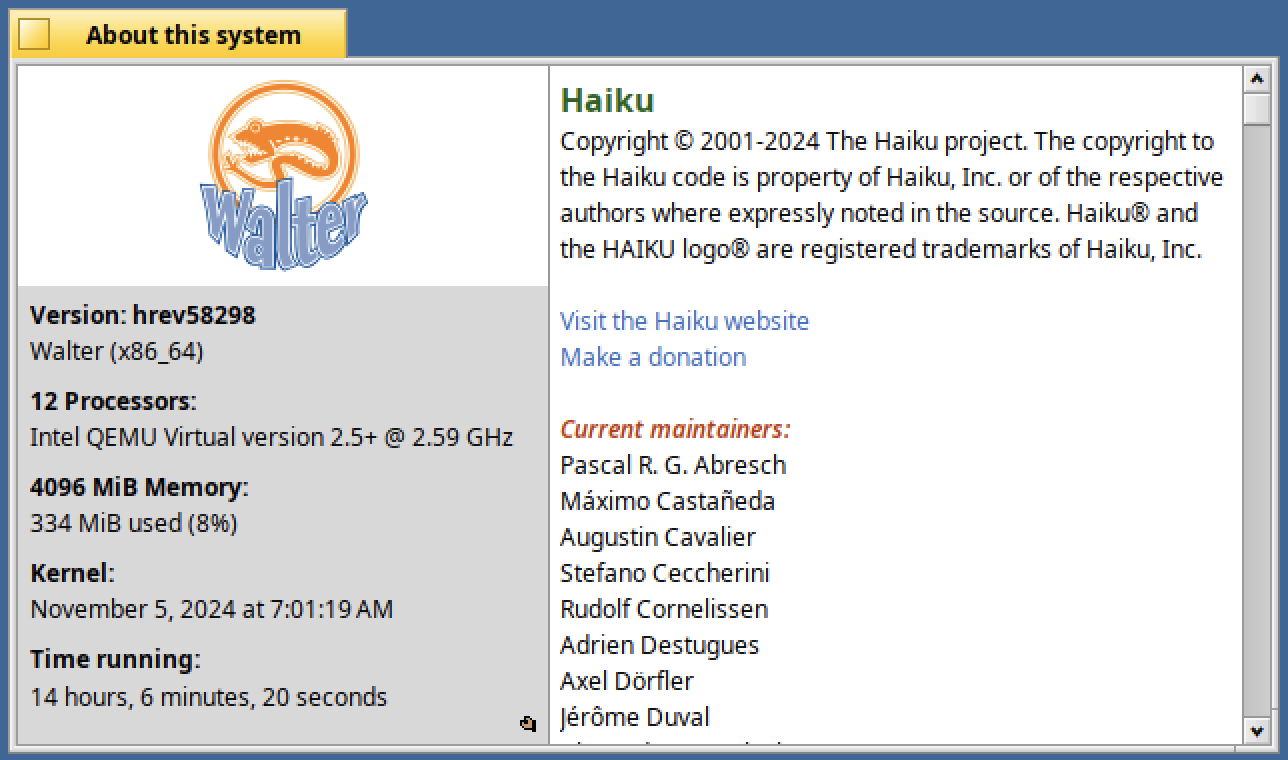
Yes we are definitively on the nightly version we have build, congratulations :)
Moving forward
Next time you decide to build the system again, it should be quicker.
To synchronize with the latest version type :
git pull
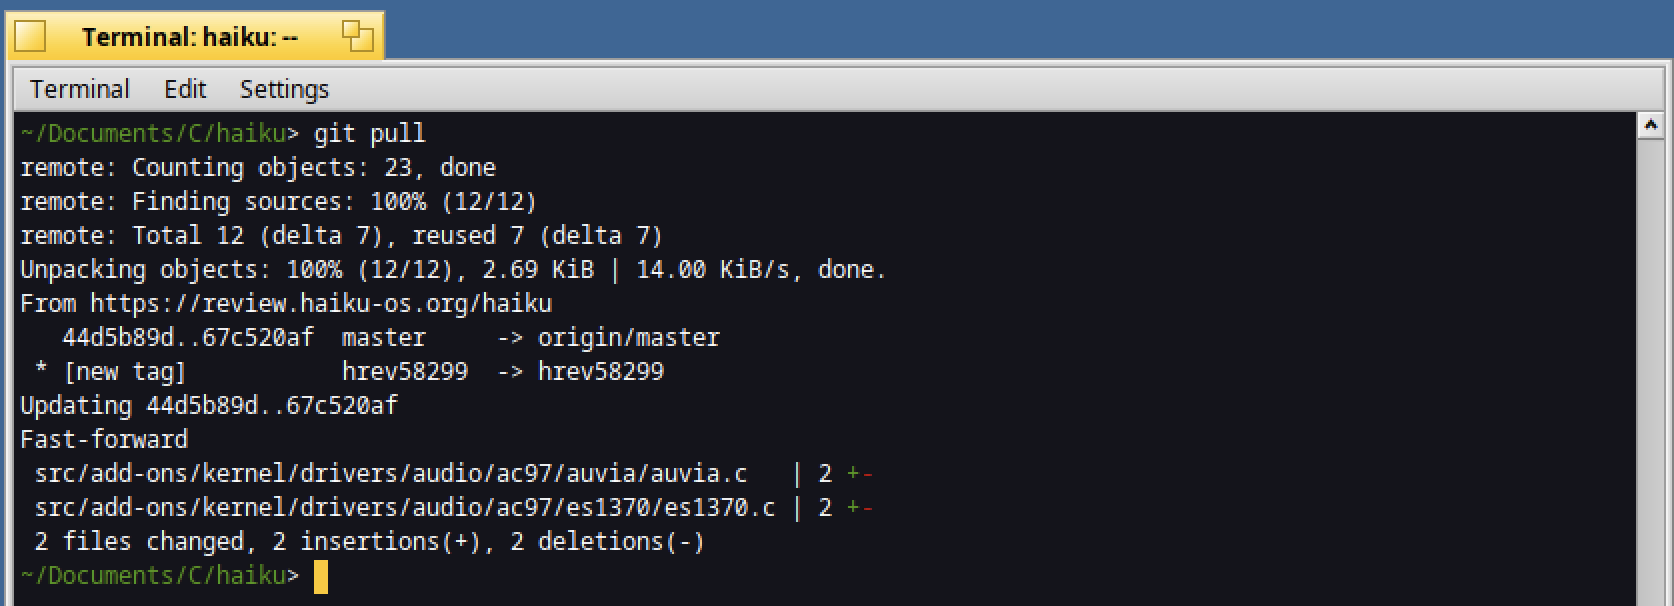
As you can see some additional files have been changed.
Compile it again with :
jam -q -j12 @nightly-anyboot
Depending on the files changed, it can take only a few minutes to build the system again :
Quite simple :)
Any comment you would like to share ?
Feel free to post it below.