
Connect to your NAS
 DigitalBox
- Tips
- October 15, 2024
Once your internet connection is working fine with your Haiku system, one of the most useful thing after that is to be able to connect your NAS from your local network.
It's not always easy to do that currently, so I'm sharing the method I've used for my NAS Synology to be recognized by Haiku.
Setup your NAS Synology for NFS
For that you need to connect to your NAS DSM with your admin account.
Once in DSM, select the configuration panel and type "NFS" in the search box :

Select the "Files services> NFS" to display the setup window and select the "NFS" tab :
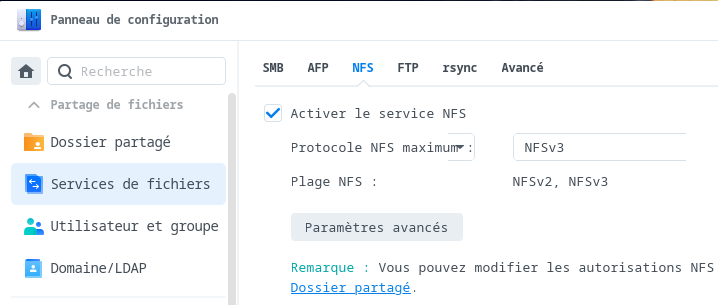
Click the "Activate NFS service" checkbox to activate NFS on your NAS.
Then go back to your configuration panel and type "shared" in the search box :
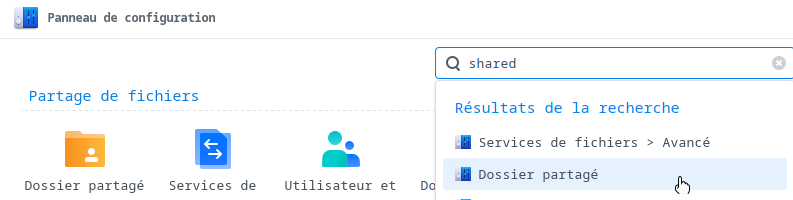
Select "Shared folder" in order to display the setup screen :
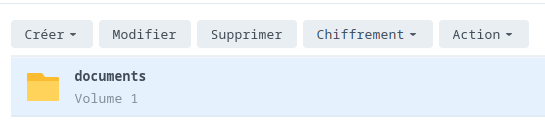
Select the folder you would like to share (like "documents" above) and click on "Modify" button.

Select the "NFS authorization" tab and then "Create" a new client entry.
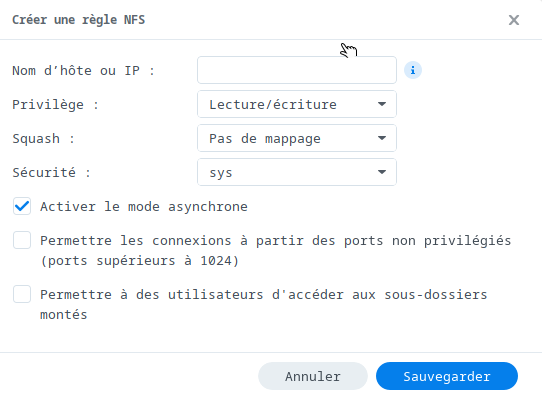
Enter the local IP address of your machine where Haiku is installed.
The setup on your NAS is now completed !
Mount NFS folder under Haiku
For the NFS folder to be recognized, you will need to use the "mount_nfs" command under Haiku.
First create via the Terminal, the folders "NAS" and "documents" :
mkdir $HOME/Desktop/NAS
mkdir $HOME/Desktop/NAS/documents
Then type in the Terminal the below command :
mount_nfs Station:/volume1/documents/ /boot/home/Desktop/NAS/documents/ 0 0
Where :
- Station is the name of your NAS Synology machine (enter its local IP address if you don't know the name)
- /boot/home/Desktop/NAS/documents/ is the name of the destination folder where the mount is done on Haiku
- 0 0 is needed as some required arguments for mount_nfs command
When accessing to your NAS via the Tracker, you should now see the entry below :
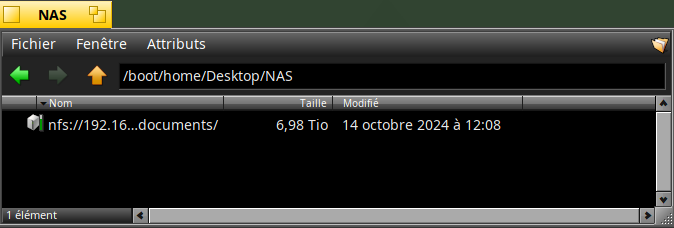
Please note, I've noticed some slowlyness on big files transfert.
If it's the case on your system too, a workaround is it use a USB stick for large files transfert : )