
Install MariaDB
 DigitalBox
- Dev
- March 7, 2025
A few weeks ago, I've contributed to a tentative port of MariaDB to Haiku, and I was surprised that a draft port was done in 2 days.
Since that, the package has been polished and up to the help of Begasus, it's now available in Haiku Depot :)
Let's review in this article how to install and setup MariaDB .
Installation
Go to Haiku Depot, select "All packages" tab and type "maria" in the search field:
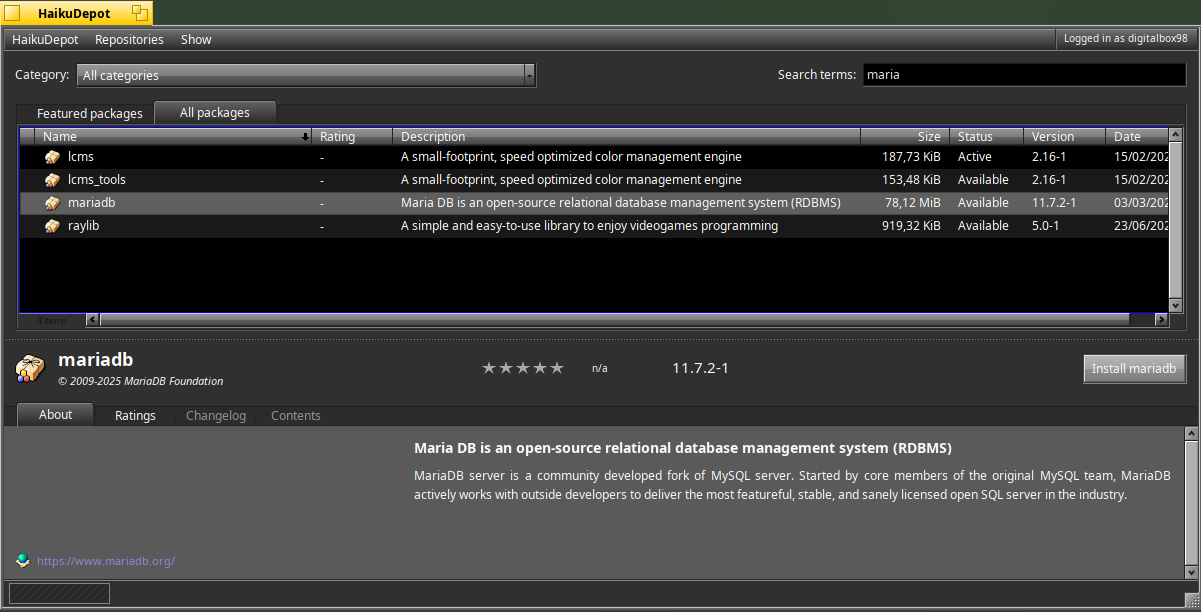
Click on "Install" to proceed.
Once MariaDB package has been installed the below message is displayed.
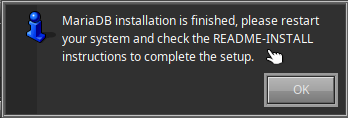
As stated, restart your system.
Then go into the documentation folder of MariaDB, ie "/boot/system/documentation/packages/mariadb" :
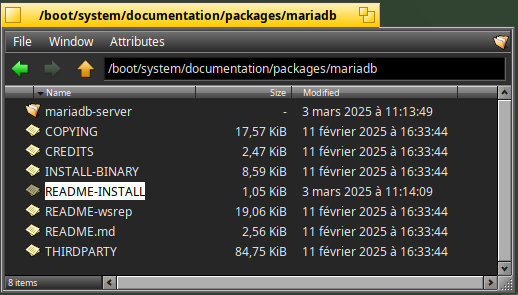
Double click on the README-INSTALL file to check what is remaining :
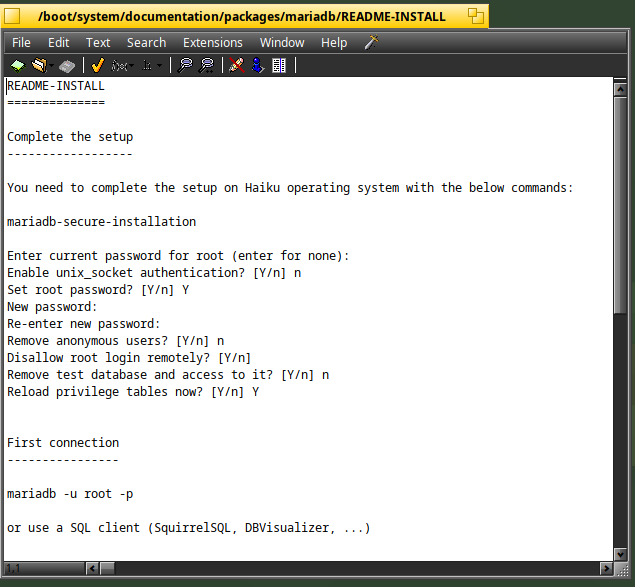
In order to secure the MariaDB installation, open a Terminal and launch the command :
mariadb-secure-installation
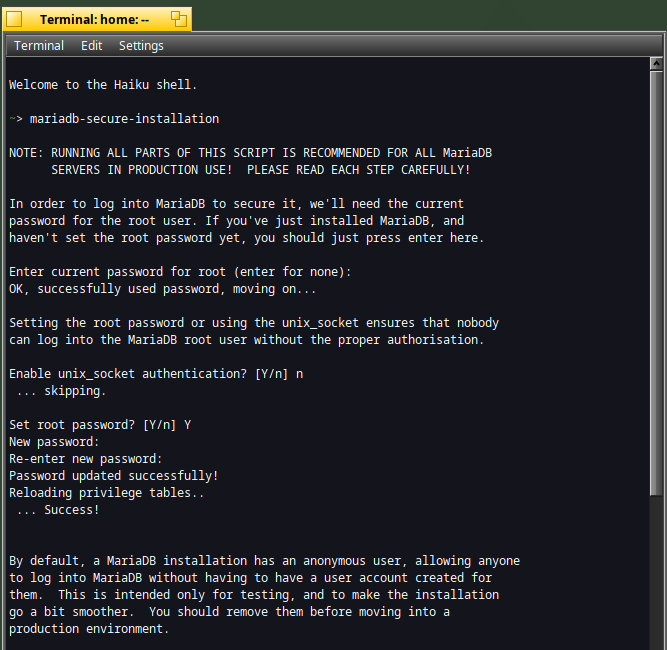
Then answer :
Enable unix_socket authentication ? n
Set root password ? (Enter to Y)
After that, select the default answers until the end :
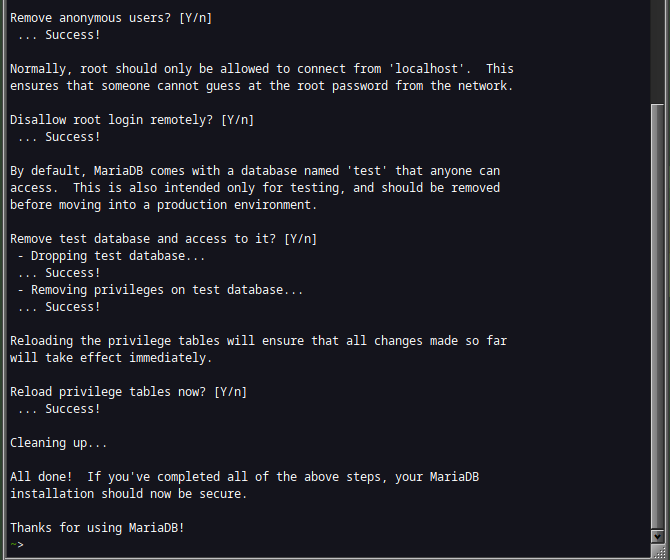
Remove anonymous users ? (Enter to Y)
Disallow root login remotely ? (Enter to Y)
Remove test database and access to it ? (Enter to Y)
Reload privilege tables now ? (Enter to Y)
Great MariaDB is now fully installed !
Client connection
In order to check the access, type in the Terminal :
mariadb -u root -p
Enter the corresponding root password defined previously.
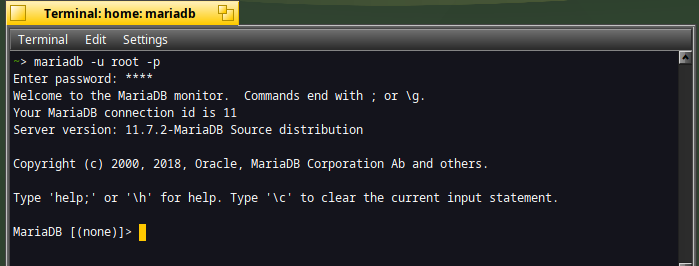
Tada !
You are now connected.
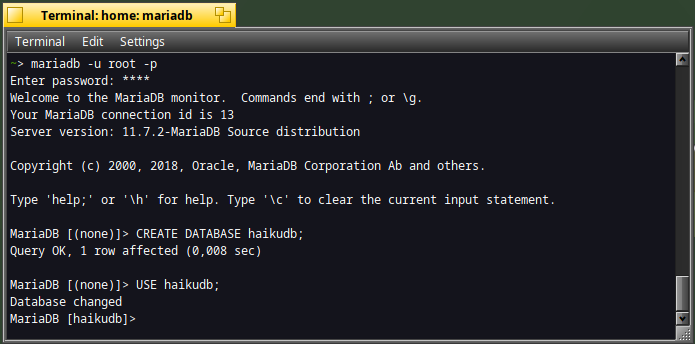
You can then create a testing "haikudb" database :
CREATE DATABASE haikudb;
USE haikudb;
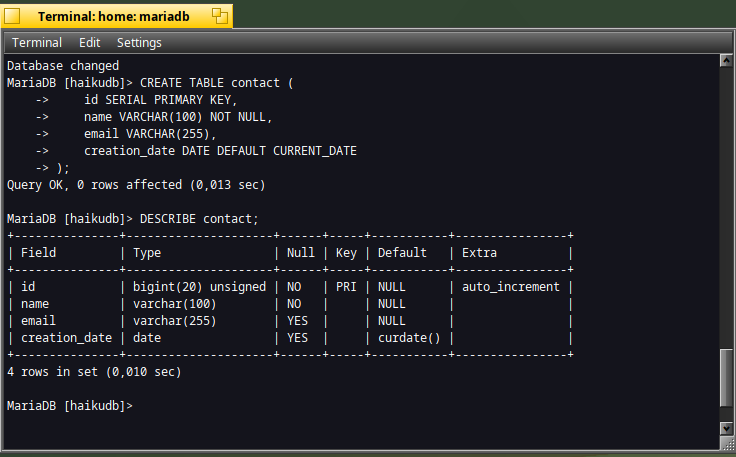
Let's create a "contact" table :
CREATE TABLE contact (
  id SERIAL PRIMARY KEY,
  name varchar(100) NOT NULL,
  email varchar(255),
  creation_date date DEFAULT CURRENT_DATE
);
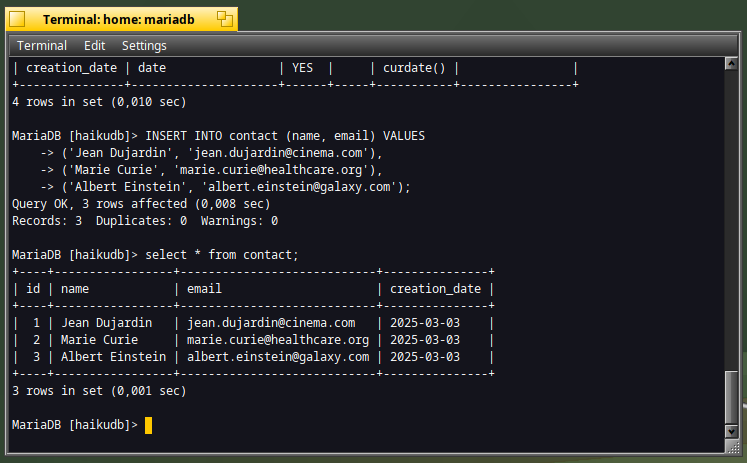
And fill it with data :
INSERT INTO contact (name,email) VALUES
('Jean Dujardin','jean.dujardin@cinema.com'),
('Marie Curie','marie.curie@healthcare.org'),
('Albert Einstein','albert.einstein@galaxy.com');
Java client connection
If you want to connect to a Java SQL client like SquirrelSQL, you need to download the JDBC driver.
For that go to the URL : https://mariadb.org/connector-java/all-releases
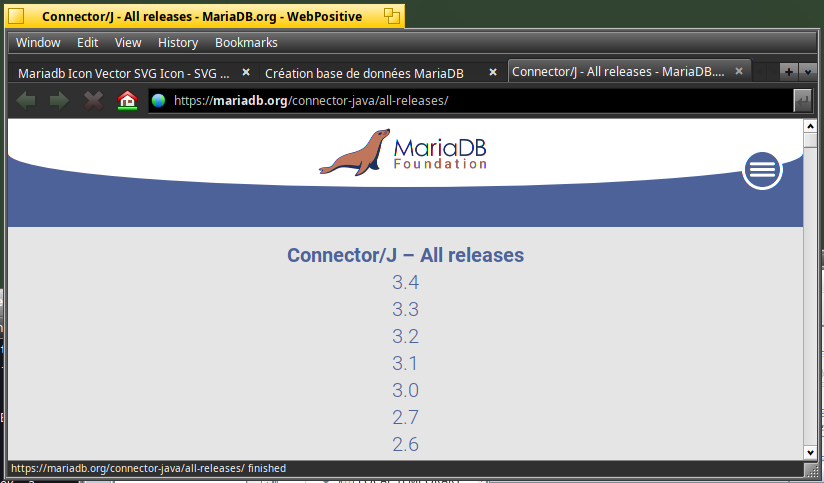
Download the latest version, and put it in the SquirrelSQL folder :
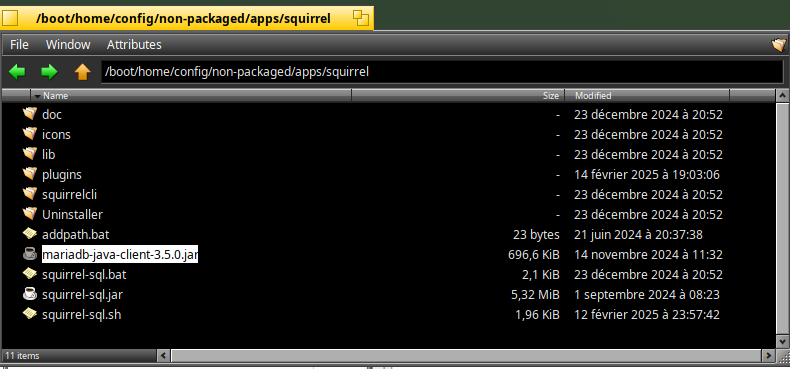
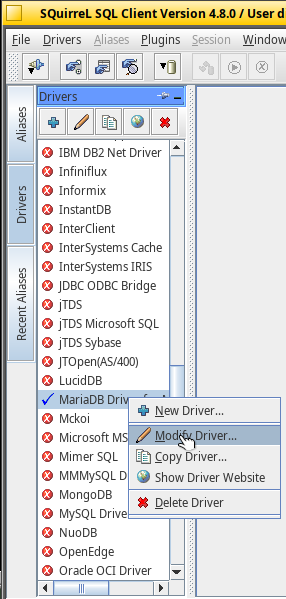
Now launch Squirrel SQL client, select the Drivers tab and right-click on MariaDB Driver > Modify Driver :
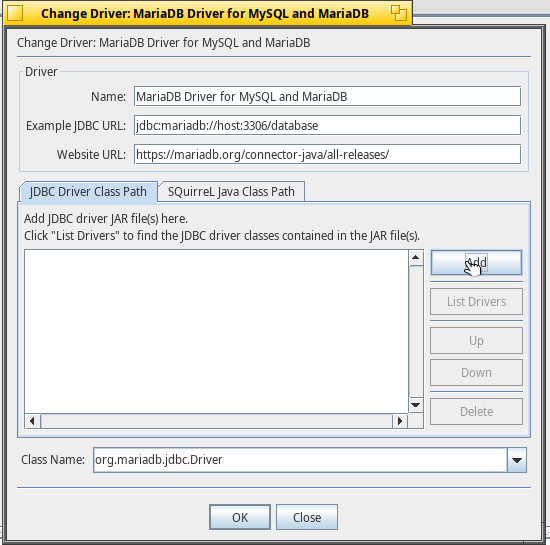
Indicate the correct information :
- Name : MariaDB driver
- Example JDBC URL : jdbc:mariadb://host:3306/database
- Website URL : https://mariadb.org/connector-java/all-releases
Then select "JDBC Driver Class Path>Add" :
Select your "mariadb-java-client-version.jar" driver :
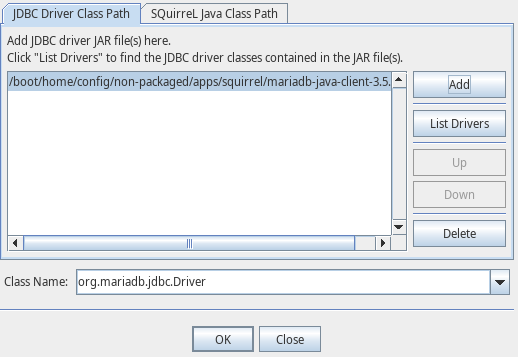
Confirm with OK.
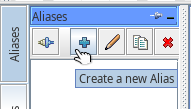
Now got into Aliases and click on "Create a new Alias" :
Indicate the correct URL :
- Name : HaikuDB
- URL : jdbc:mariadb://localhost:3306/haikudb
- User Name : root
- Password : <your password>
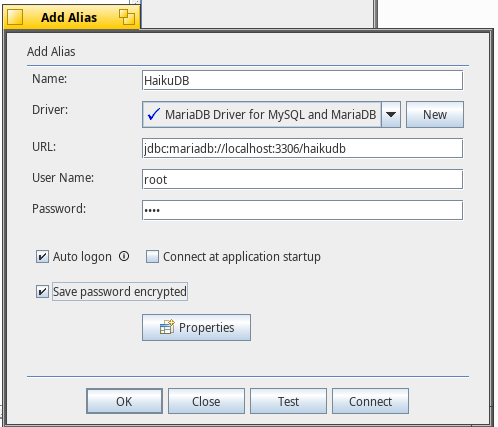
Select "Auto logon" and "Save password encrypted".
Before moving to next step, you can test your connection :
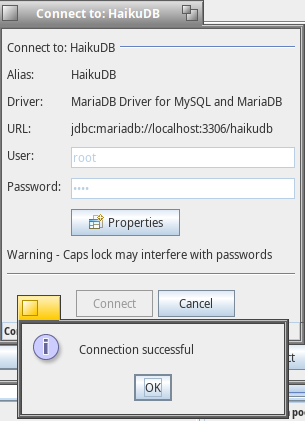
If everything is fine, you should receive a "Connection successful" message :)
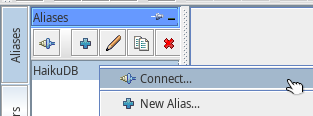
Confirm with OK the alias creation.
Then select the alias and right click "Connect" :
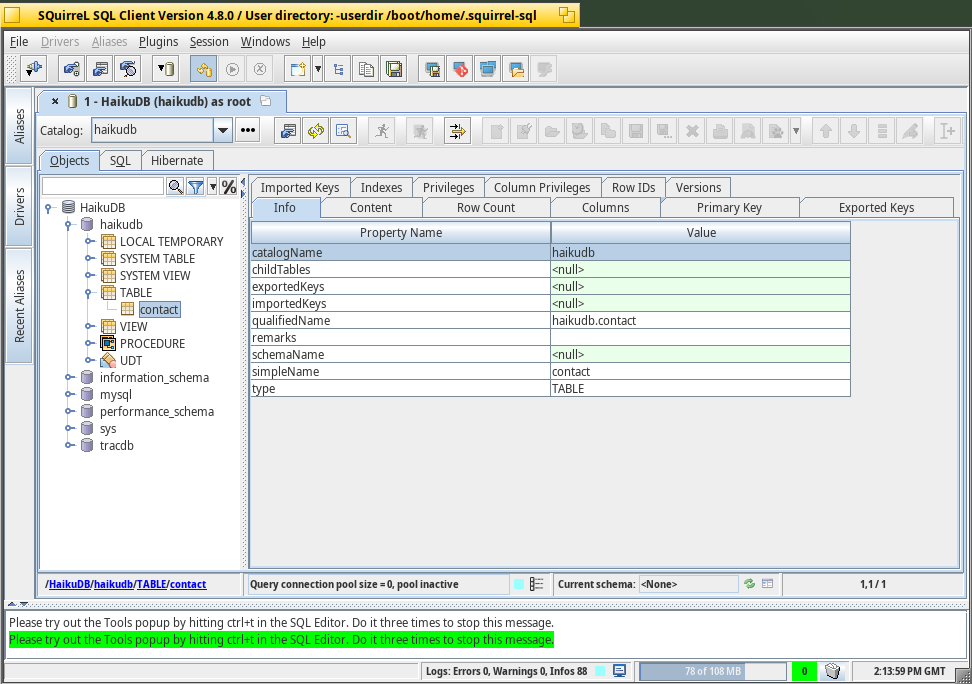
If you go to "haikudb> TABLE> contact", then you should see the below information:
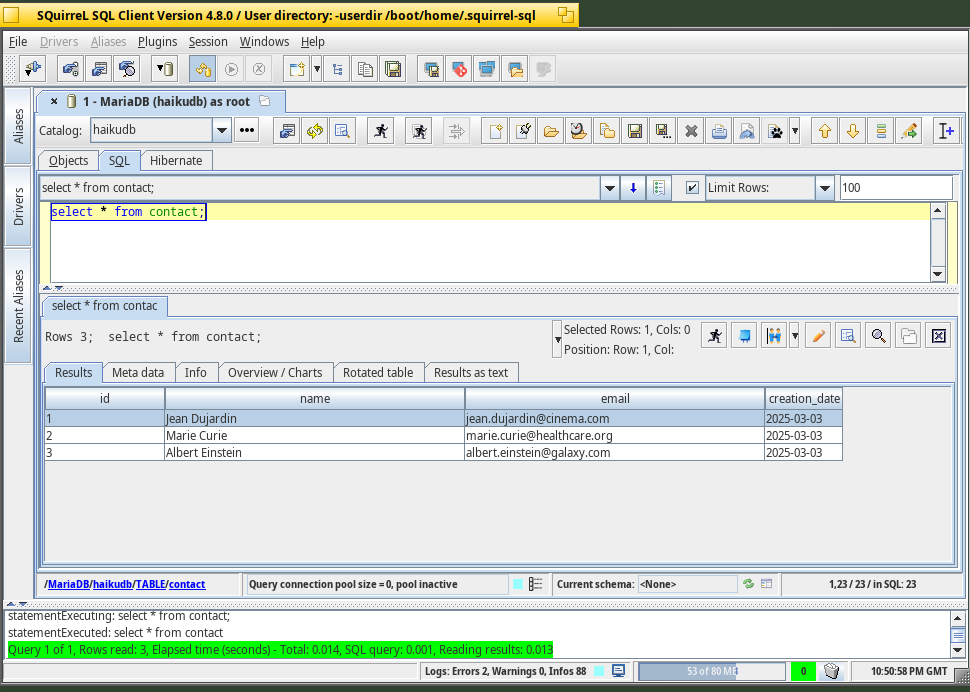
To to the SQL tab and type :
select * from contact;
Then validate with "Run SQL" :
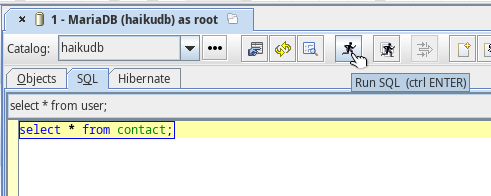
You should see all the entries from the "contact" table :
PHP client connection
What about connecting to this newly created database via PHP ?
Before moving forward, please follow the article "Nginx and PHP" in order to have a webserver and PHP installed correctly.
To verify PHP is compatible with mariadb/mysql, type in a Terminal :
php -m | grep -i mysql

if the below entries are displayed, it's OK :)
Now go into your "www" NGINX directory and edit a PHP file named "contact_list.php" :
lpe contact_list.php &
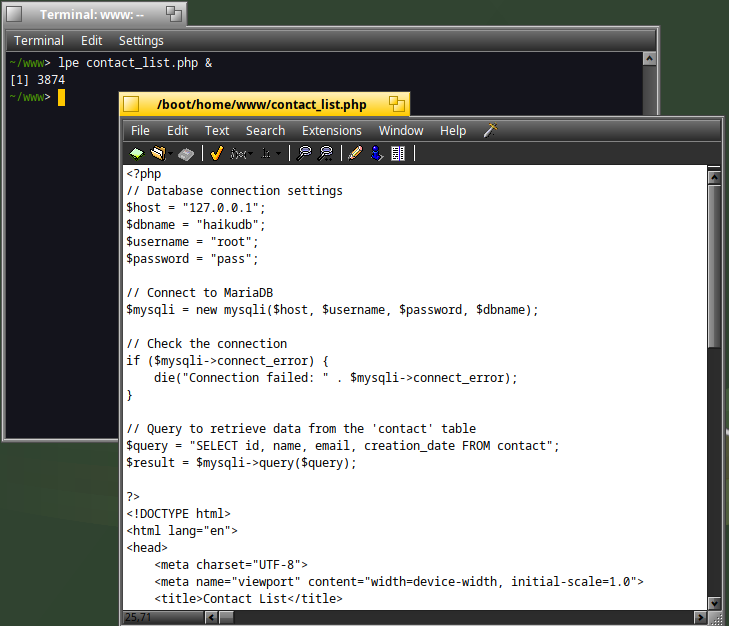
Then paste the below content in it :
<?php
// Database connection settings
$host = "127.0.0.1";
$dbname = "haikudb";
$username = "root";
$password = "pass";

// Connect to MariaDB
$mysqli = new mysqli($host, $username, $password, $dbname);

// Check the connection
if ($mysqli->connect_error) {
    die("Connection failed: " . $mysqli->connect_error);
}

// Query to retrieve data from the 'contact' table
$query = "SELECT id, name, email, creation_date FROM contact";
$result = $mysqli->query($query);

?>
<!DOCTYPE html>
<html lang="en">
<head>
    <meta charset="UTF-8">
    <meta name="viewport" content="width=device-width, initial-scale=1.0">
    <title>Contact List</title>
    <style>
        body { font-family: Arial, sans-serif; margin: 20px; }
        table { width: 100%; border-collapse: collapse; margin-top: 20px; }
        th, td { padding: 10px; border: 1px solid #ddd; text-align: left; }
        th { background-color: #f4f4f4; }
    </style>
</head>
<body>
    <h2>Contact List</h2>

    <?php if ($result->num_rows > 0): ?>
        <table>
            <tr>
                <th>ID</th>
                <th>Name</th>
                <th>Email</th>
                <th>Creation Date</th>
            </tr>
            <?php while ($row = $result->fetch_assoc()): ?>
                <tr>
                    <td><?= htmlspecialchars($row['id']) ?></td>
                    <td><?= htmlspecialchars($row['name']) ?></td>
                    <td><?= htmlspecialchars($row['email']) ?></td>
                    <td><?= htmlspecialchars($row['creation_date']) ?></td>
                </tr>
            <?php endwhile; ?>
        </table>
    <?php else: ?>
        <p>No contacts found.</p>
    <?php endif; ?>

    <?php
    // Free result set and close the connection
    $result->free();
    $mysqli->close();
    ?>

</body>
</html>
Replace $password by the corresponding password.
Save the file and quit Pe editor.
Now open WebPositive or your preferred browser and type in the URL :
http://localhost/contact_list.php
If everything is running fine, the content of the contact table will be displayed :
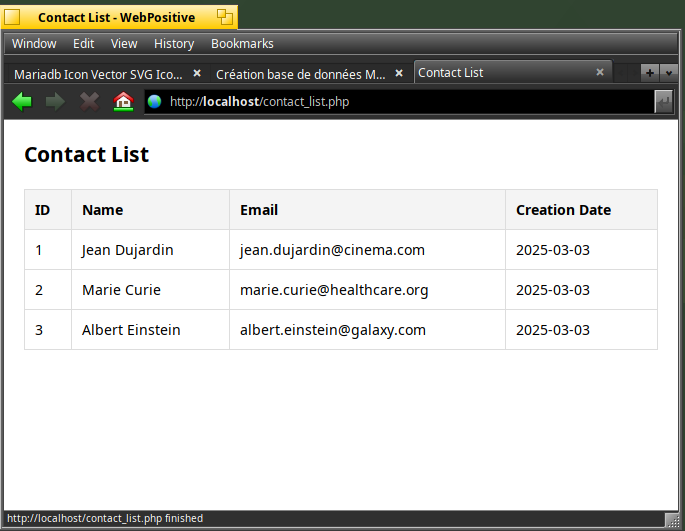
Great isn't it ?
Additional setup
If you would like to activate the error log in a dedicated file, you will need to create the configuration file "my.cnf".
Go into "/boot/system/settings/etc/" folder (or "/etc") and create the file :
cd /etc
lpe my.cnf

Then paste the below content :
[mysqld]
# Data directory location
datadir = /system/var/mysql

# Error log file location
log_error = /system/var/log/mysql.err
Now stop the mariadb deamon :
mariadb-admin -u root -p shutdown
And restart the server :
mariadbd --user=user --datadir=/var/mysql &
If you open the file "/boot/system/var/log/mysql.err", you will now see all the error logs:
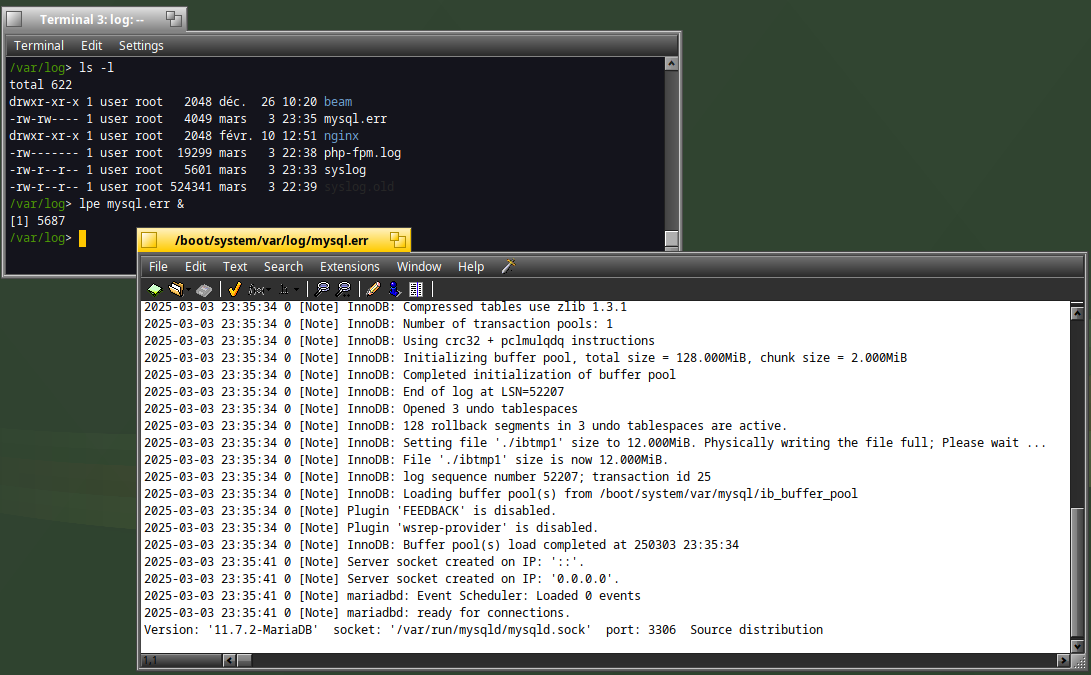
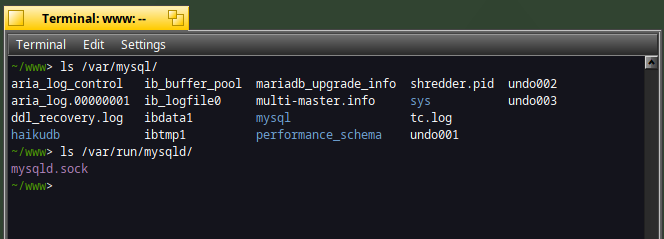
The other interesting directories to be aware of are :
- /var/mysql : which contains the databases data
- /var/run/mysqld : which is useful to identify the mariadb sockets
Moving forward
The great news with MariaDB is that it opens the door to others software like WordPress (Nginx+PHP+MariaDB) or Trac (Python+MariaDB).
I hope you have found this article useful, and if you would like to share your experience on MariaDB usages on Haiku, you can put a comment below.