Use Icon-O-Matic
 DigitalBox
- Native
- October 21, 2024
Today I will review for the first time a native application under Haiku named Icon-O-Matic.
And you know what ?
You will master the art of creating icons for your favorite applications under Haiku !
Please note all native applications will be categorized under the Native name category on this website.
Creating an icon - The easy way
What is really great with Haiku's icons is that there are vectorized images.
It means whatever their size is, you will never see any pixel (except for the smaller version of course).
The easiest way to create an icon... is to use an existing vectorized image from SVG format and to convert it to HVIF (Haiku Vector Icon Format).
For that, open in your favorite browser the website https://www.svgrepo.com and search for the name "Falkon" :
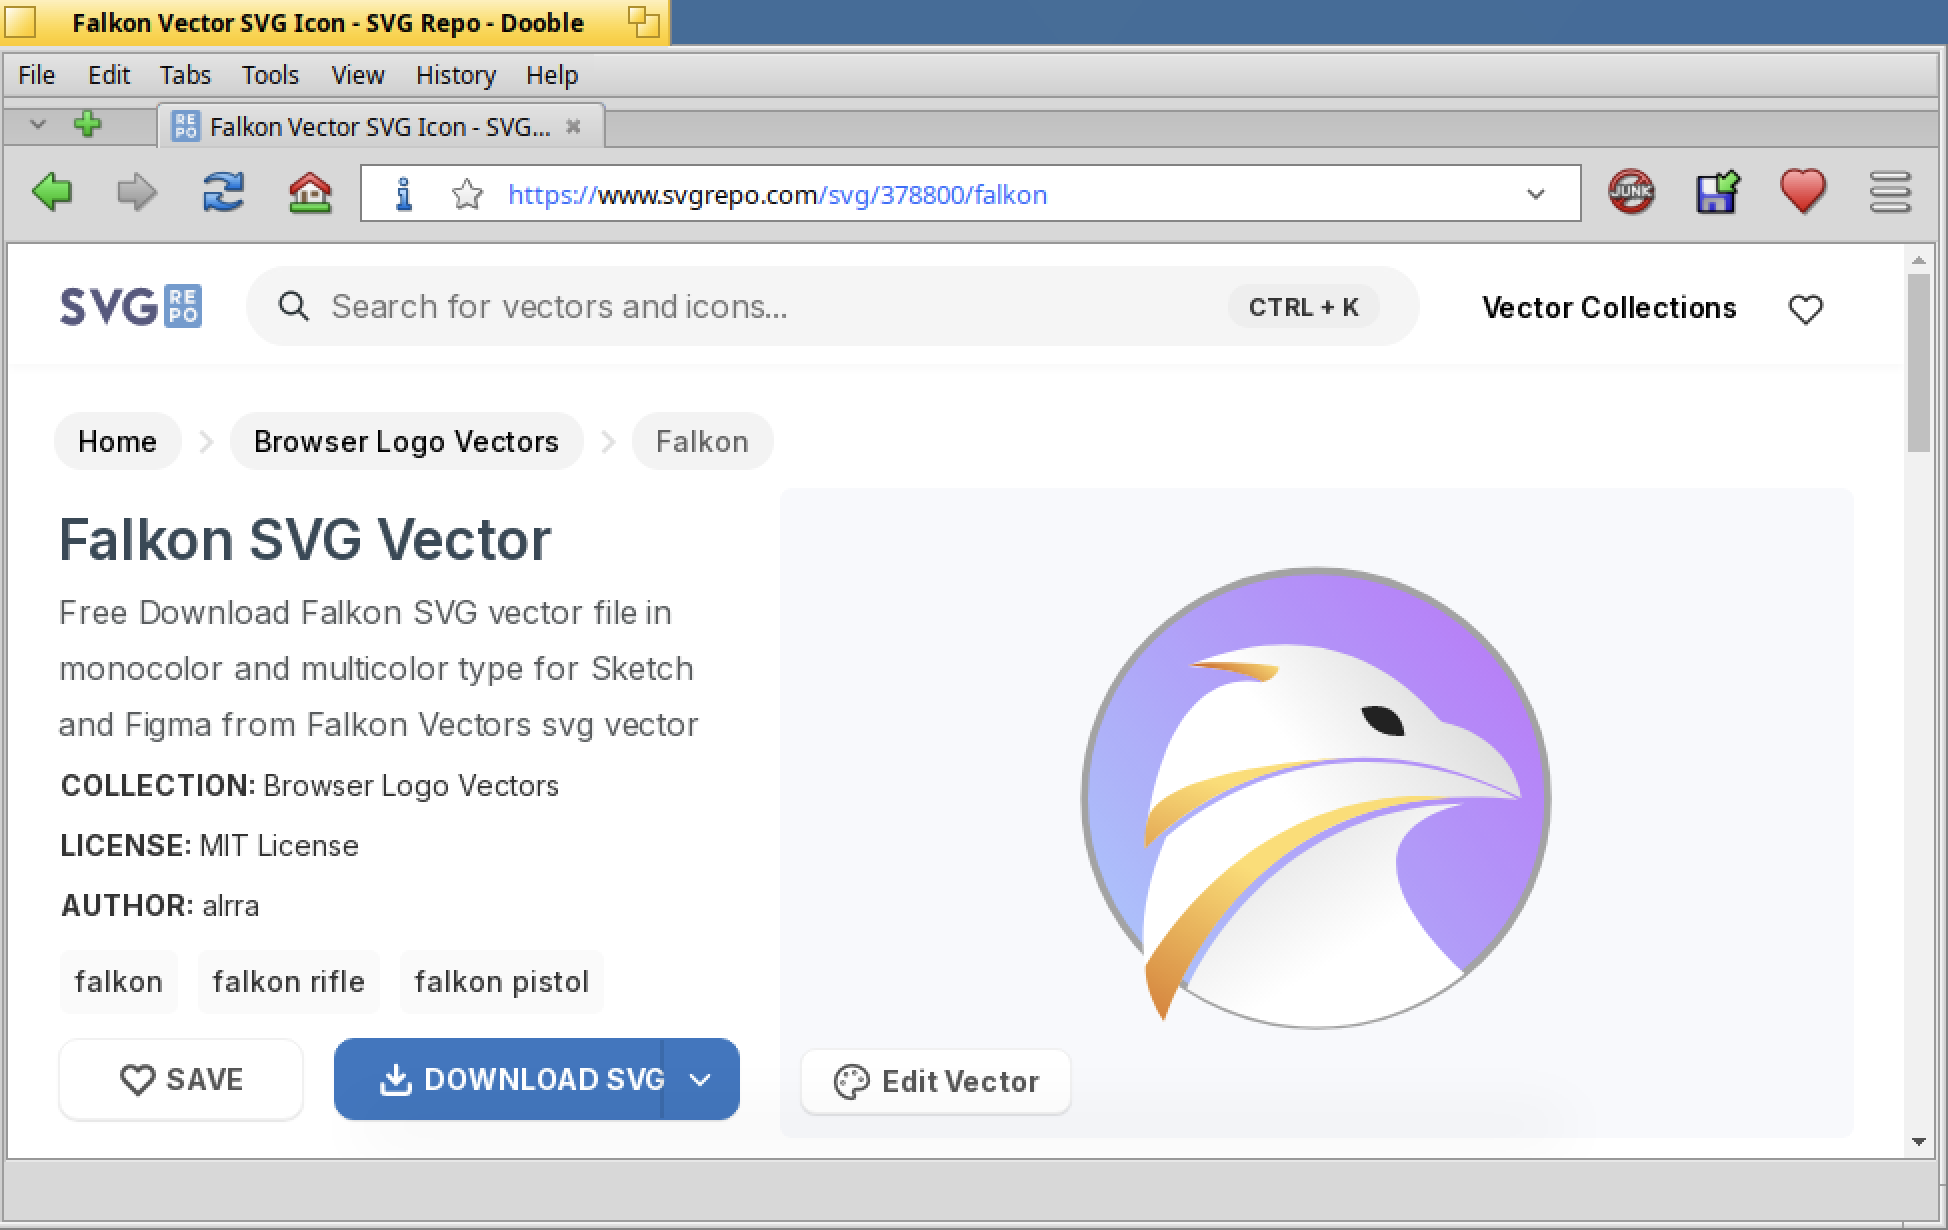
Then click on "Download SVG" to retrieve the Falkon icon in SVG format.
Now launch Icon-O-Matic application, click in the menu "File>Open" and select your SVG file :
![]()
As you can see it will display the SVG image in Icon-O-Matic :
![]()
At this stage we won't do any modifications and we will just export it into HVIF format.
Click on "File>Export as" :
![]()
Then type the name "falkon.hvif" and select "HVIF" in the format listbox:
![]()
Please note the HVIF format accept a maximum of 255 paths for imported SVG images.
Great !
We have made a useable icon in Haiku in just a few minutes.
If you open the "falkon.hvif" file in Pe editor, you will see this is a text file with some commands as below :
![]()
Please note, in general, you will need to adjust your icon according to the Haiku icon guidelines.
It will give you useful information on perspective, shadows or Haiku color palette.
Creating an icon - The hard way
Icon-O-Matic is not really straightforward to use.
The concepts behind are great but the GUI could be improved.
Let's see how to create a simple icon from scratch.
Once in the application, we will create what is called a "path".
Click on the "Path" menu and the "Add circle" :
![]()
You will see a transparent circle on the right of the screen reprensenting the Circle path created :
![]()
Now let's associate to this path a "Shape". Click on the "Shape" menu and then "Add empty" :
![]()
Next link this shape to the path by clicking the path in order to have a cross displayed as below :
![]()
Last we need a color associated to our newly create shape. Click on the "Style" menu and then "Add" :
![]()
Then select a color, let's see a green color :
![]()
Click again on the shape and then click the style to have the cross displayed (it will link the shape to the style).
That's what is annoying today in the GUI : every time you need to click back to the shape to make it as "selected".
Great !
As you will see, the circle shape is now displayed because :
- It has a path representing a circle (vectorized version)
- it has a style representing the green color
![]()
Now let's suppose we need to add a black contour to our circle : how to do so ?
That's where the concept of path is powerful.
Create another empty shape and :
- associate it to the previous circle path
- associate it to a new style created with a black color
- associate it to a transformer style of type "Stroke"
Then you should have the below :
![]()
If you need to change the name of your Shape or Path, you can rename it via its "Name" properties at the bottom of the window.
As you can see, the information needed to create such icon is very minimalist.
By using the powerful concept of "Path", I've been able to create an icon for the NIFSkope tool from scratch.
Please note you can drag and drop a PNG image to Icon-O-Matic as a reference, which can help you when you try to make the icon in vector format.
Below is the Falkon PNG version which can help to create all the paths and shapes to mimick the PNG version ("reference image" must be put on the top of the Shape list in order to be behind all other shapes):
![]()
If you need more details you can check the page about Icon-O-Matic on the Haiku website.
Attach the icon to an executable
Now let's finalize the job and attach this new icon to a program in Haiku.
Let's say... Falkon web browser :)
As the /system/apps/ folder is not modifiable, in order to showcase this article, we will copy the Falkon executable into the Desktop.
In a Terminal type :
cp /system/apps/Falkon/Falkon $HOME/Desktop/
Now let's attach our new icon to this executable (we will suppose the falkon.hvif icon is also on the Desktop) :
addattr -f $HOME/Desktop/falkon.hvif -t icon BEOS:ICON $HOME/Desktop/Falkon
Great !
Now, launch Falkon executable from the Desktop.
You should see the new icon below (on the left) compared to the old one (on the right) in the Deskbar :
![]()
You know what ?
Now you can create wonderful icons for your favorite Haiku applications:)