Use ImageMagick
 DigitalBox
- Ports
- January 9, 2025
ImageMagick is a set of tools for executing complex image processing tasks, as well as APIs for integrating its features into applications.
It's available on a variety of operating systems, including Linux, Windows, and macOS... and Haiku !
Let's review how to use of few of its features.
Installation
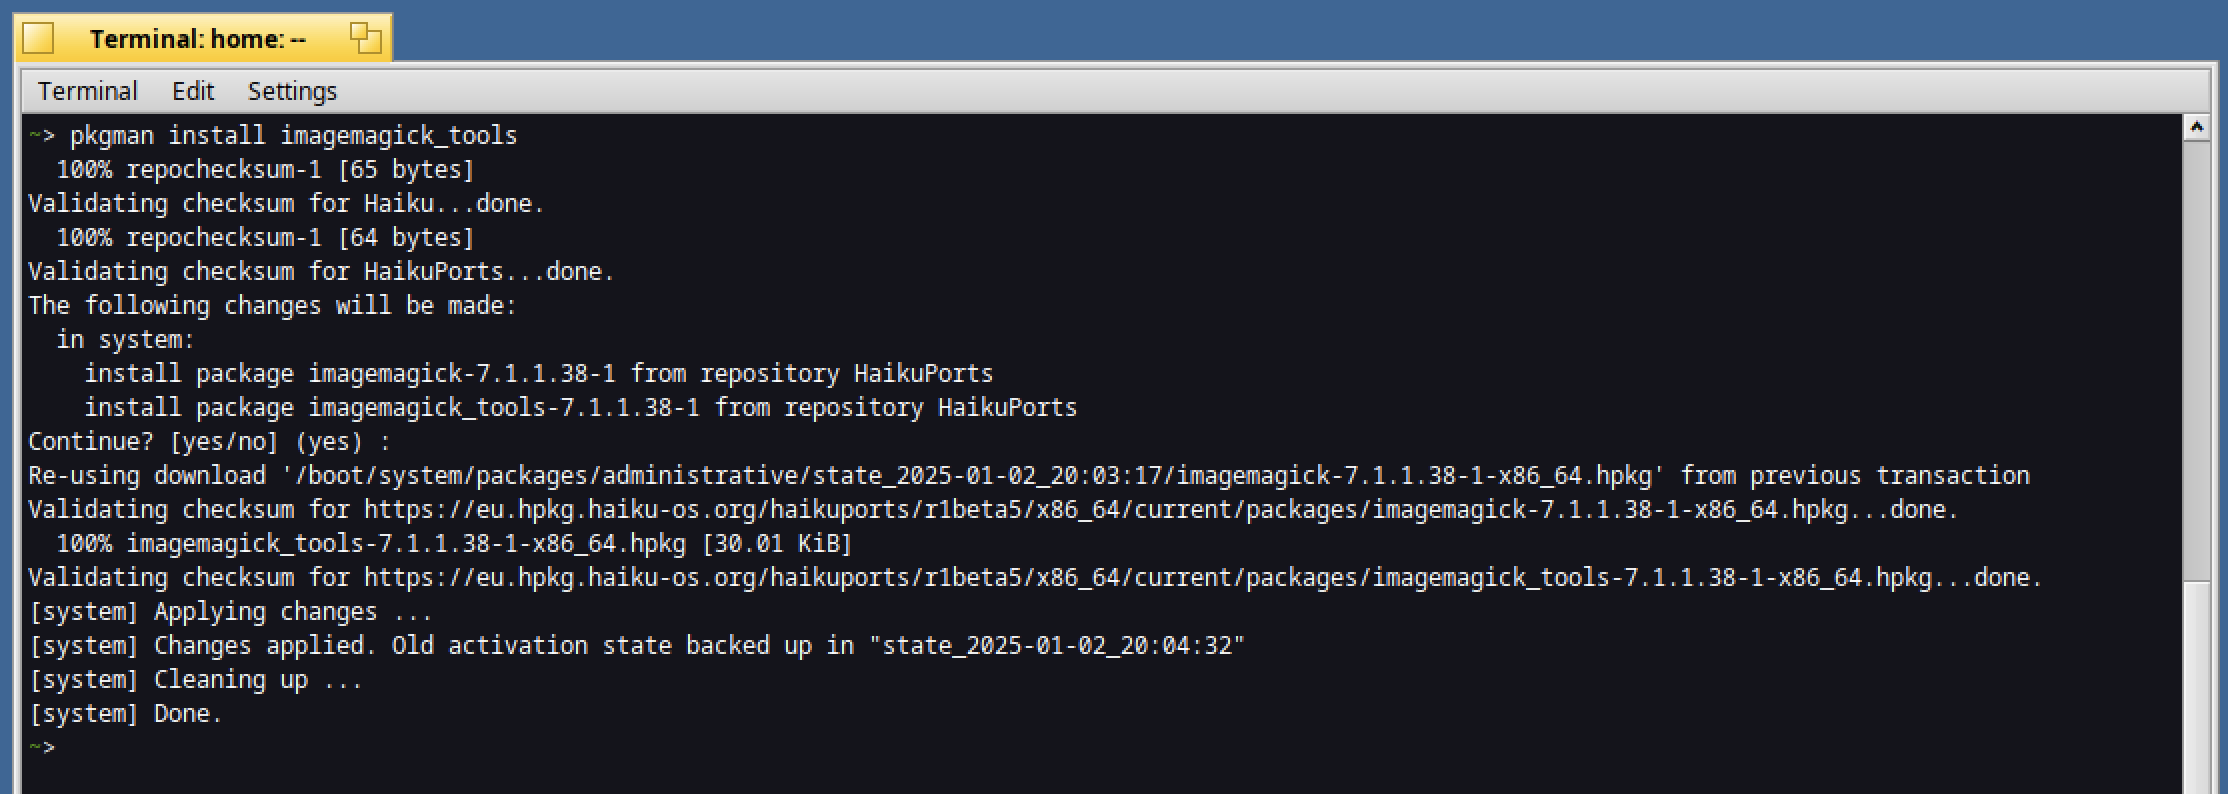
To install ImageMagick tools, in a Terminal type :
pkgman install imagemagick_tools
Then verify the version installed :
magick --version

Ok now let's start using it !
Features
ImageMagick tools have the ability to convert images, change their size, or apply various effects.
You can check some examples of ImageMagick Usage on the official website.
Let's review how to process of few of them under Haiku, especially :
- Convert to another format
- Change the width and height of an image
- Crop an image
- Add a blur effect
- Rotate an image
- Convert to black and white
- Optimize the size of an image
- Add a border
- Get information on an image
- Process a set of images
Reference image
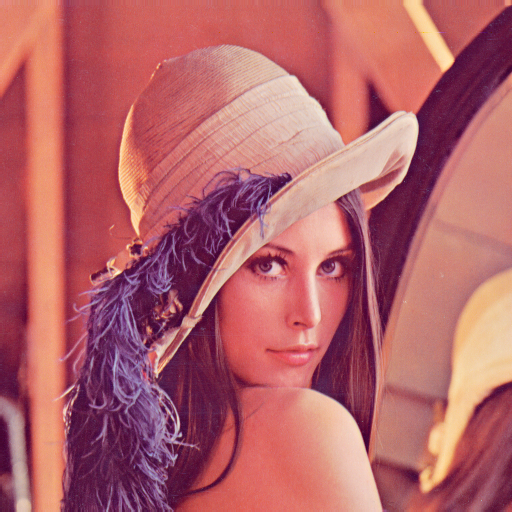
The reference image which will be used is Lenna, a PNG image of 512x512 pixels.
Let's practice!
Download the Lenna image or take an image of your choice.
Let's start by converting the image to JPEG format.
In a Terminal type :
magick /boot/home/Desktop/Lenna.png /boot/home/Desktop/Lenna.jpg

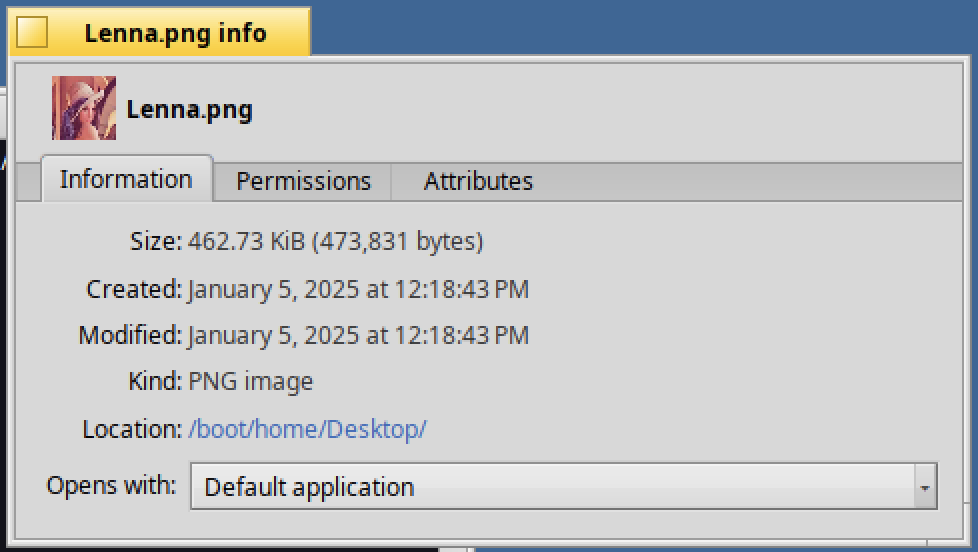
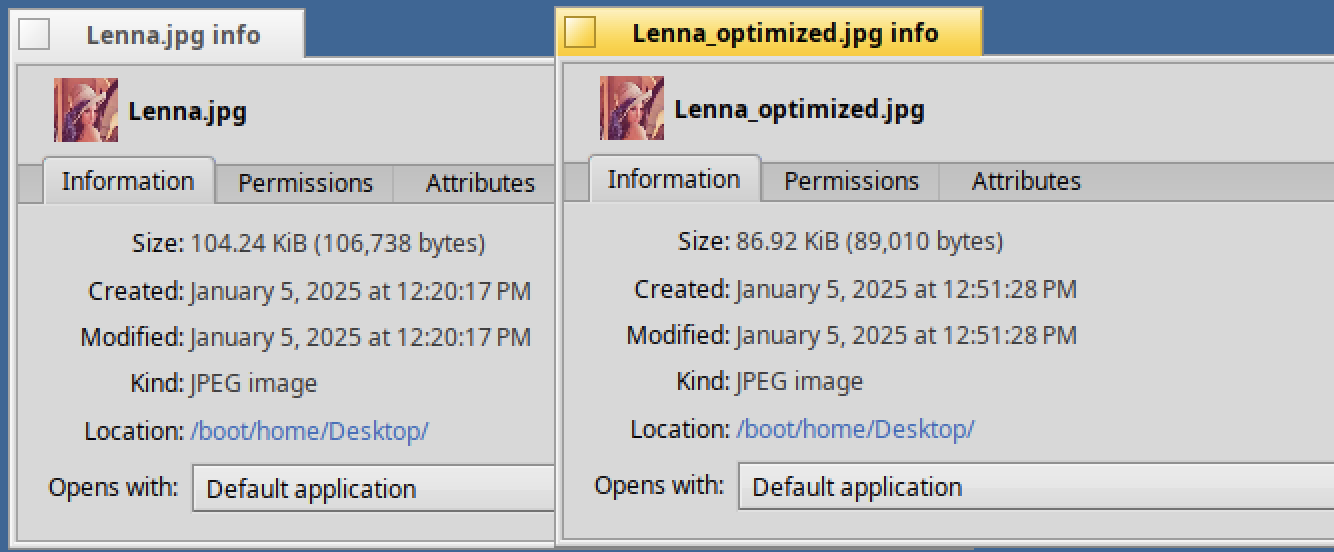
Now check the information of the new image :
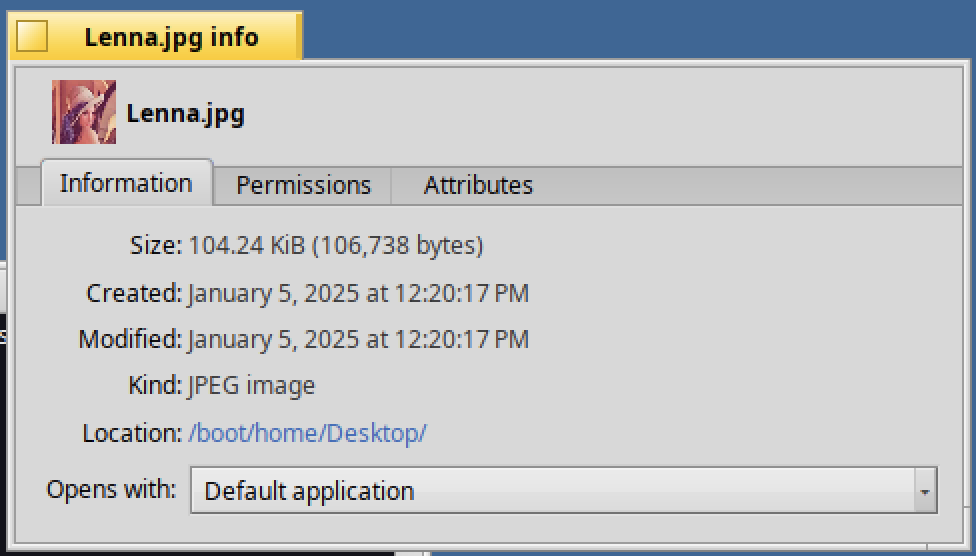
As you can see the JPEG format is optimized in size compared to PNG :
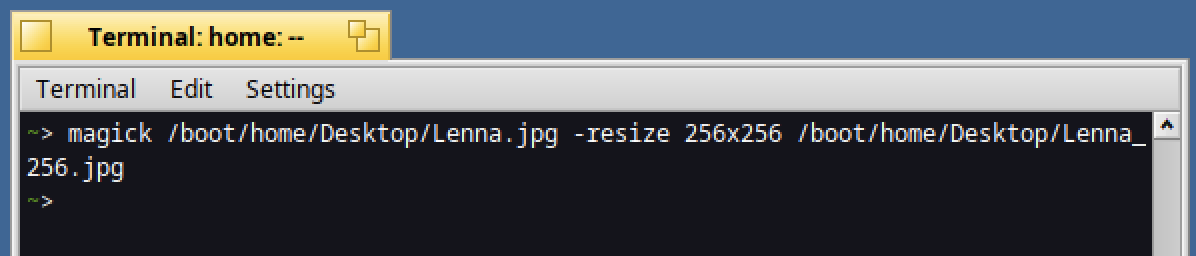
What about scaling the image to 256x256 pixels ?
For that type :
magick /boot/home/Desktop/Lenna.jpg -resize 256x256 /boot/home/Desktop/Lenna_256.jpg
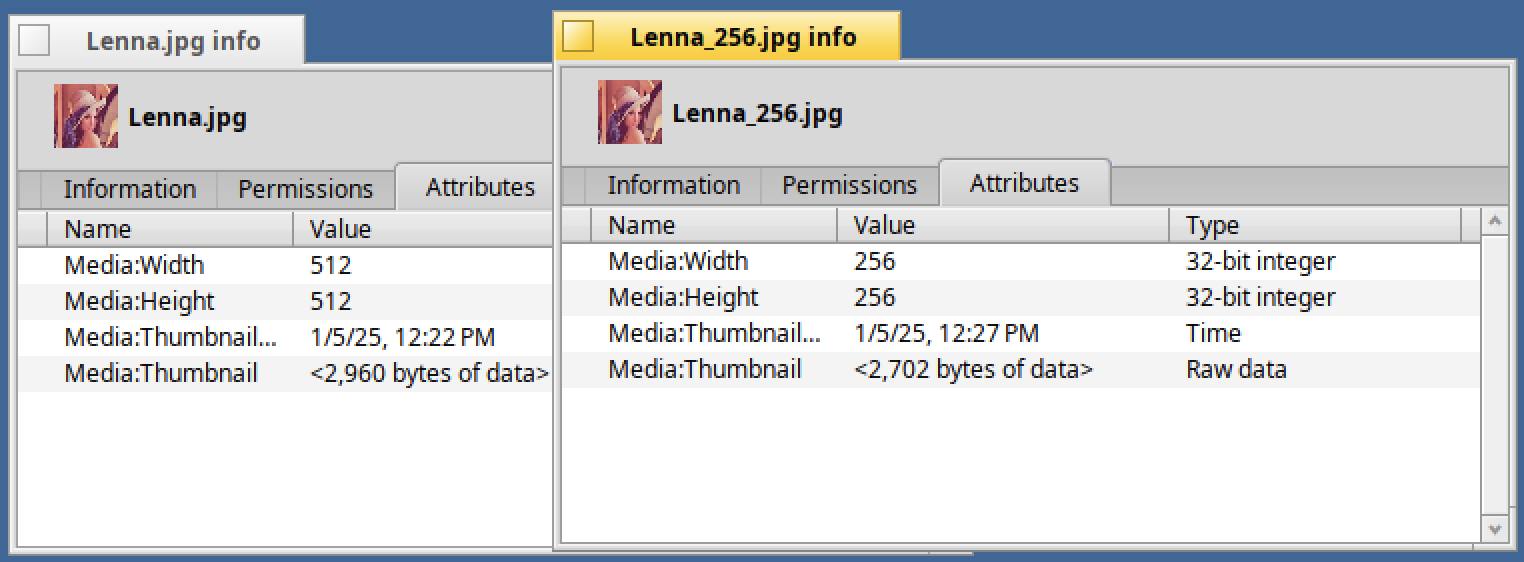
The attributes on the file are confirming the new size :
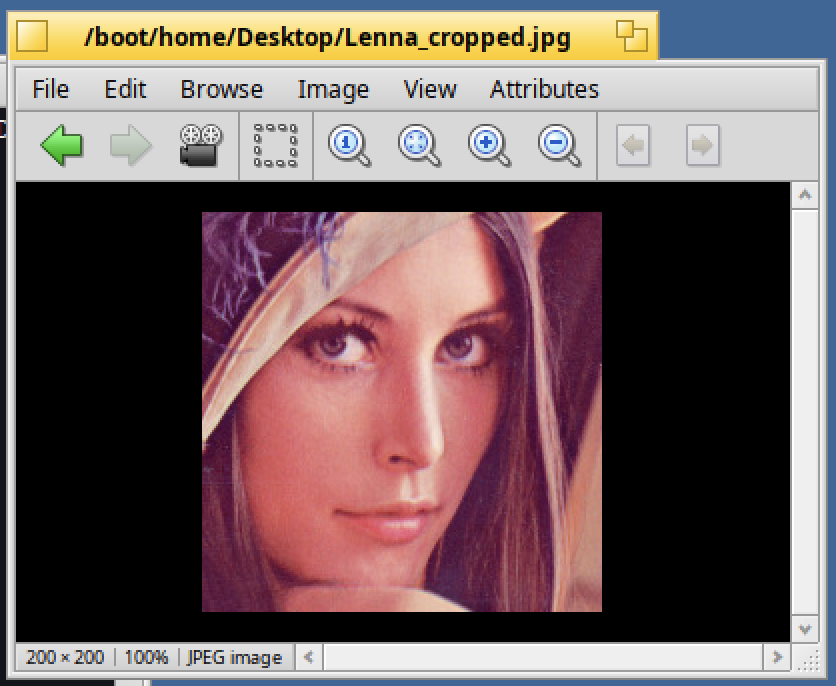
Let's crop the image to better see Lenna's face :
magick /boot/home/Desktop/Lenna.jpg -crop 200x200+200+200 /boot/home/Desktop/Lenna_cropped.jpg

The resulting image is a 200X200 pixels one :
Now let's convert this new image into black and white :
magick /boot/home/Desktop/Lenna_cropped.jpg -colorspace Gray /boot/home/Desktop/Lenna_bnw.jpg

Verify the result by opening the image :
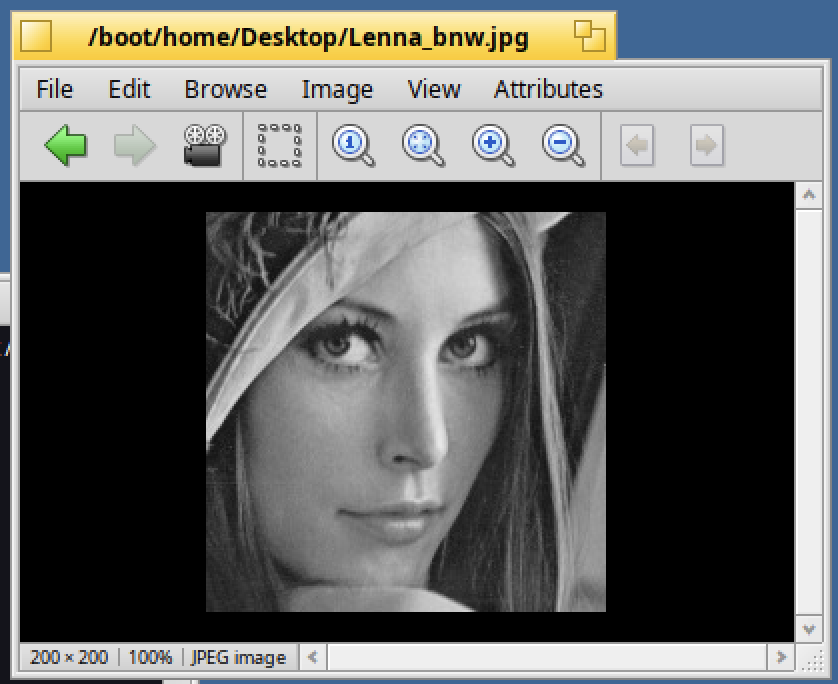
Simple and efficient :)
Do you need to rotate the image ?
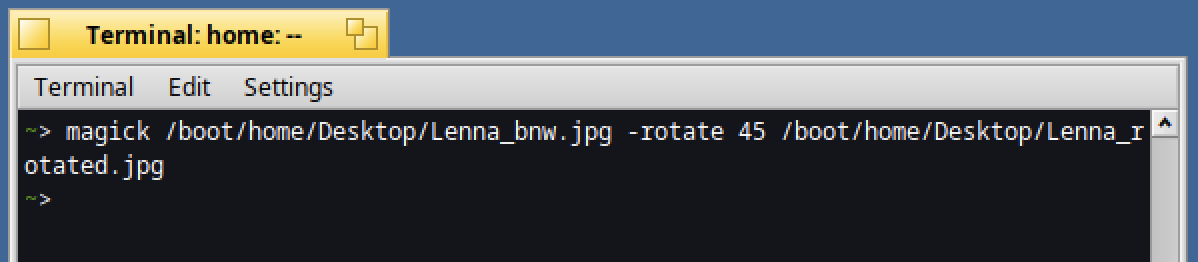
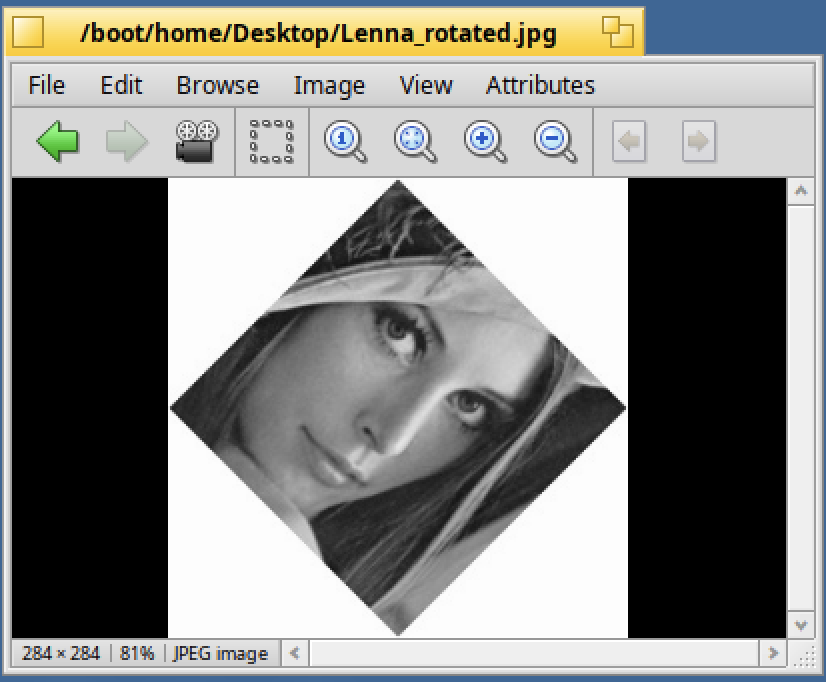
magick /boot/home/Desktop/Lenna_bnw.jpg -rotate 45 /boot/home/Desktop/Lenna_rotated.jpg
If you open the image, Lenna's picture is rotated by 45° :
Ok let's go back to the 512x512 image and apply an optimization on its size :
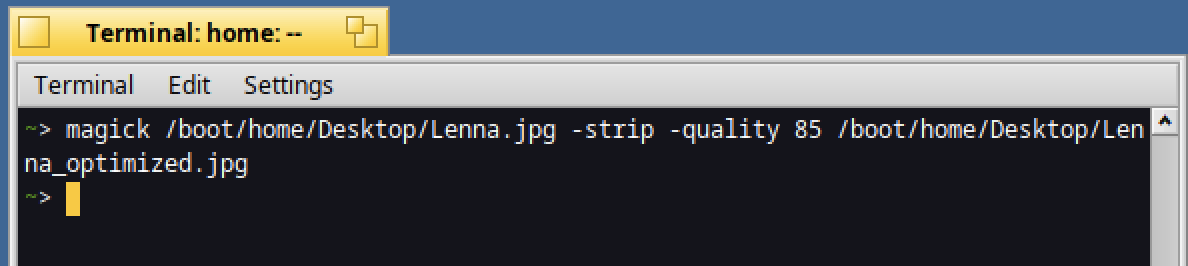
magick /boot/home/Desktop/Lenna.jpg -strip -quality 85 /boot/home/Desktop/Lenna_optimized.jpg
Do you see any difference between the two ?
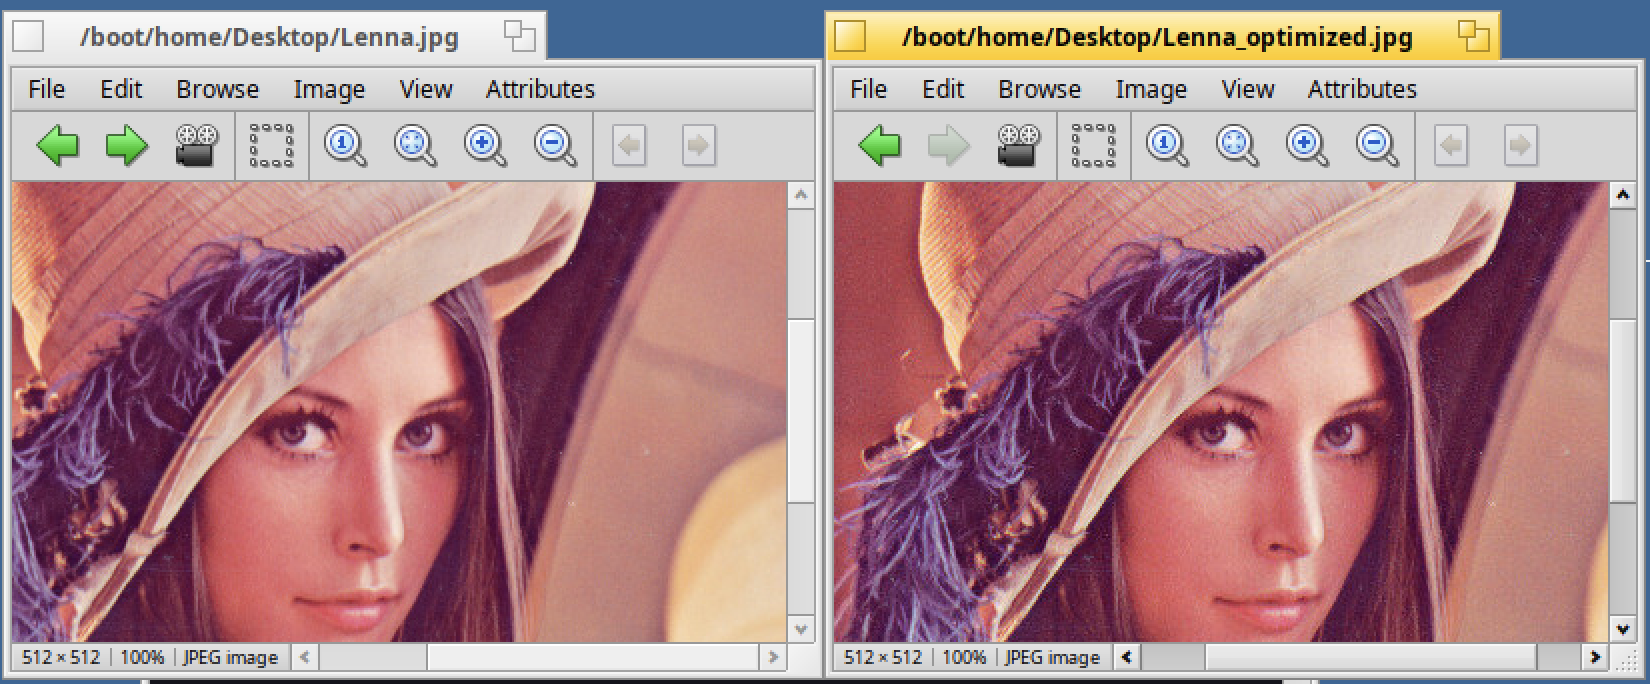
No, it's normal, because the quality kept is high (85%).
However the size has decreased by 16% compared to the original image :
Nice isn't it ?
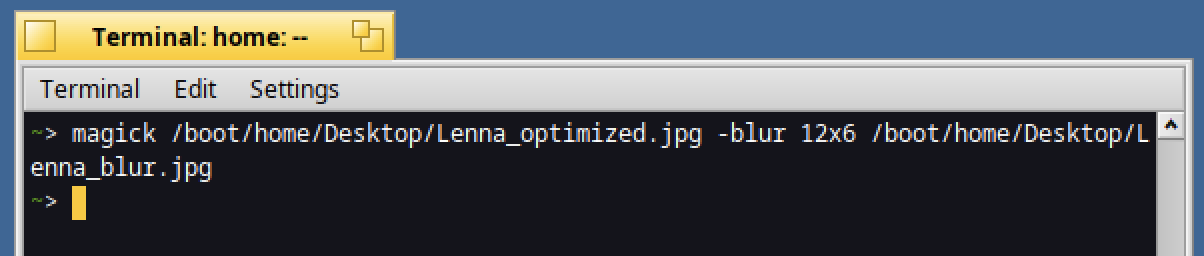
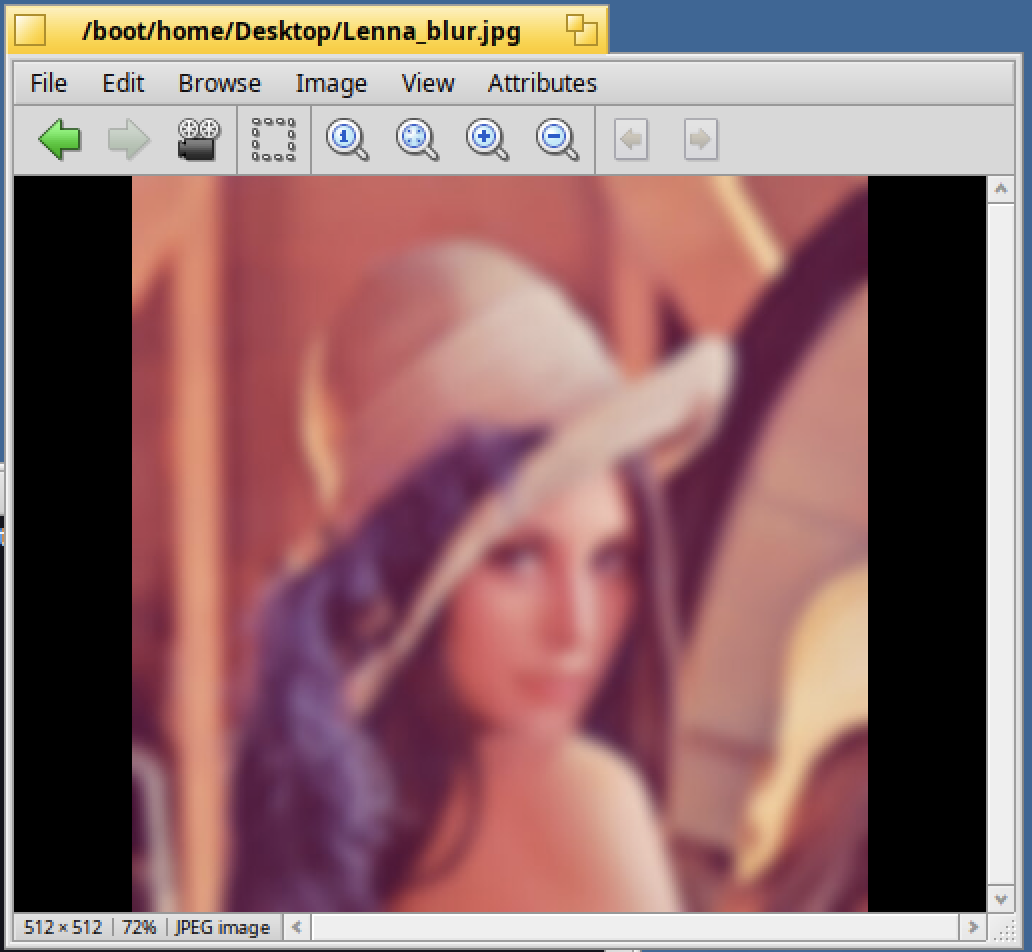
Now let's add a blur effect :
magick /boot/home/Desktop/Lenna_optimized.jpg -blur 12x6 /boot/home/Desktop/Lenna_blur.jpg
It's working as expected :
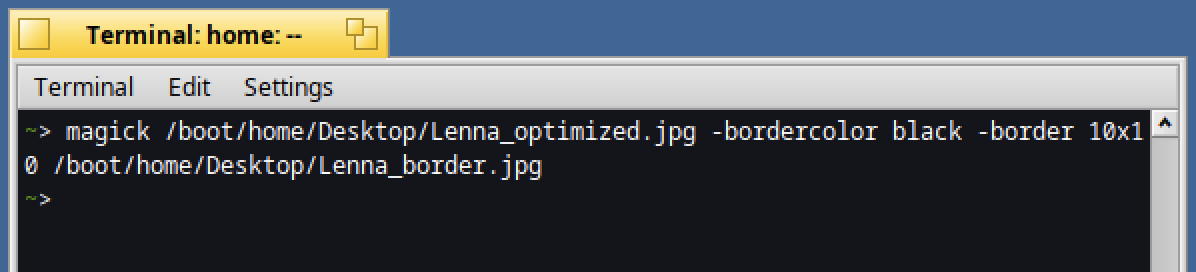
Ok, now what about adding a black border to Lenna's picture ?
magick /boot/home/Desktop/Lenna_optimized.jpg -bordercolor black -border 10x10 /boot/home/Desktop/Lenna_border.jpg
The obtained effect is nice :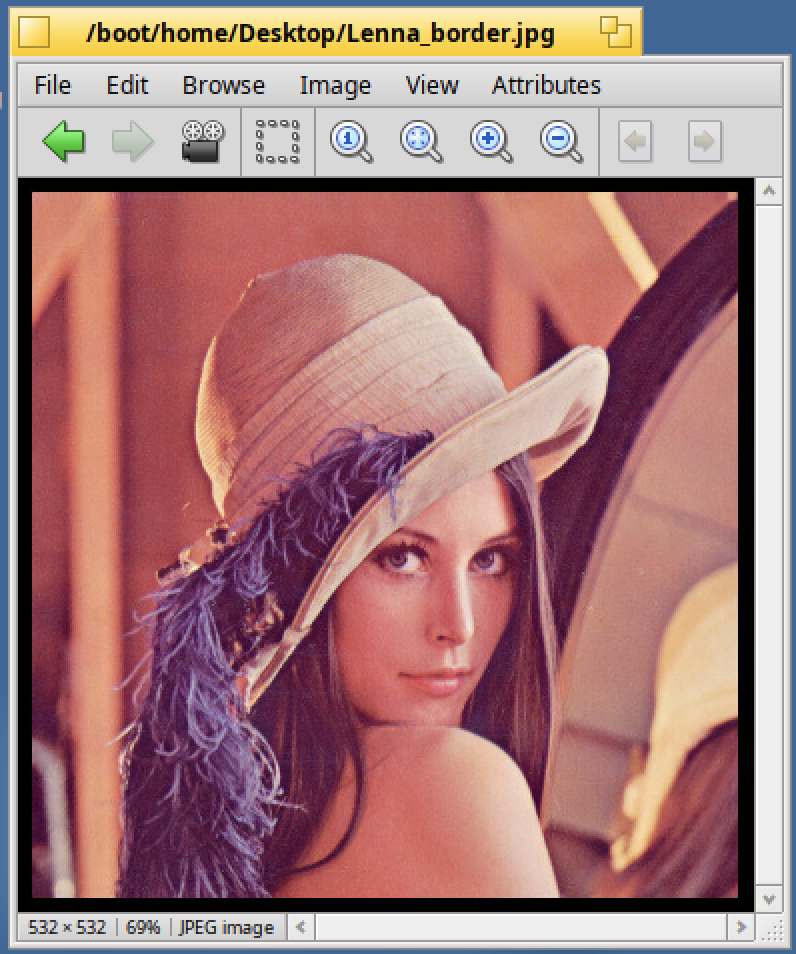
If you would like information details on an image, type :
magick identify /boot/home/Desktop/Lenna.jpg

Now let's finalize this article by processing a set of images.
Let's modify all the previously created "jpg" images into a 128x128 pixels version :
magick mogrify -resize 128x128 /boot/home/Desktop/*.jpg

All the "jpg" images created so far will be replaced by their 128x128 equivalent :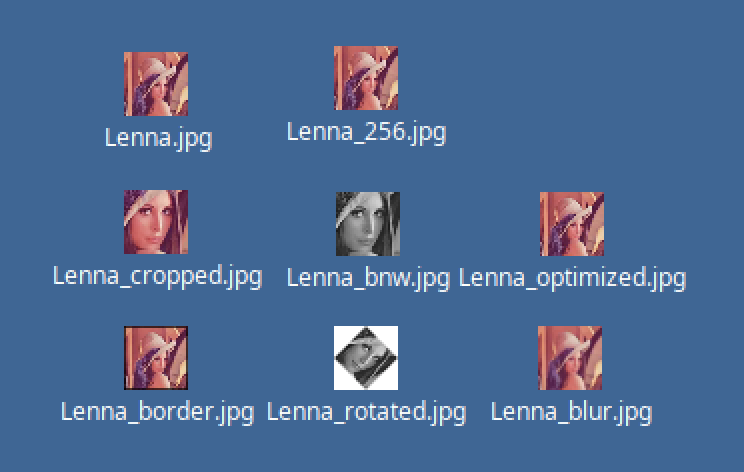
Let's check the new size : 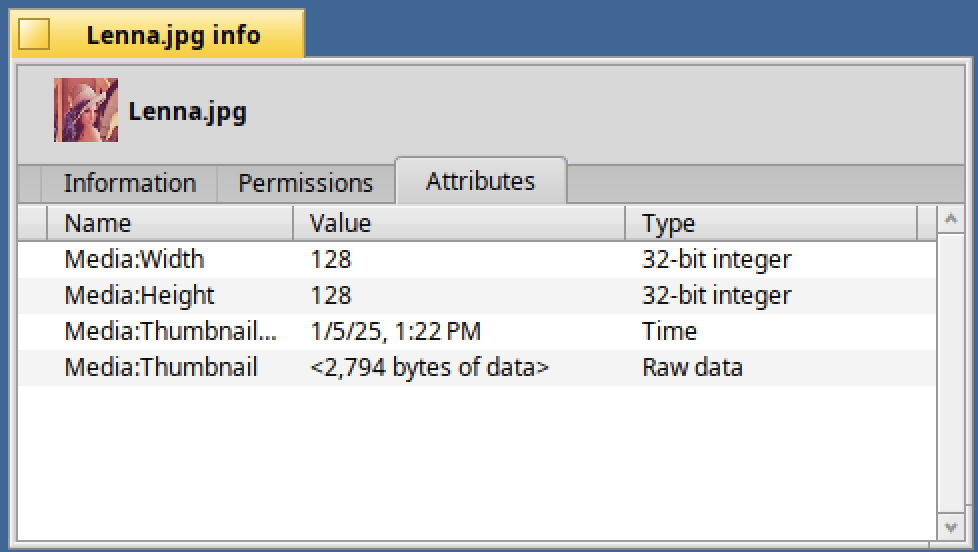
Ok the changes were correctly applied to all the pictures.
Please note mogrify will replace the existing images.
So if you want to not modify the original pictures, you will have to copy them before.
If you would like to know more about ImageMagick you can consult the official website.
There's no application GUI for ImageMagick on Haiku today.
However, you can check existing projects on github like QImagick or JpgMagick which are based on Qt framework.
They can be a good starting point to create a GUI application for ImageMagick on Haiku:)