
Use WonderBrush
 DigitalBox
- Native
- December 5, 2024
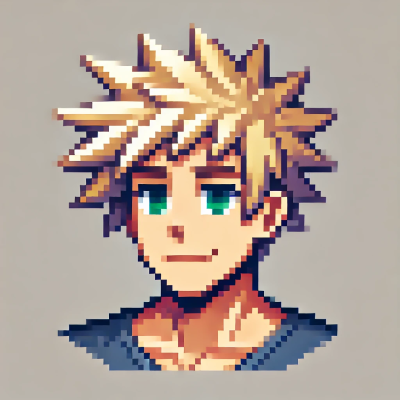
WonderBrush is one of the possible native application to create and edit bitmap pictures under Haiku.
Do you need to create a bitmap picture ?
Maybe this application might help you.
I will not give a tutorial on how to use WonderBrush under Haiku.
Instead I will highlight the various features of this graphical tool, which will give you an idea if it can be the right tool for you:)
First steps
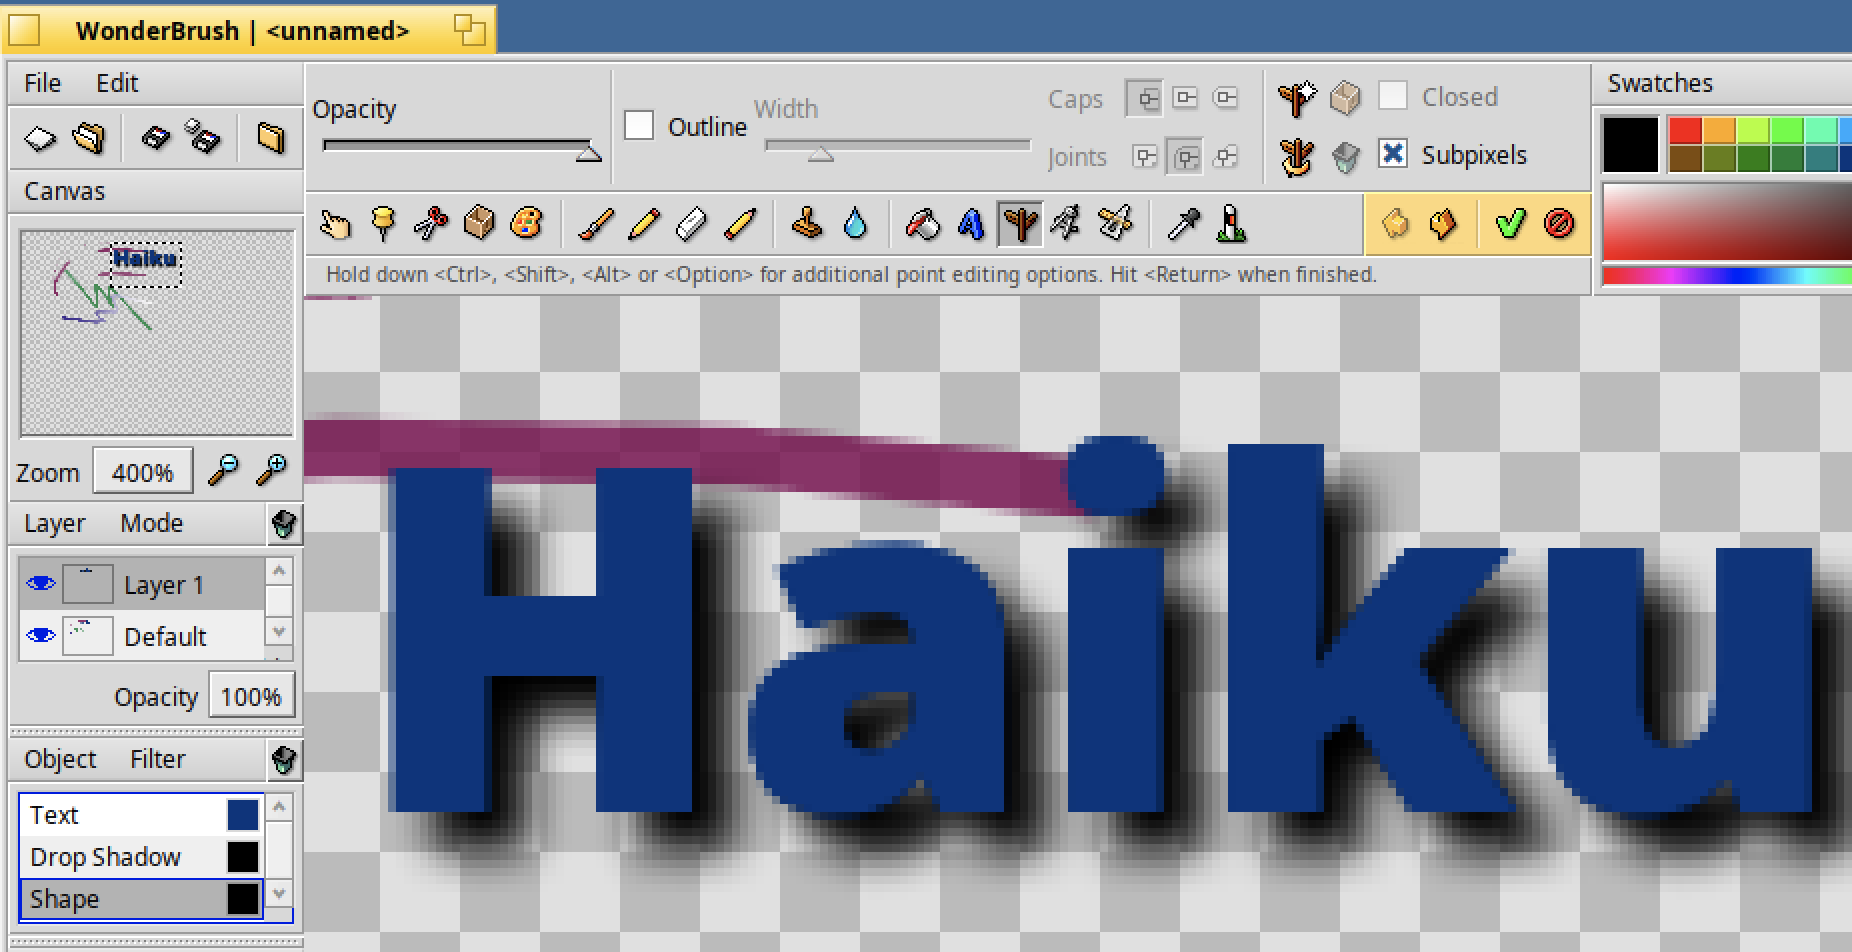
Install WonderBrush via HaikuDepot. When you open the application, you should see the below main window :
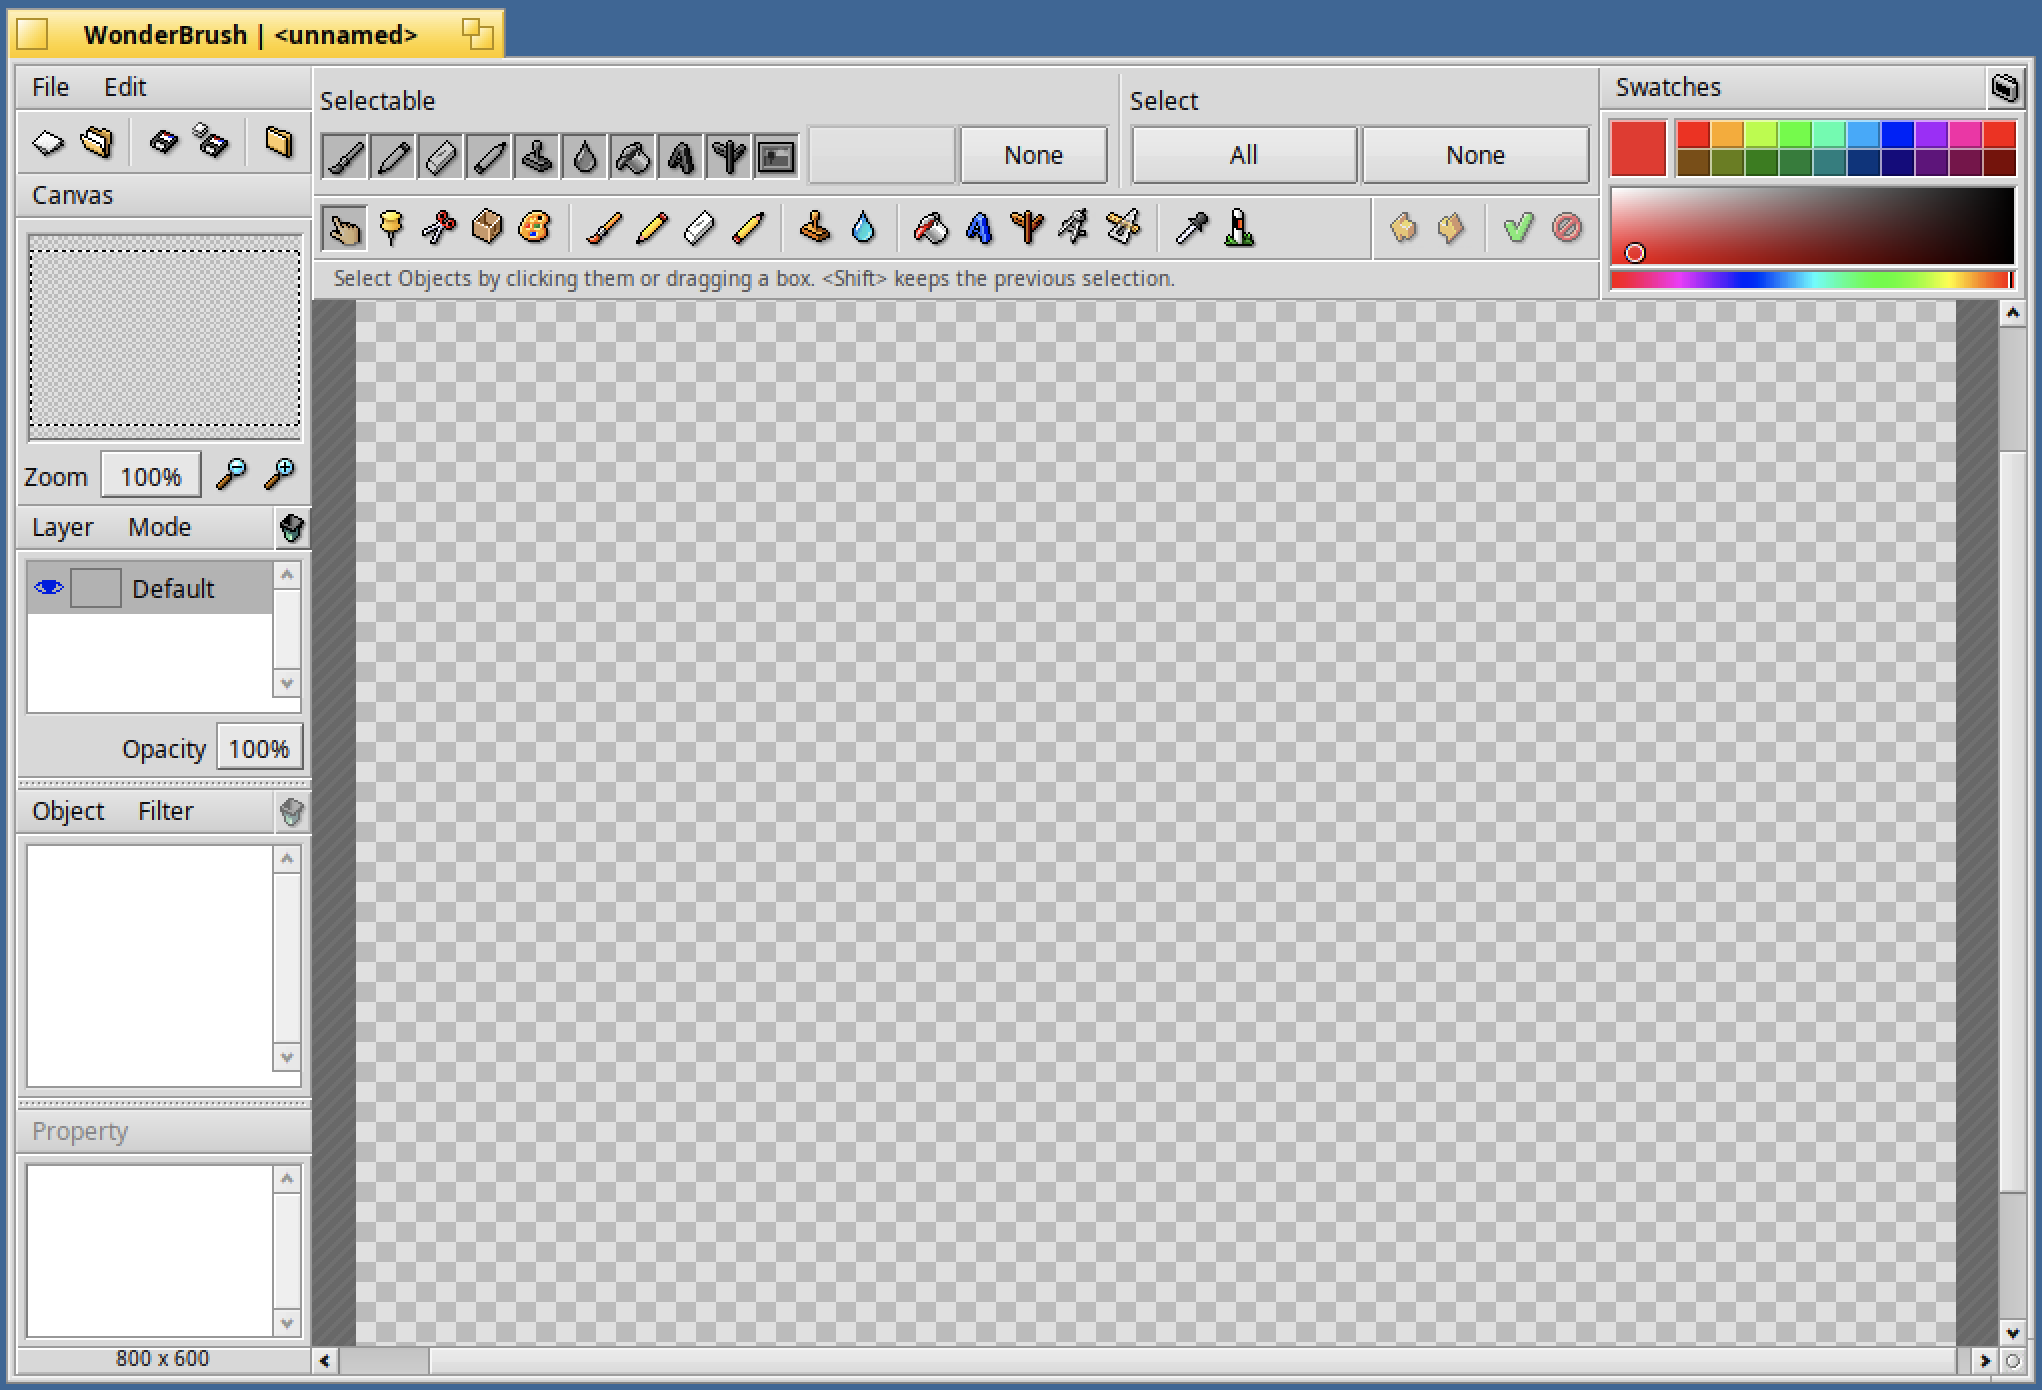
Let's review the key concepts used by WonderBrush :
- The canvas
- The layers
- The objects
- The properties
The canvas area indicate the current bitmap edited :
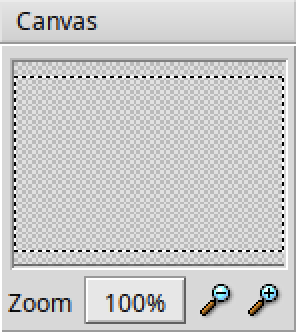
By default it's a 800x600 zone, but you can change its size via the "Canvas menu" available in the Canvas area.
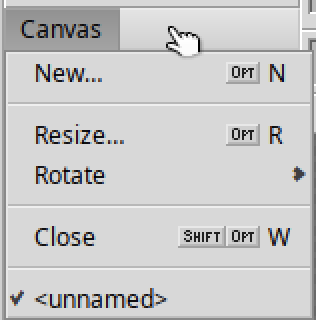
Note : there's no "Canvas" menu in the application, maybe this point could be improved in the future.
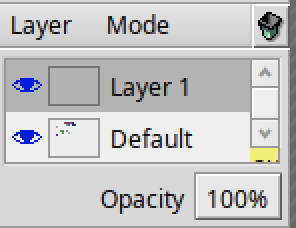
If you look below the Canvas area, you should see the Layer zone :
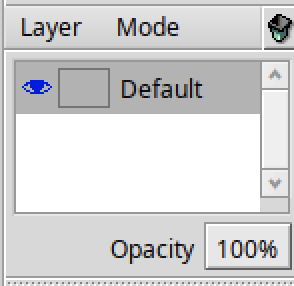
At the beginning, there's only one layer named "Default".
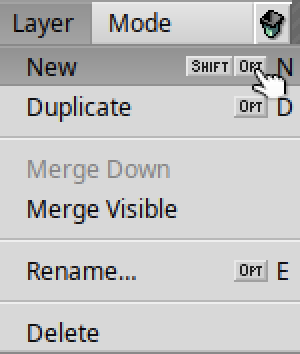
However you can create/duplicate layers via the "Layer" menu in the Layer area :
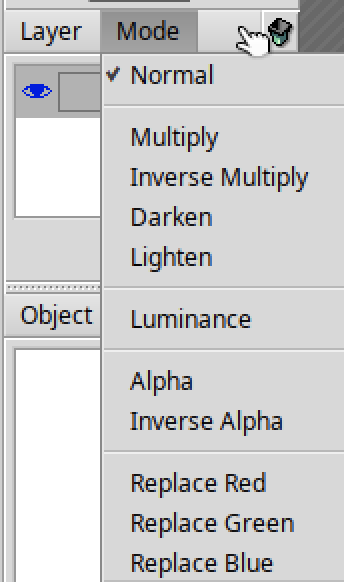
You can also change the mode of the layer (darken/lighten/...) :
Note : there's no "Layer" menu in the application, maybe this point could be improved in the tool.
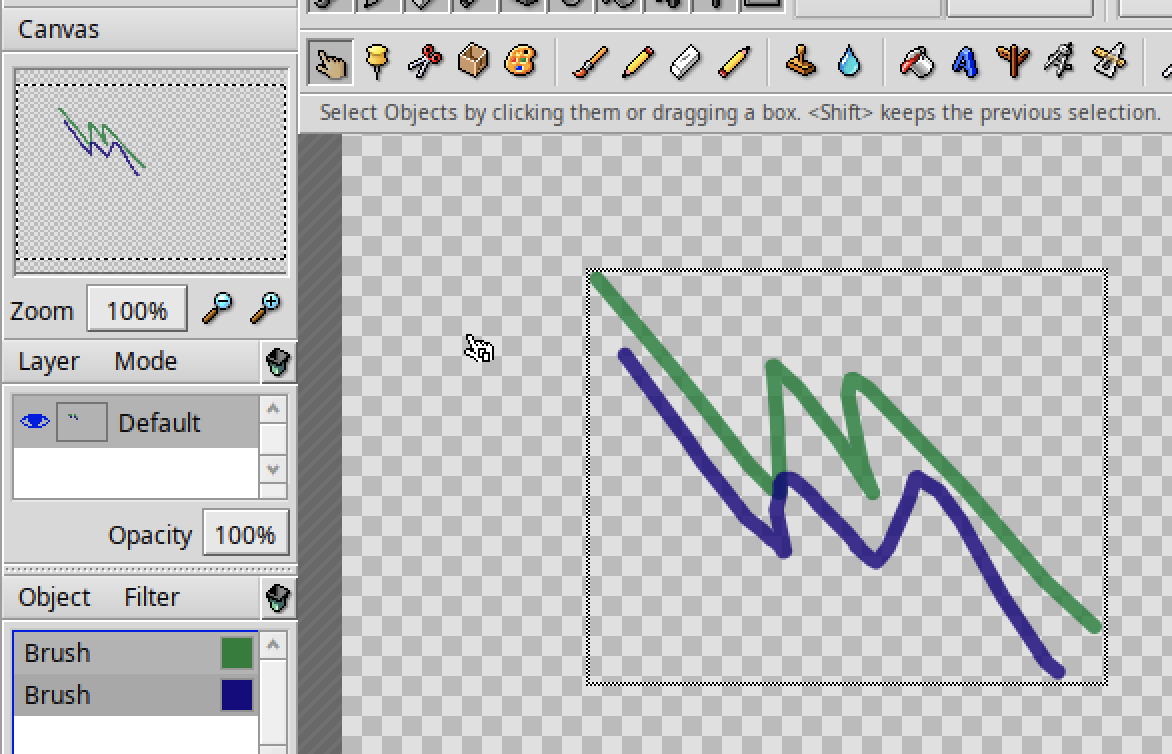
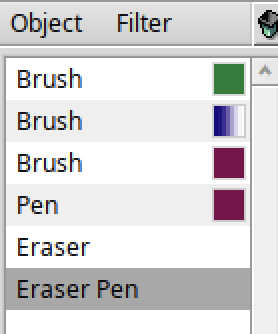
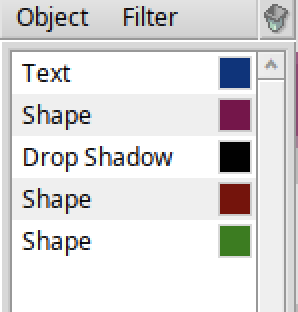
Under the Layer zone, you should see the "Objects" area :
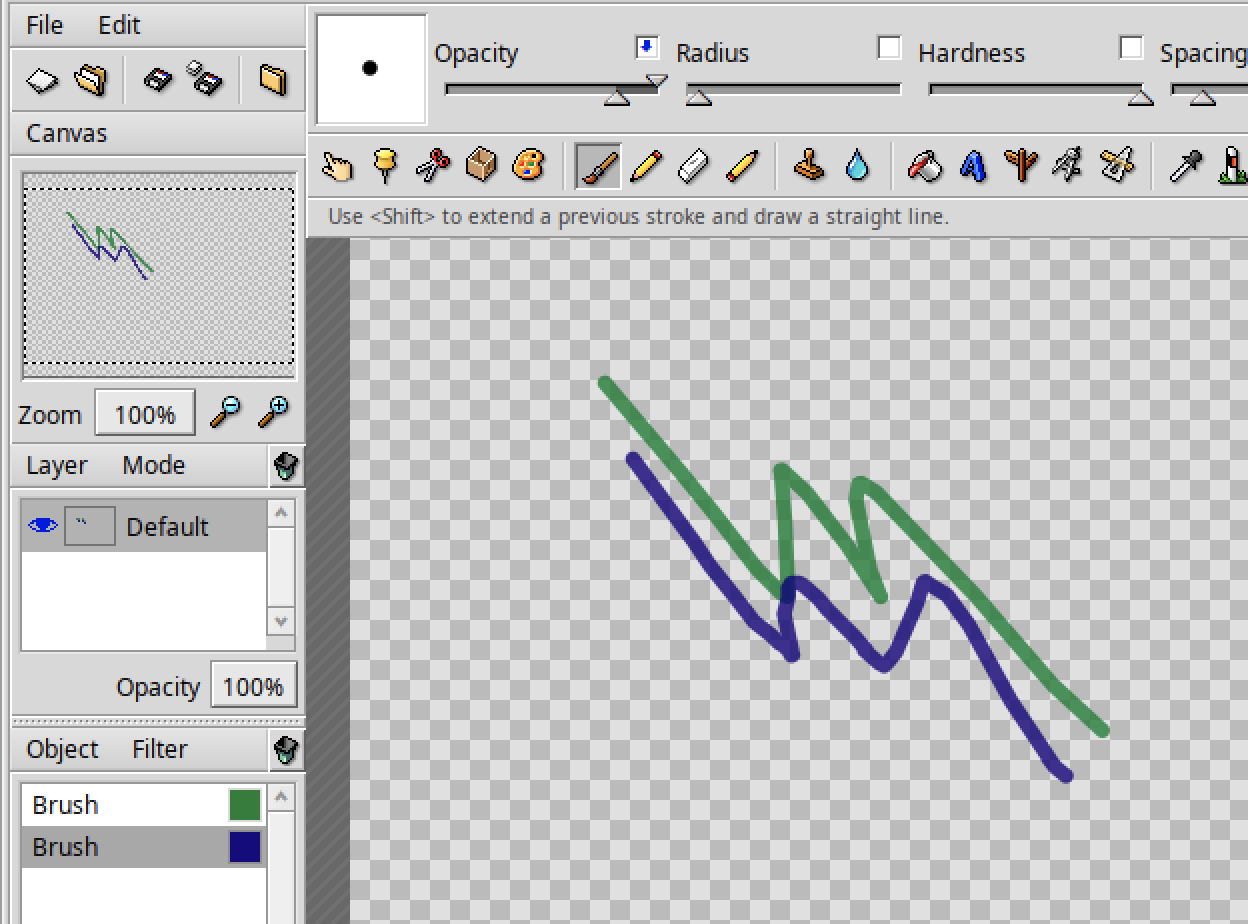
It indicates all the graphical objects you have created under WonderBrush :
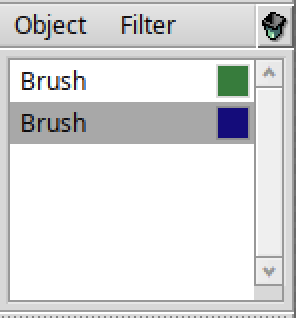
In my case, two brushes with different colors have been created.
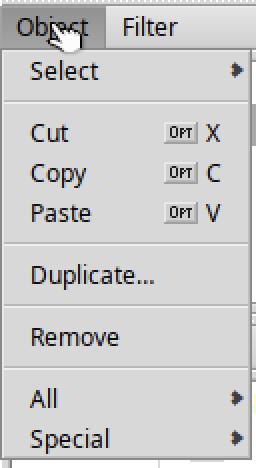
You can apply different actions on the object :
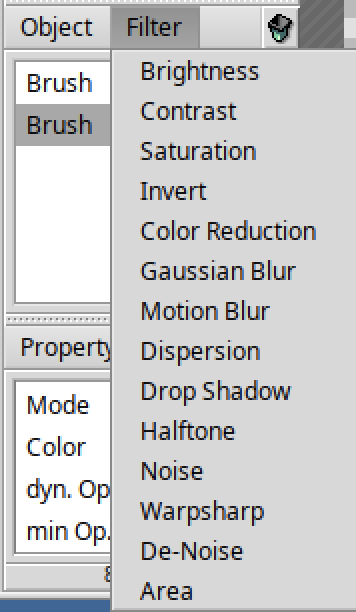
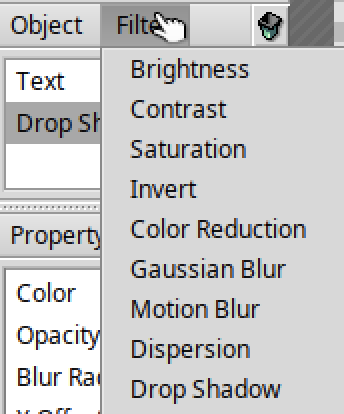
But also some nice filters like "Drop Shadow" or "Motion Blur" :
The last area is named "Property" :

It's useful if you need to change the property of your objects, like the color, the radius, its opacity, etc.
Before we move to the features, something important to know when you save a canvas :
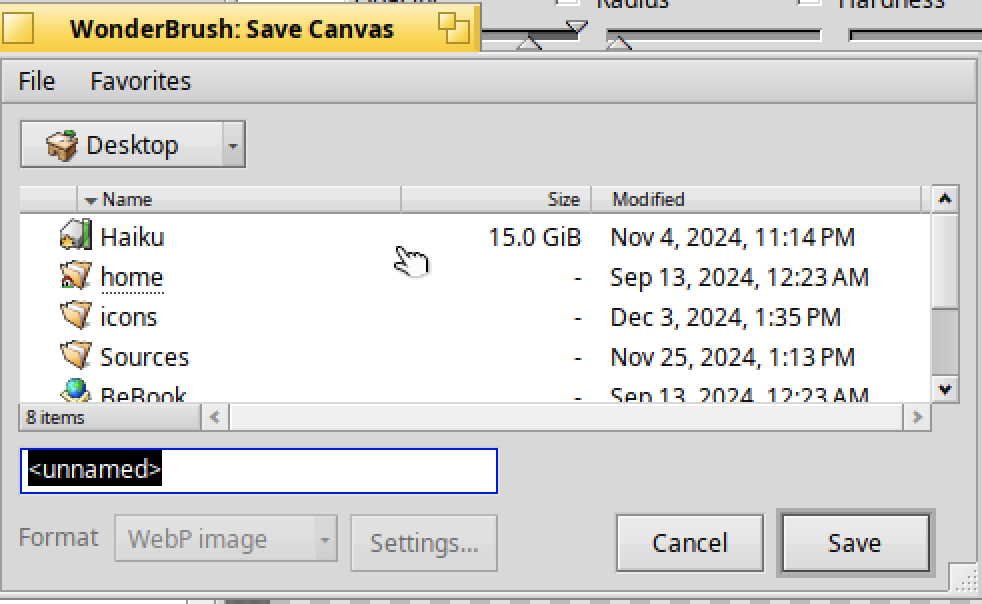
Do you see the format "WebP image" greyed out ?
Don't be mistaken, the save file is a WonderBrush image format not a WebP one !
The GUI is not very clear sometimes, so I prefer to clarify.
WonderBrush features
The features proposed by WonderBrush are available via the toolbar below :

Suppose you have created the below brush objects :
The "Transform" icon let you modify the current selected object(s) :
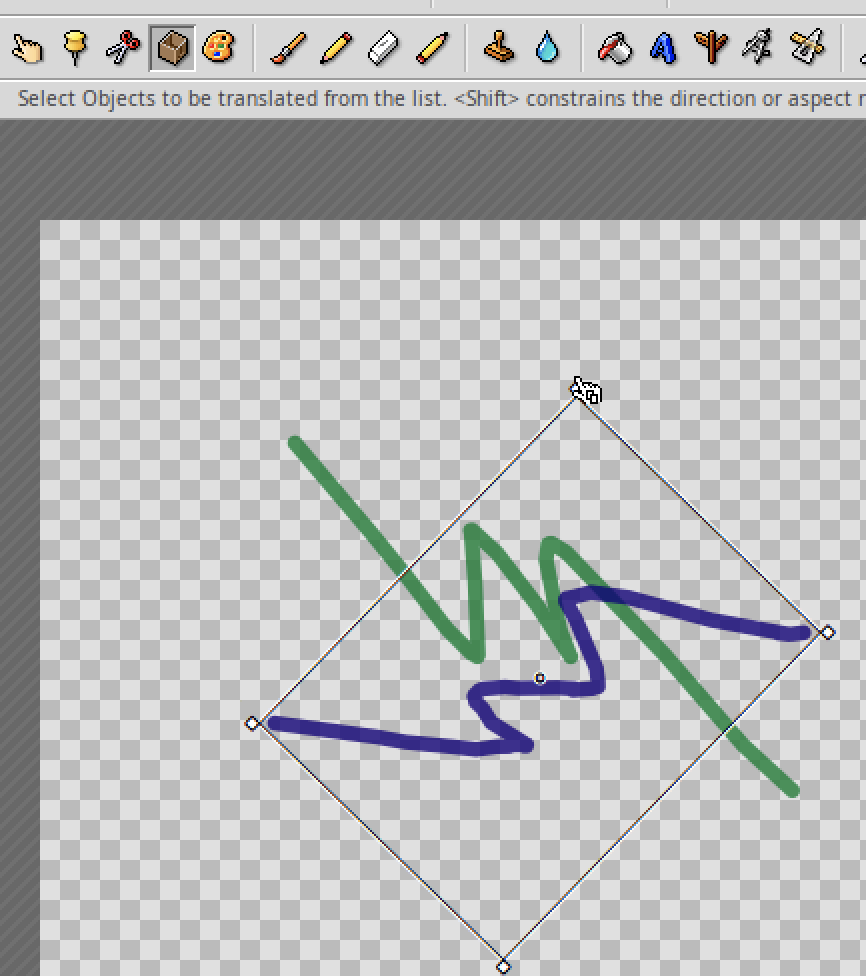
In the case above, the transformation is a rotation :)
You can also change the mode of the object to "Gradient" in the property :
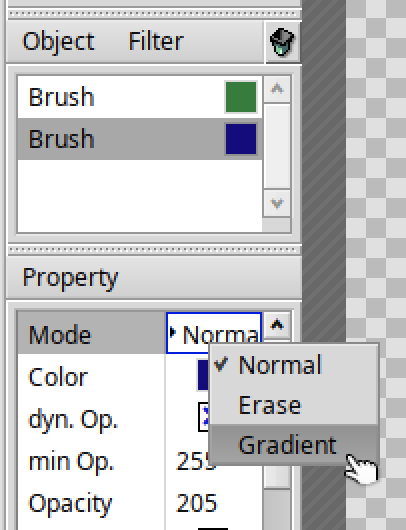
And indicate the colors to be used in the gradient bar :

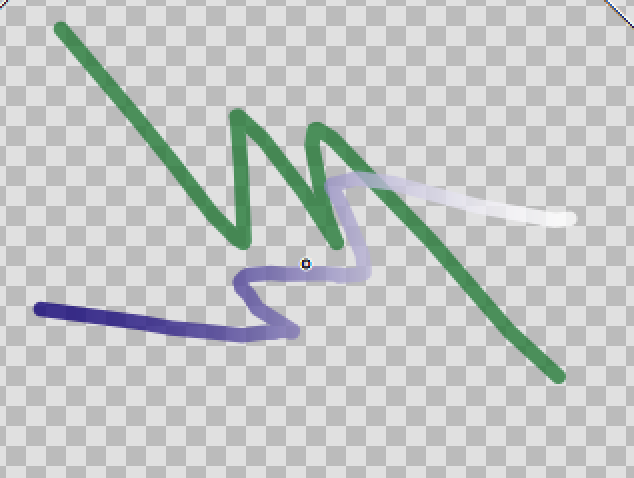
The object will now have a gradient color :
The next tool is the "Brush" :
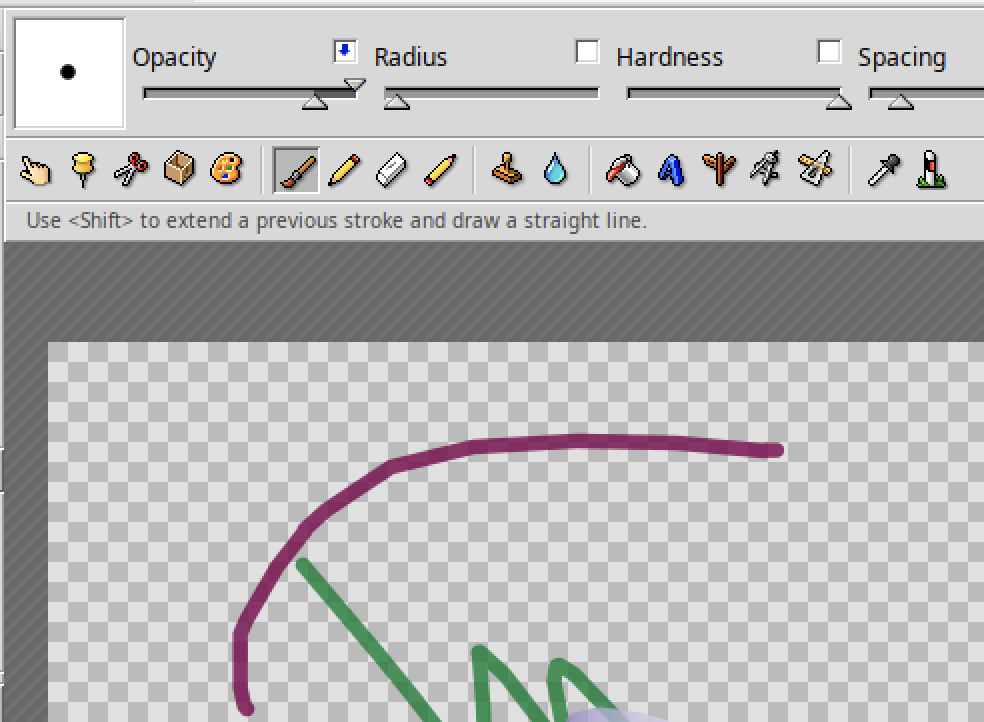
Use this tool when you need to draw a free form.
The icon just on the right is the "Pen" tool :
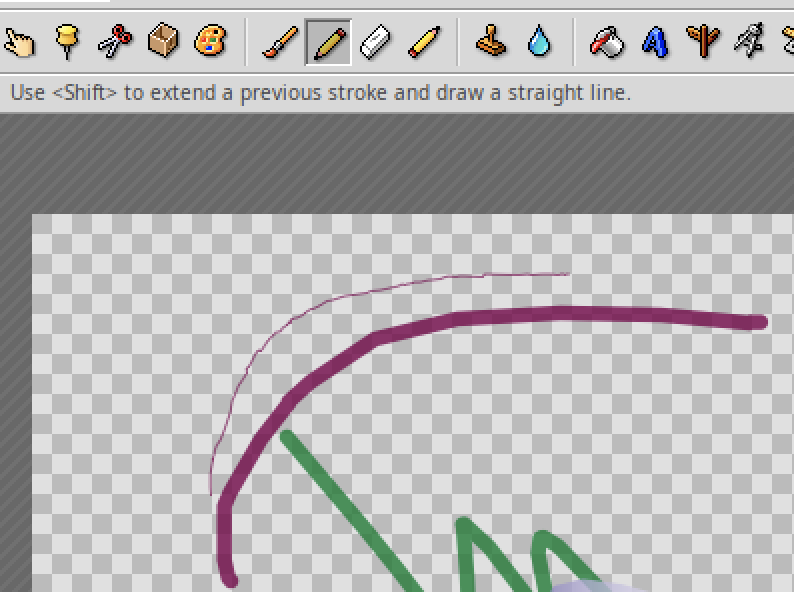
It's useful when you need to create thin forms.
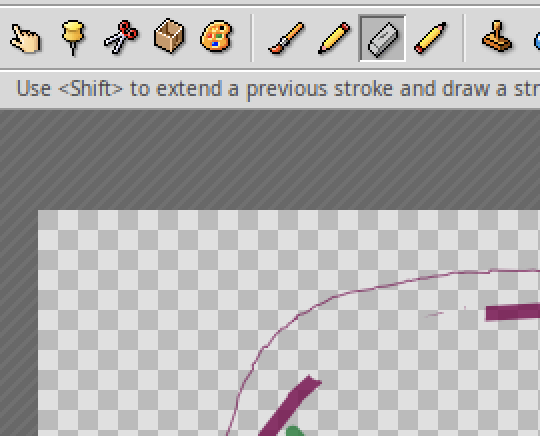
In case you need to remove part of a form, the "Eraser" tool is the one to use :
"Eraser pen" is the same but for thin removal :
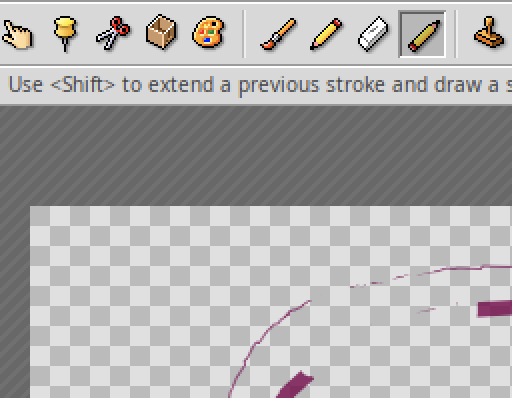
As you can see all the forms created are displayed in the Object area (Eraser included) :
What about doing a clone of an area of the picture ?
It's possible via the "Clone" tool :
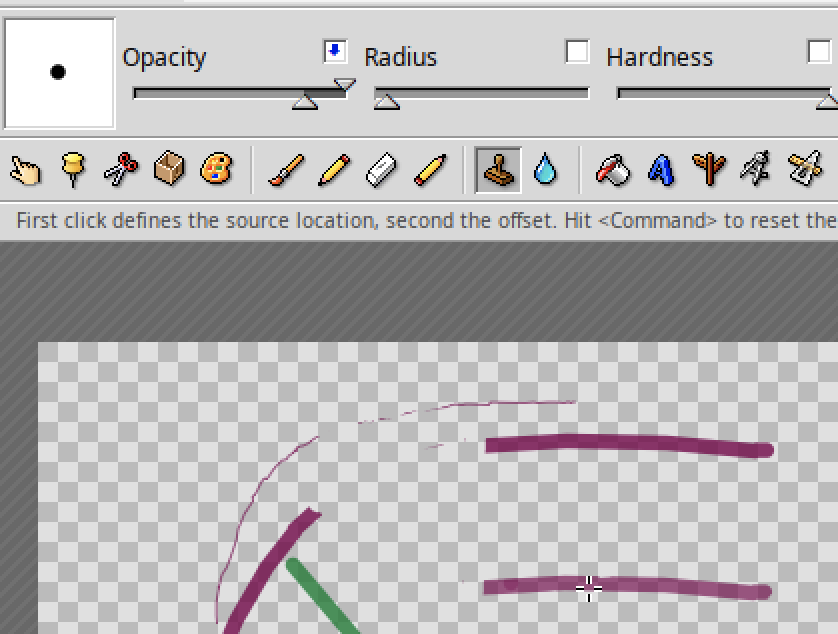
In the example above, the purple line has been duplicated but with a lower opacity.
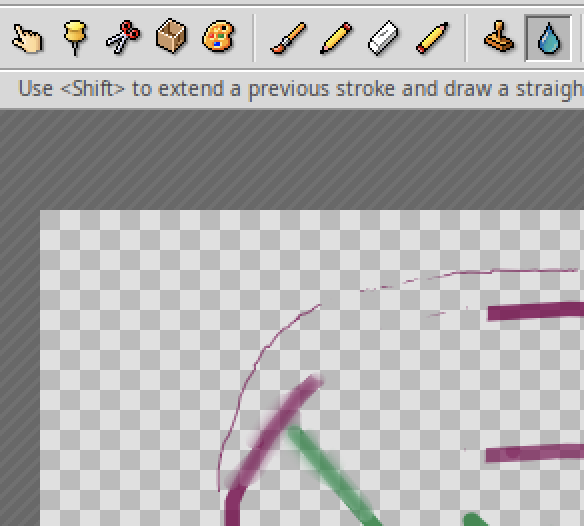
Do you need to blur part of your picture ? Then the "Blur" tool is for you :
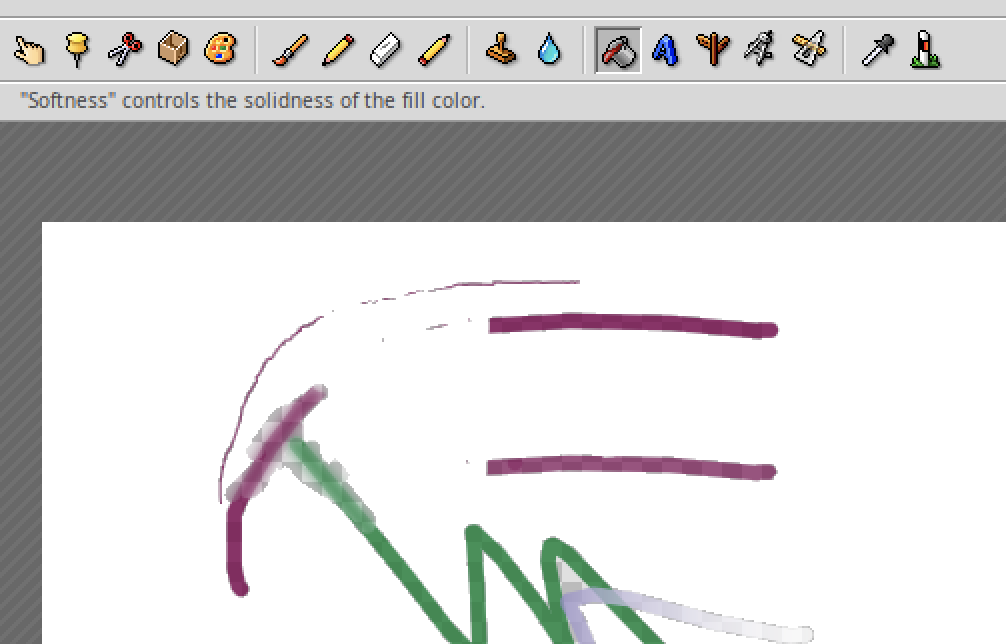
The "Fill" tool allow you to fill part of your image with a specific color, like the "white" color below :
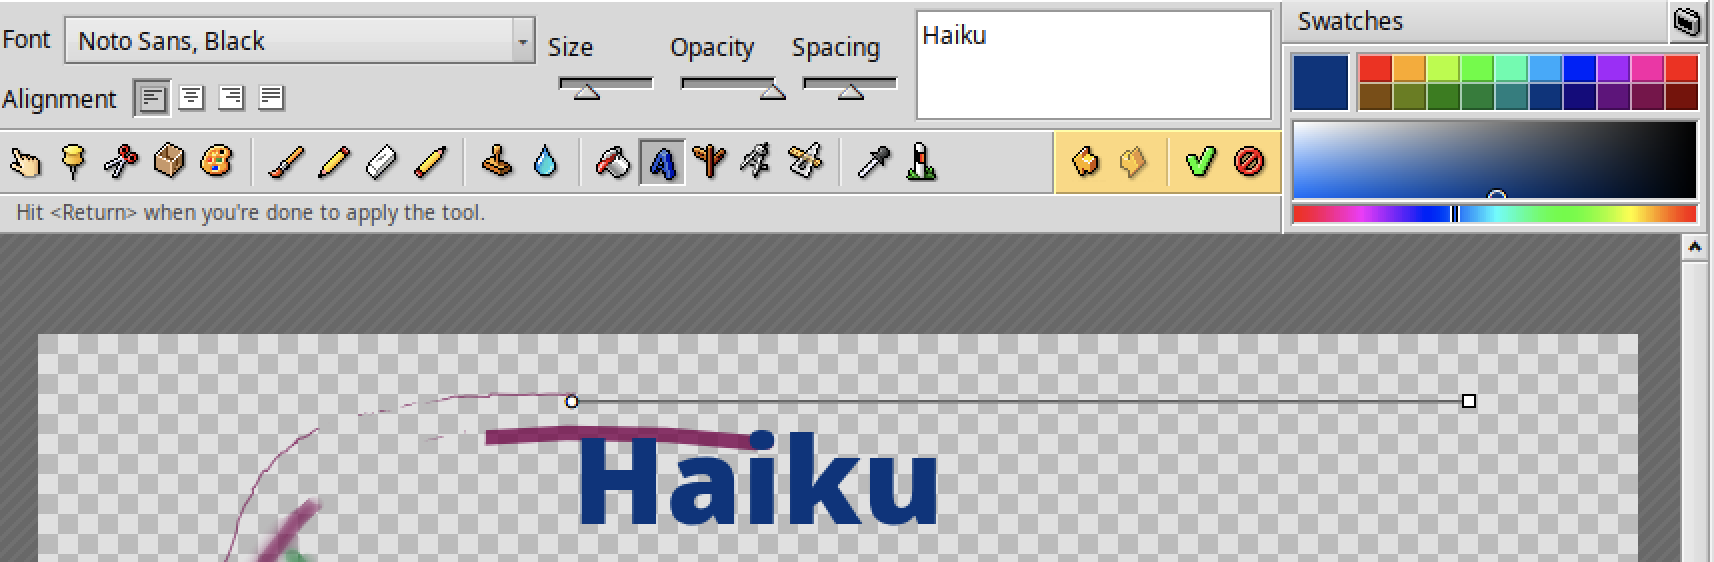
In case you need to insert some text in your image, then the "Text" tool can be used :
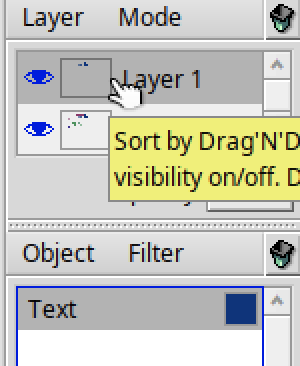
Don't forget : you can move your object to another layer :
Just do a drag and drop to the destination layer :
And you can apply "Drop shadow" on your text :
Nice effet, isn't it ?
The next tool can be useful, but is more tricky : the "Shape" tool :
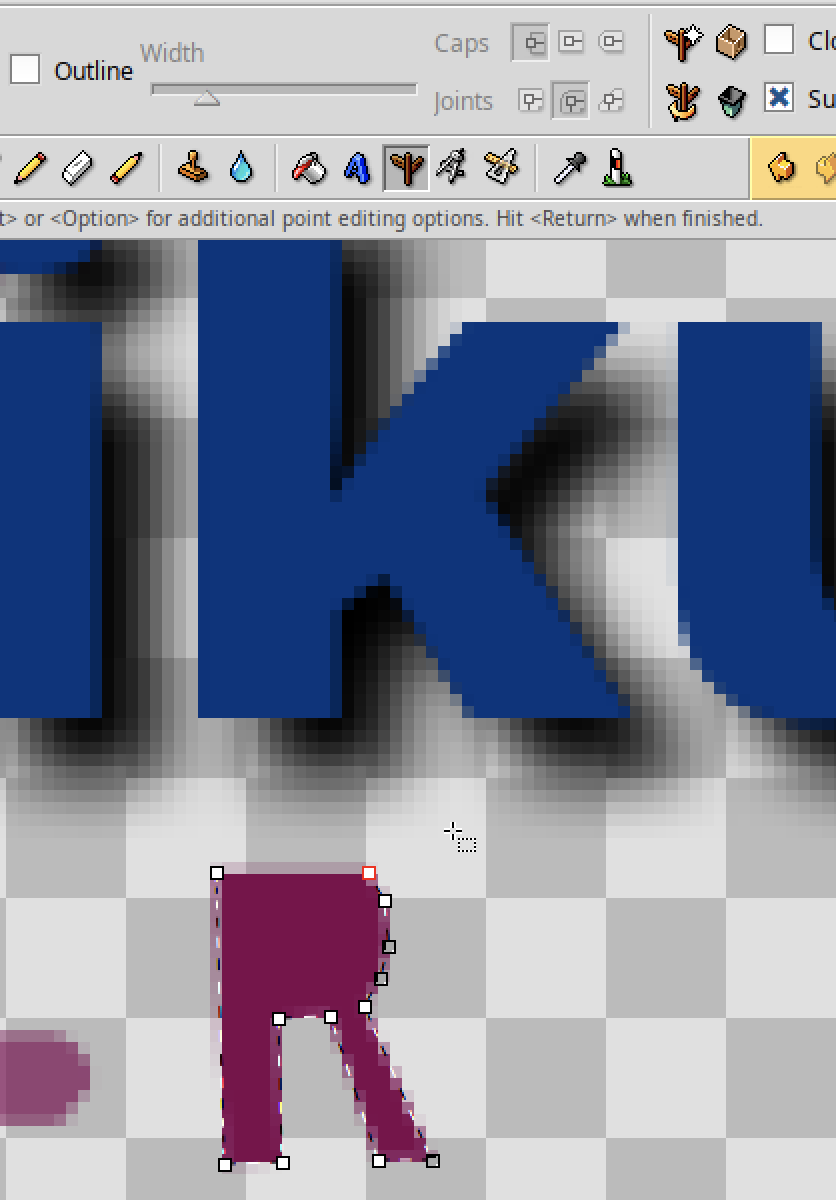
You can create a closed shape by defining each edge of your figure (like the "R" letter above). Now how to finalize the "R" shape, because we need to "cut" the inside of the "R" as below :
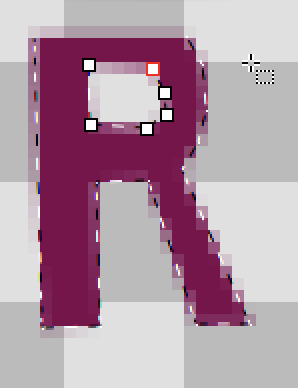
For that use the "Reverse path" icon :

Now imagine you need to add after the "R" another letter. In that case, you need to indicate an additional "Path", with the below icon :

I said the "Shape" tool was a bit tricky but once you master it, well it rocks :)

As you can see additional editing options are available with "Ctrl", "Shift", "Alt" or "Option" key. For instance in the screenshot below, we can see the top of the letter "1" :
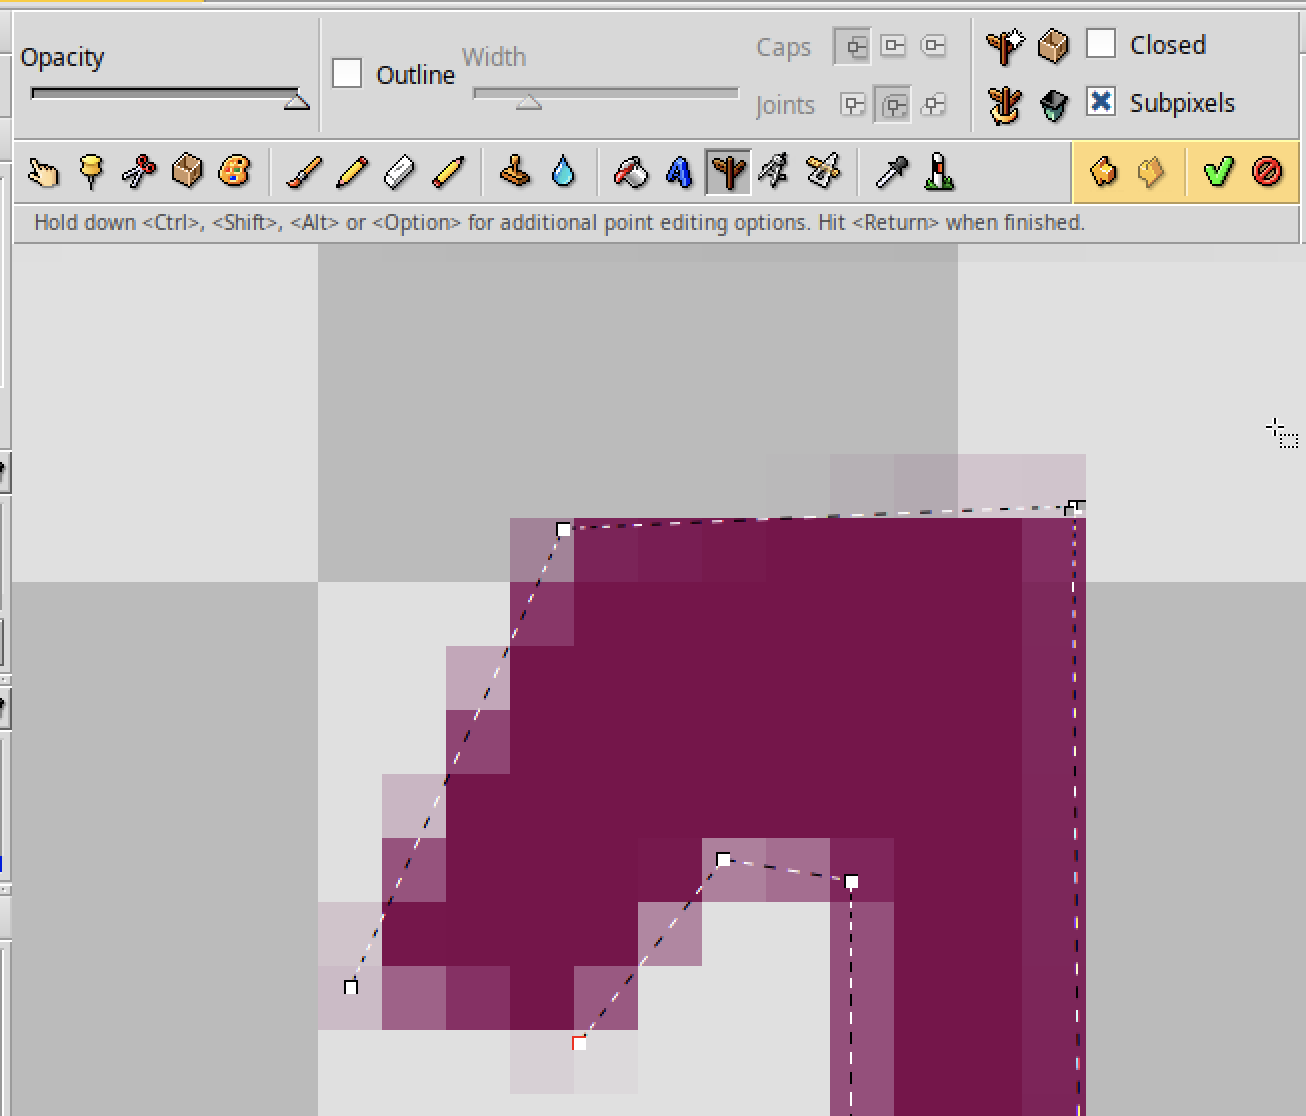
You can hit the "Option" key and click on the figure, then an additional control will appear :
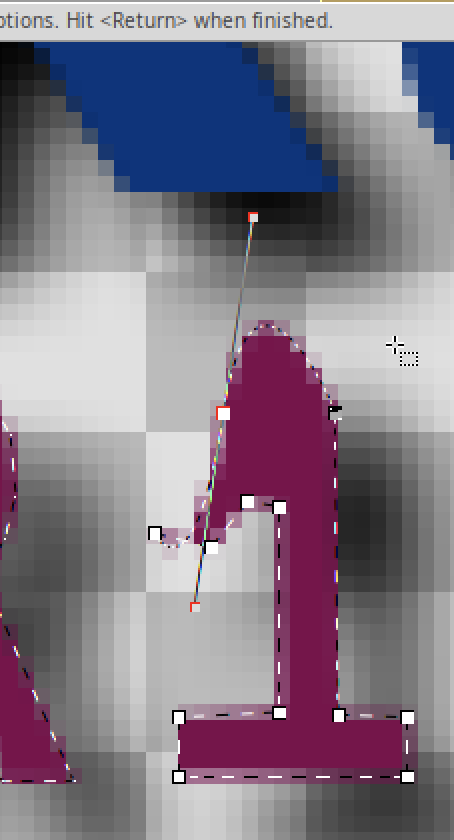
It will let you define a curve between two edges : great, no ?!
You can investigate the "Shape" tool by yourself, as you can see it can be powerful ! Next tool is the "Eclipse" one :
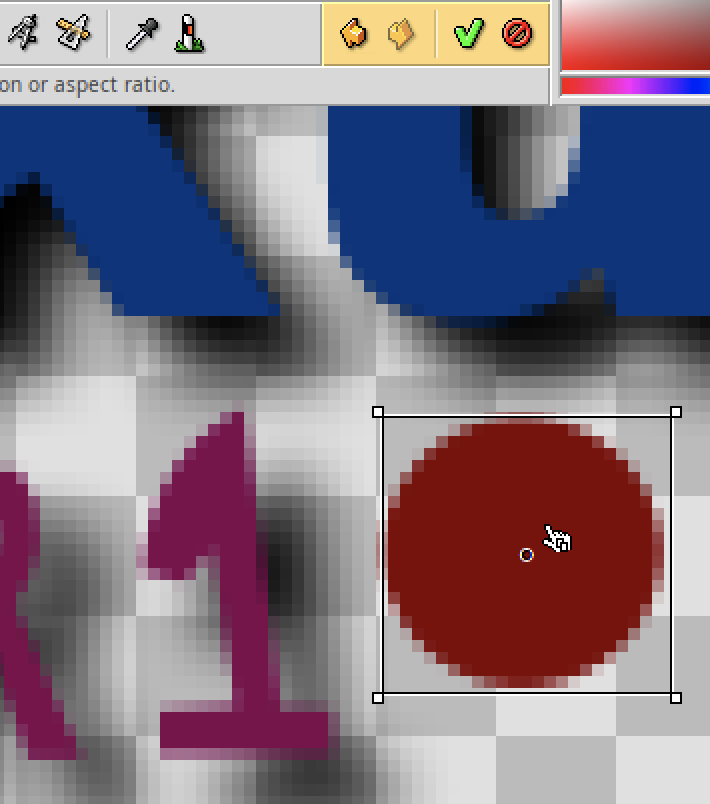
The icon is not really self explanatory, but the form created is :)
On the right, you also have the "Rectangle" tool :
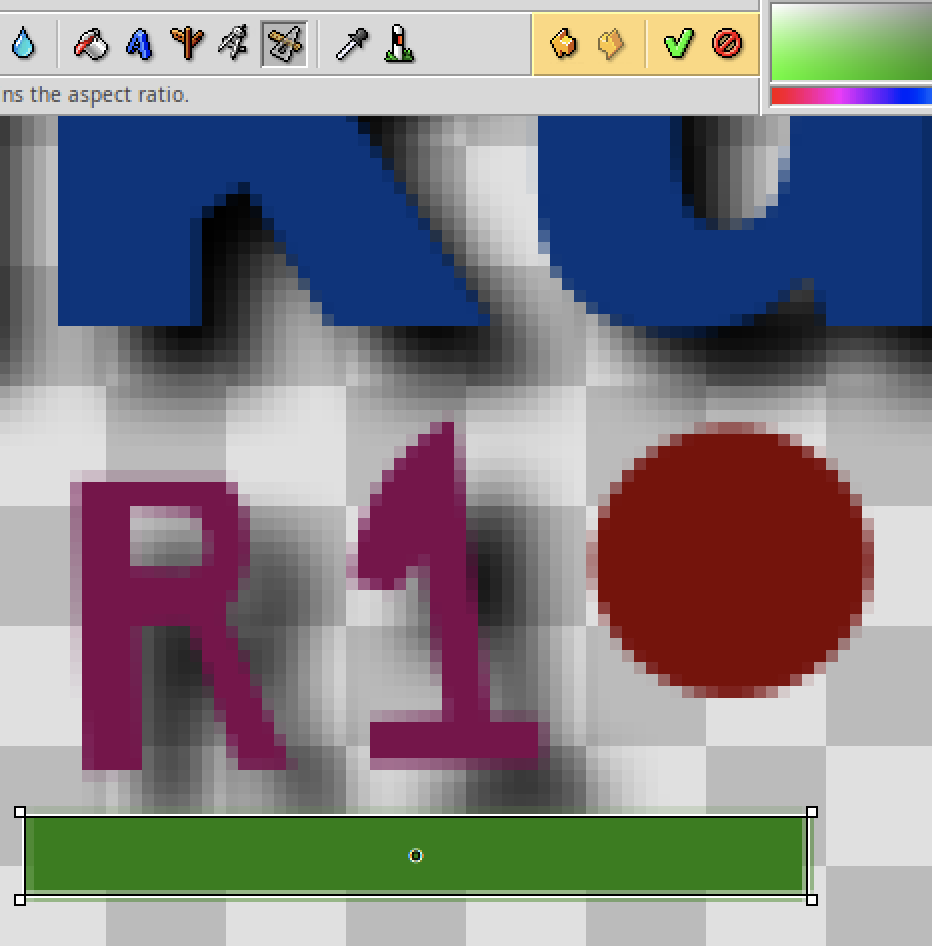
Nothing more to add :)
As many painting application, you call also use the "Dropper" tool :
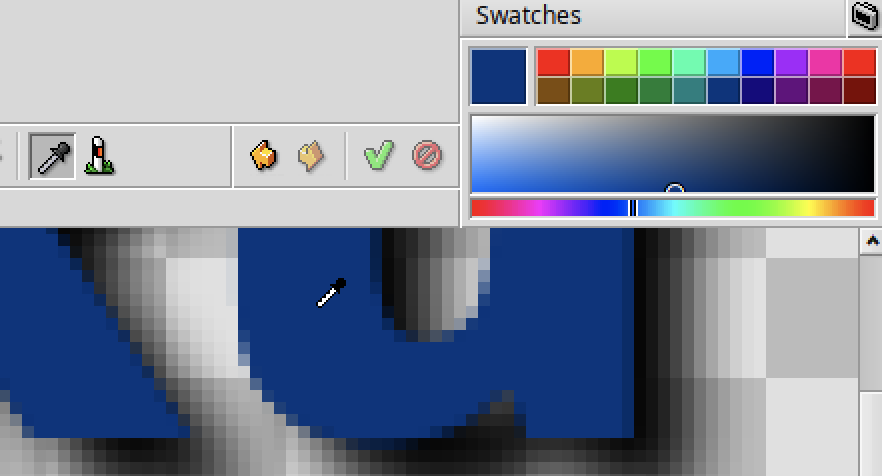
It will select automatically the corresponding color in the palette.
Please not that you can change directly an object color by doing a drag and drop from the palette into the object area in the corresponding colored square of your object :
The last tool is named "Guides".
It let you define a guide line which can be vertical, horizontal or with a specific angle :
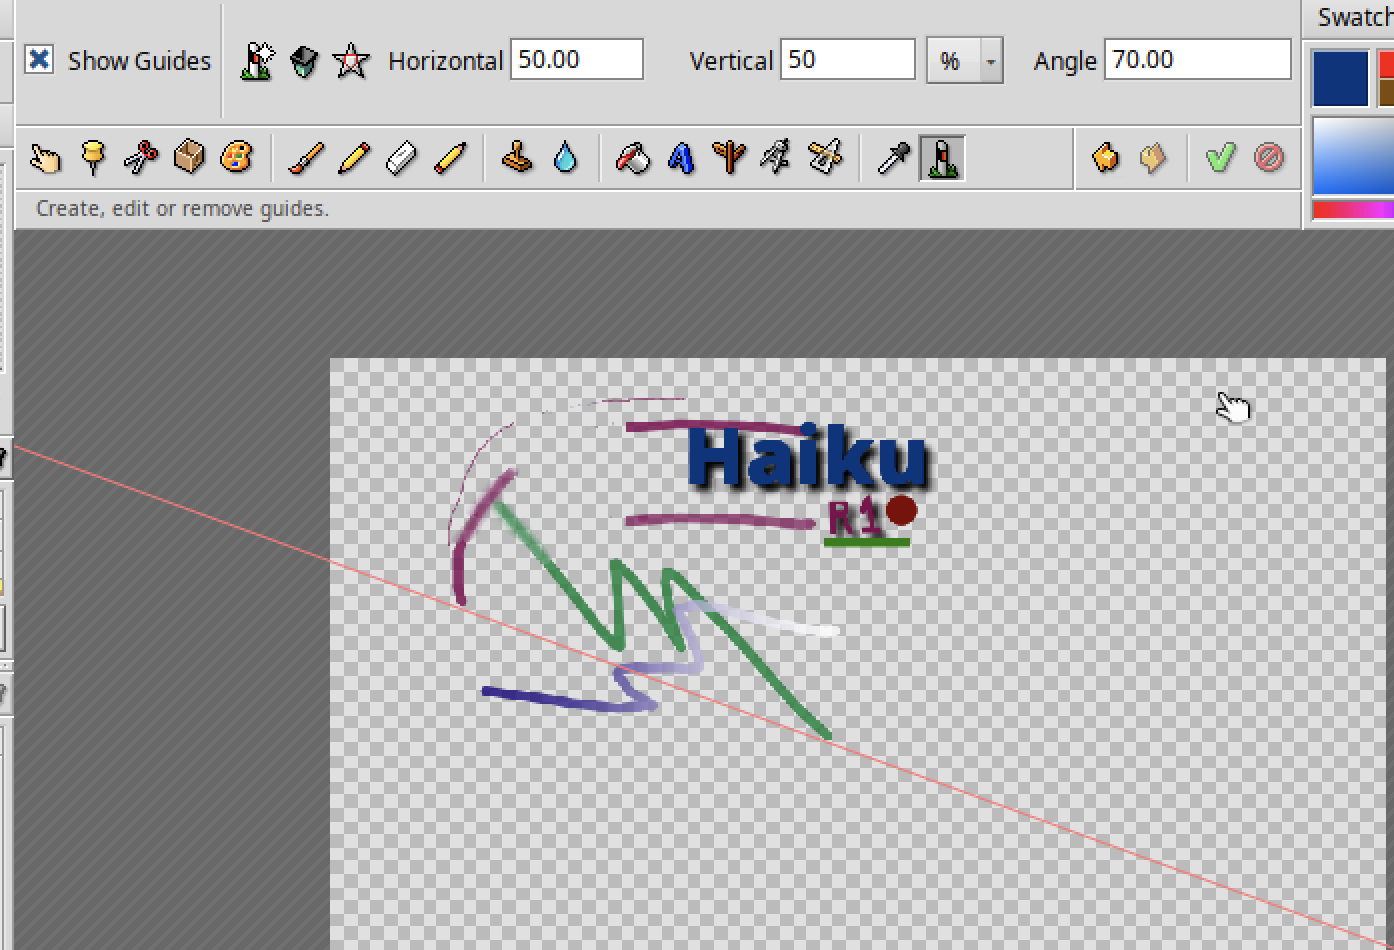
Above the guide line is having an angle of 70 degrees.
Once you're happy with your bitmap image, you can export it into the below formats :

In case you don't export it, or if you need to make modifications on a later stage, the best is to save it into the original WonderBrush format.
As said before, don't be mistaken by the "WebP" format displayed and greyed out when a canvas is saved : WonderBrush will save your file in its own format :)
Maybe a last feature to know is the "Show Pixel Grid" :

In case you need to do some very precise picture editing, this can help you a lot.
Do you use or do you plan to use WonderBrush under Haiku ?
You can put your opinion on that topic below.