
Create live USB stick
 DigitalBox
- System
- January 2, 2025
You might need sometimes to create a live USB stick with Haiku.
It can be useful - for instance - in case of backup and restore of your system.
Let's review how to proceed in this article.
In a former article named "Compile Haiku", we have learn how to compile Haiku and generate an iso image of the system.
You can start from this ISO image or get the latest Haiku ISO from the official website.
Quick solution
The quickest way to create a live Haiku USB stick is to use the "dd" command.
Be careful before using this command - in case you're not familiar with it, you can go into the "Standard solution" paragraph just after.
Insert your USB stick on your machine.
Then open DriveSetup application and identify the device path as below :
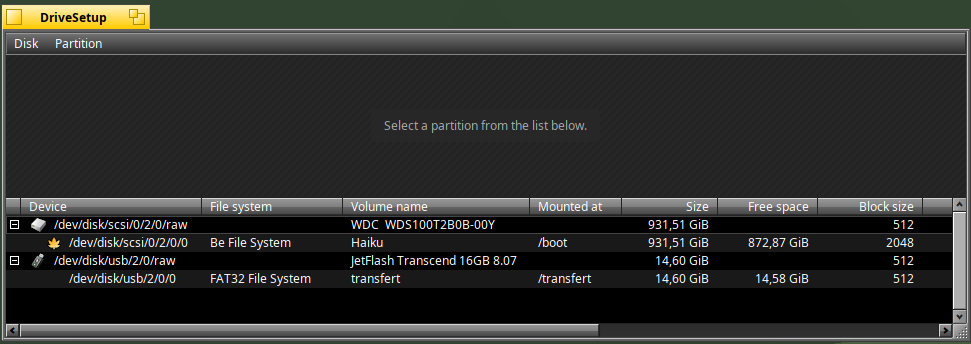
In my case, it's "/dev/disk/usb/2/0/raw" corresponding to the 16Gb USB stick.
Now open a Terminal and type the below :
dd if=/boot/home/Downloads/haiku-r1beta5-x86_64-anyboot.iso of=/dev/disk/usb/2/0/raw bs=1M
The first parameter is corresponding to the path of your live ISO image file and the second one is the location of your USB stick device.
You need to wait a few minutes until the completion of the "dd" utility :

Ok let's verify in DriveSetup the result :
Ok the image has been written to the USB stick ! Reboot your system. If everything is fine, Haiku will start from the live USB stick :
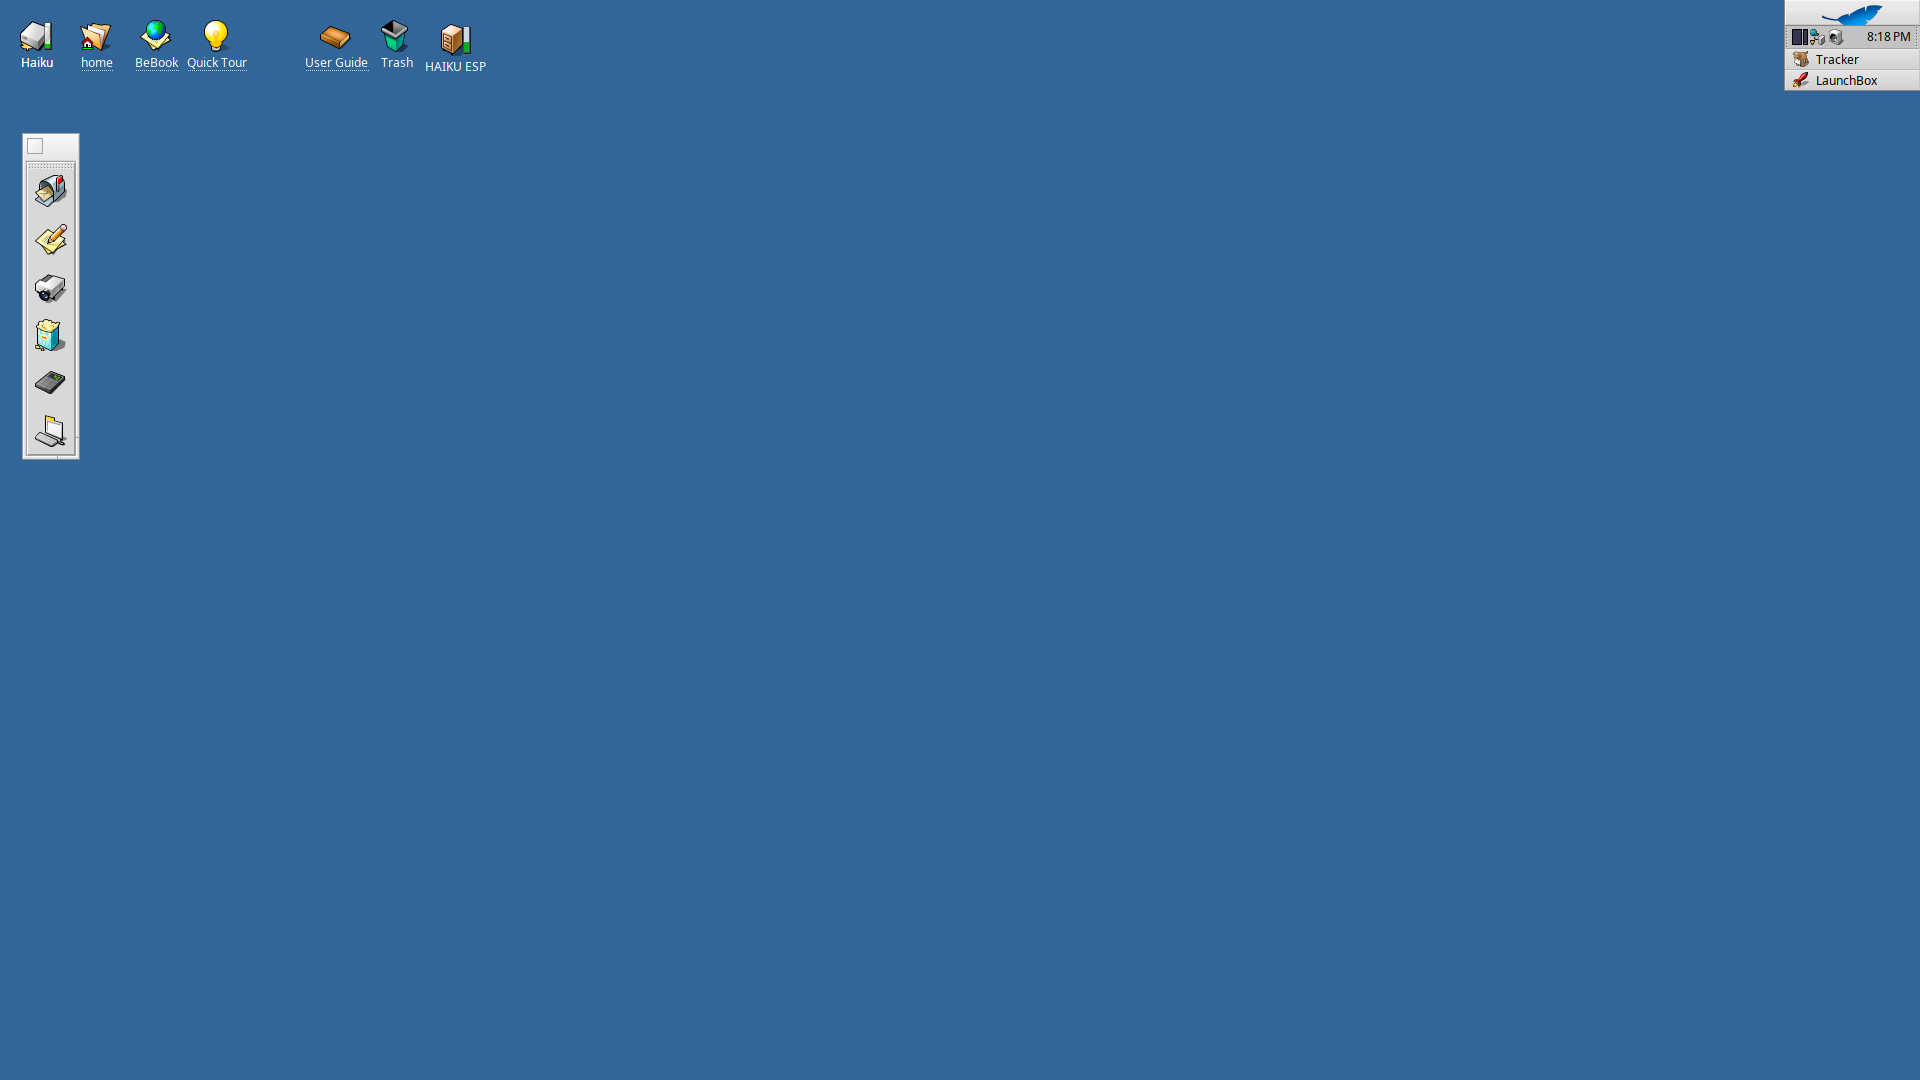
As you can see there's a waste of space as the remaining 13 Gb of the stick will not be used by the live system.
Standard solution
Now, what about creating a live USB stick where the system will use all the space available ?
Follow the below steps to proceed. Insert a USB stick.
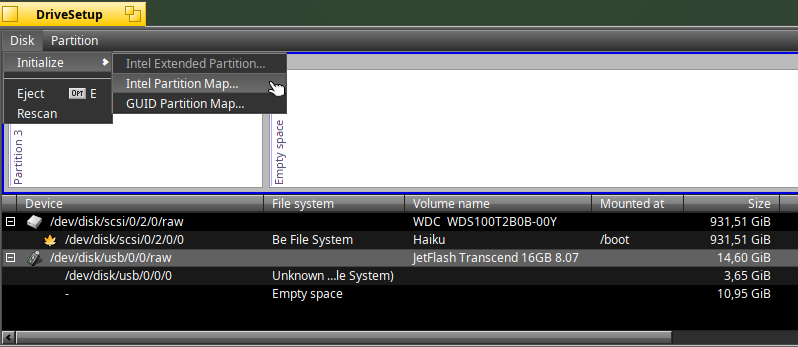
Open DriveSetup and select the entry corresponding to the USB stick, then select "Initialize>Intel Partition Map":
Once completed you will see the below confirmation :

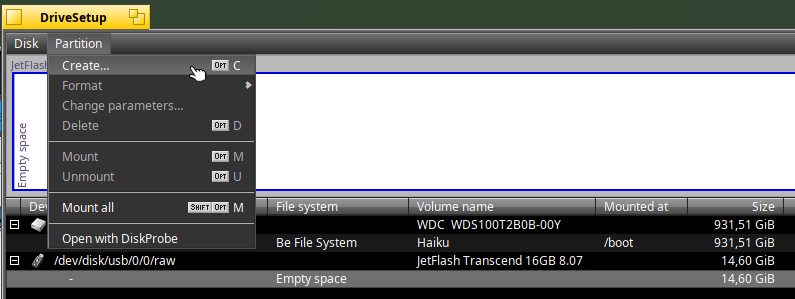
Now select the empty space just below the stick and click on "Partition>Create" :
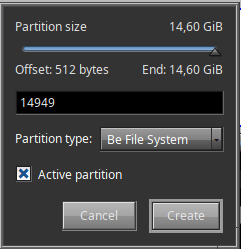
Select the size of your partition and confirm :
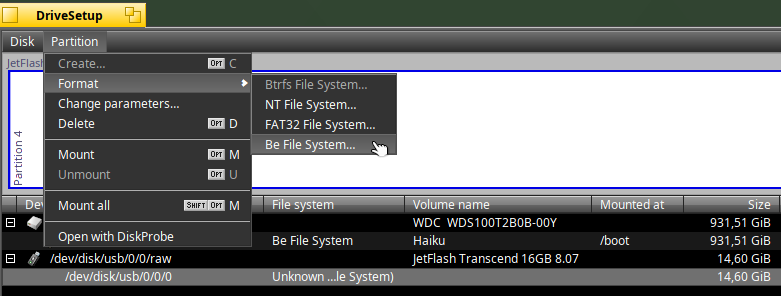
Once done, select "Format> Be File System" on that partition :
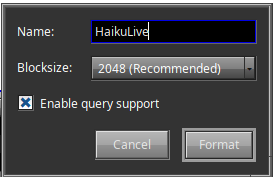
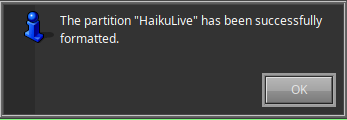
Indicate a name, like "HaikuLive" and confirm :
The message below will appear once done :
Ok now let's make the live ISO file -previously downloaded or created- recognized under Haiku.
For that use the "diskimage" command followed by the location of the ISO file :
diskimage register /boot/home/Downloads/haiku-r1beta5-x86_64-anyboot.iso
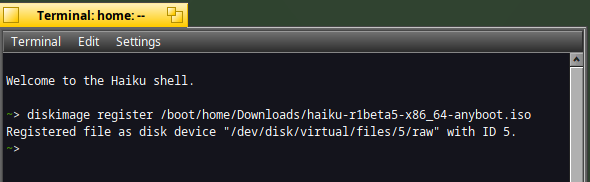
You can now mount this image :
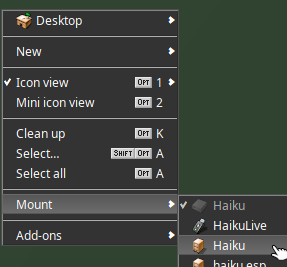
It should appear on the desktop as below :

Now launch the Installer application. Select "Install from" with the Haiku live image entry (1.37 Gb) :

In the "Onto", indicate the HaikuLive partition created just before on the USB stick:
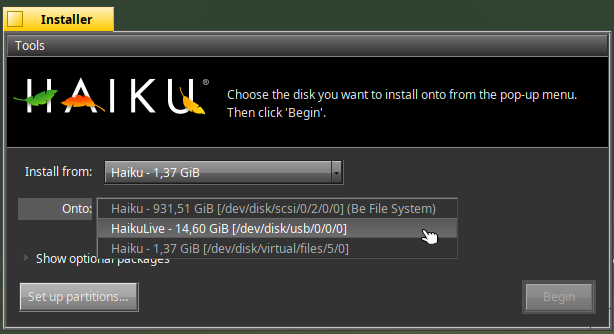
Confirm with Begin.

Wait until completion :

Please note that the boot sector on the USB stick has been written as indicated in the message.
Restart your system.
Tada !
You are now on Haiku from the newly USB stick created :
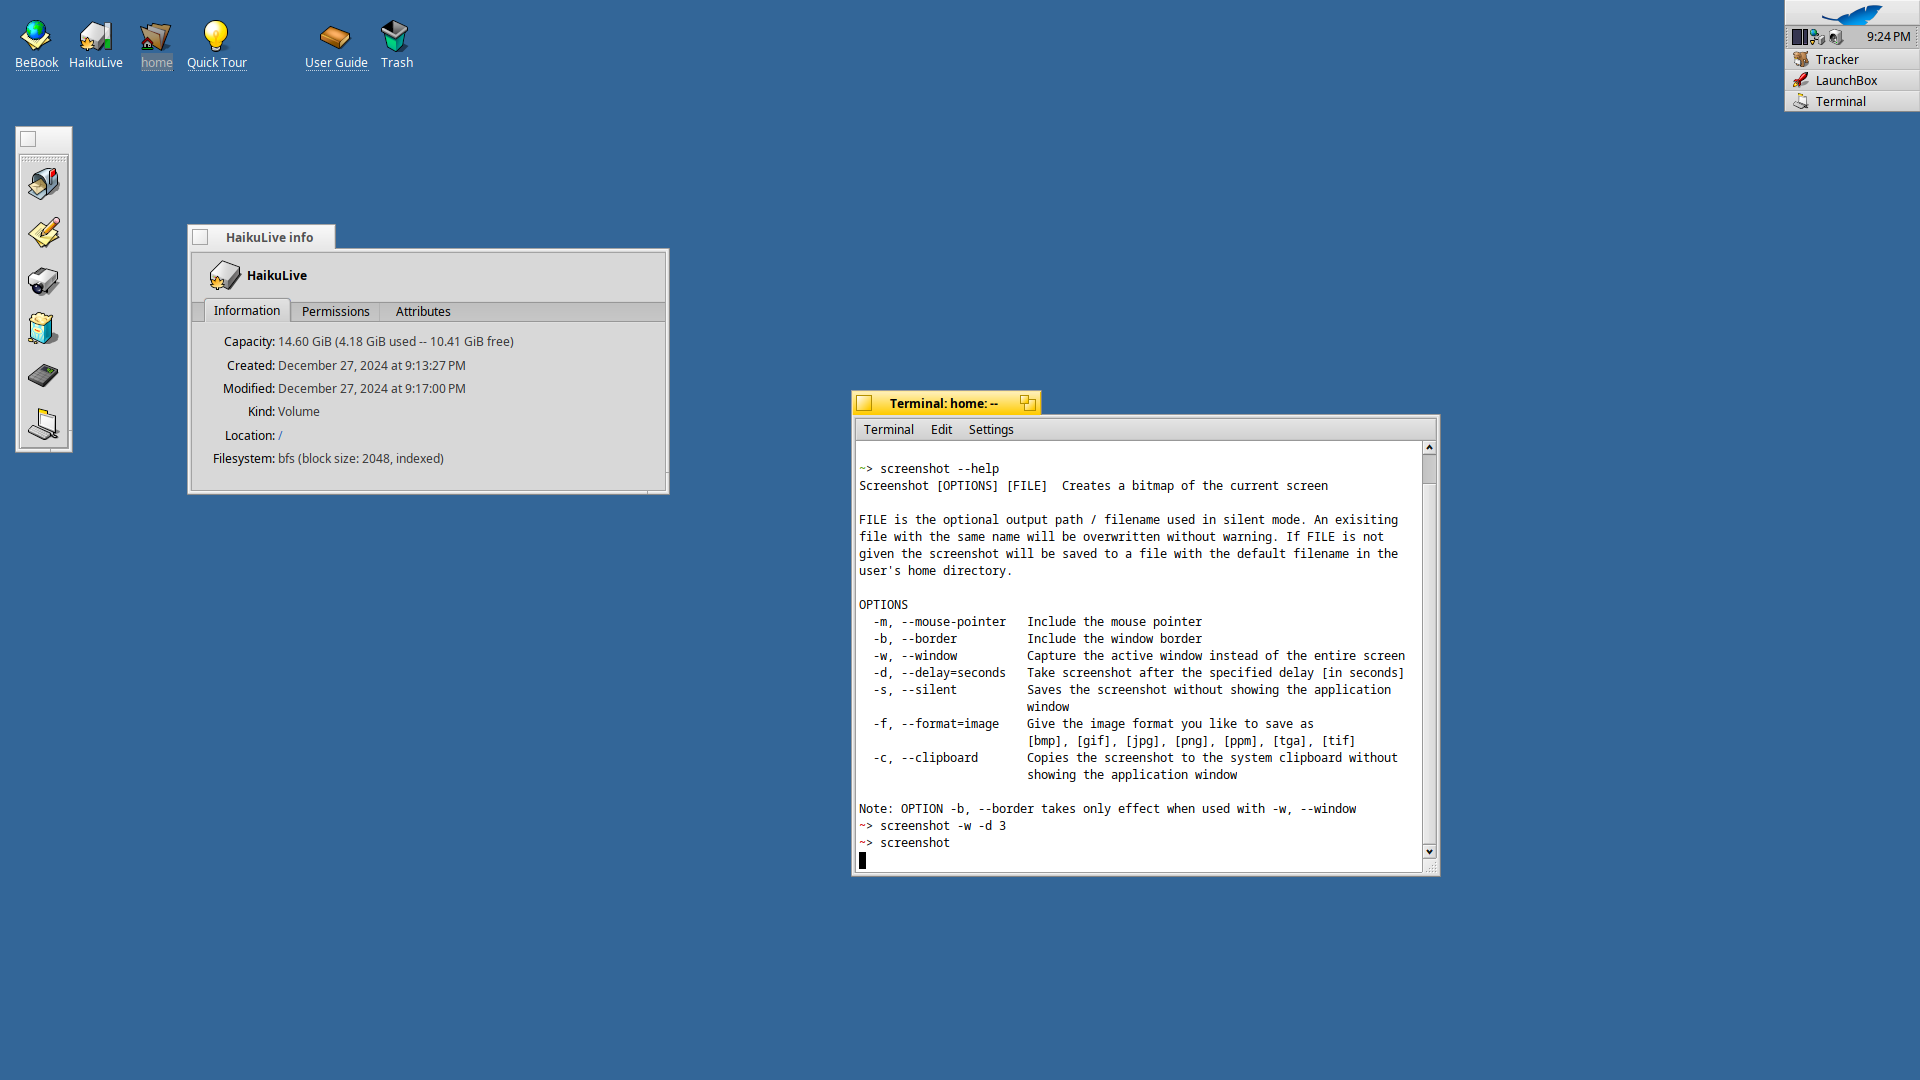
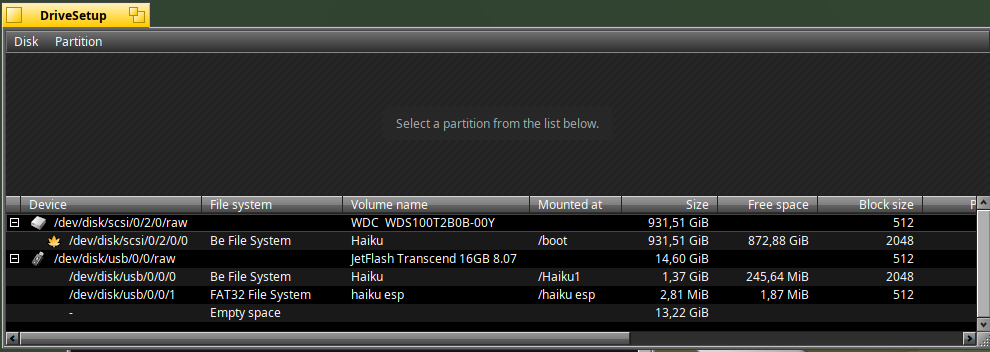
If you check now the information on the Haiku volume, it uses all the space from the USB stick :
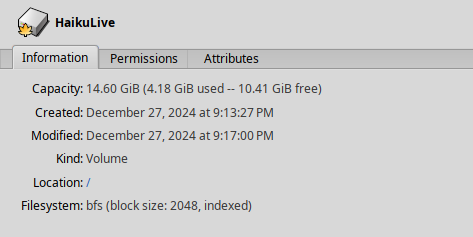
Keep this USB stick somewhere, as it can be useful to test Haiku on other machines, or for further tasks like system backup/restore :)
Please note in case of the standard method explained just above, the FAT32 partition for the EFI boot will not be there compared to the initial ISO downloaded on the Haiku website :

In case you need such kind of boot, you will have to create this kind of FAT32 partition before using the standard method.