
Develop with QtCreator
 DigitalBox
- Dev
- November 26, 2024
Qt Creator is not the best IDE if you would like to make some programs for Haiku or to compile existing code on Haiku, as the reference native application for that is Genio today.
However in this article, we will review the main features of this tool and how to use it under Haiku.
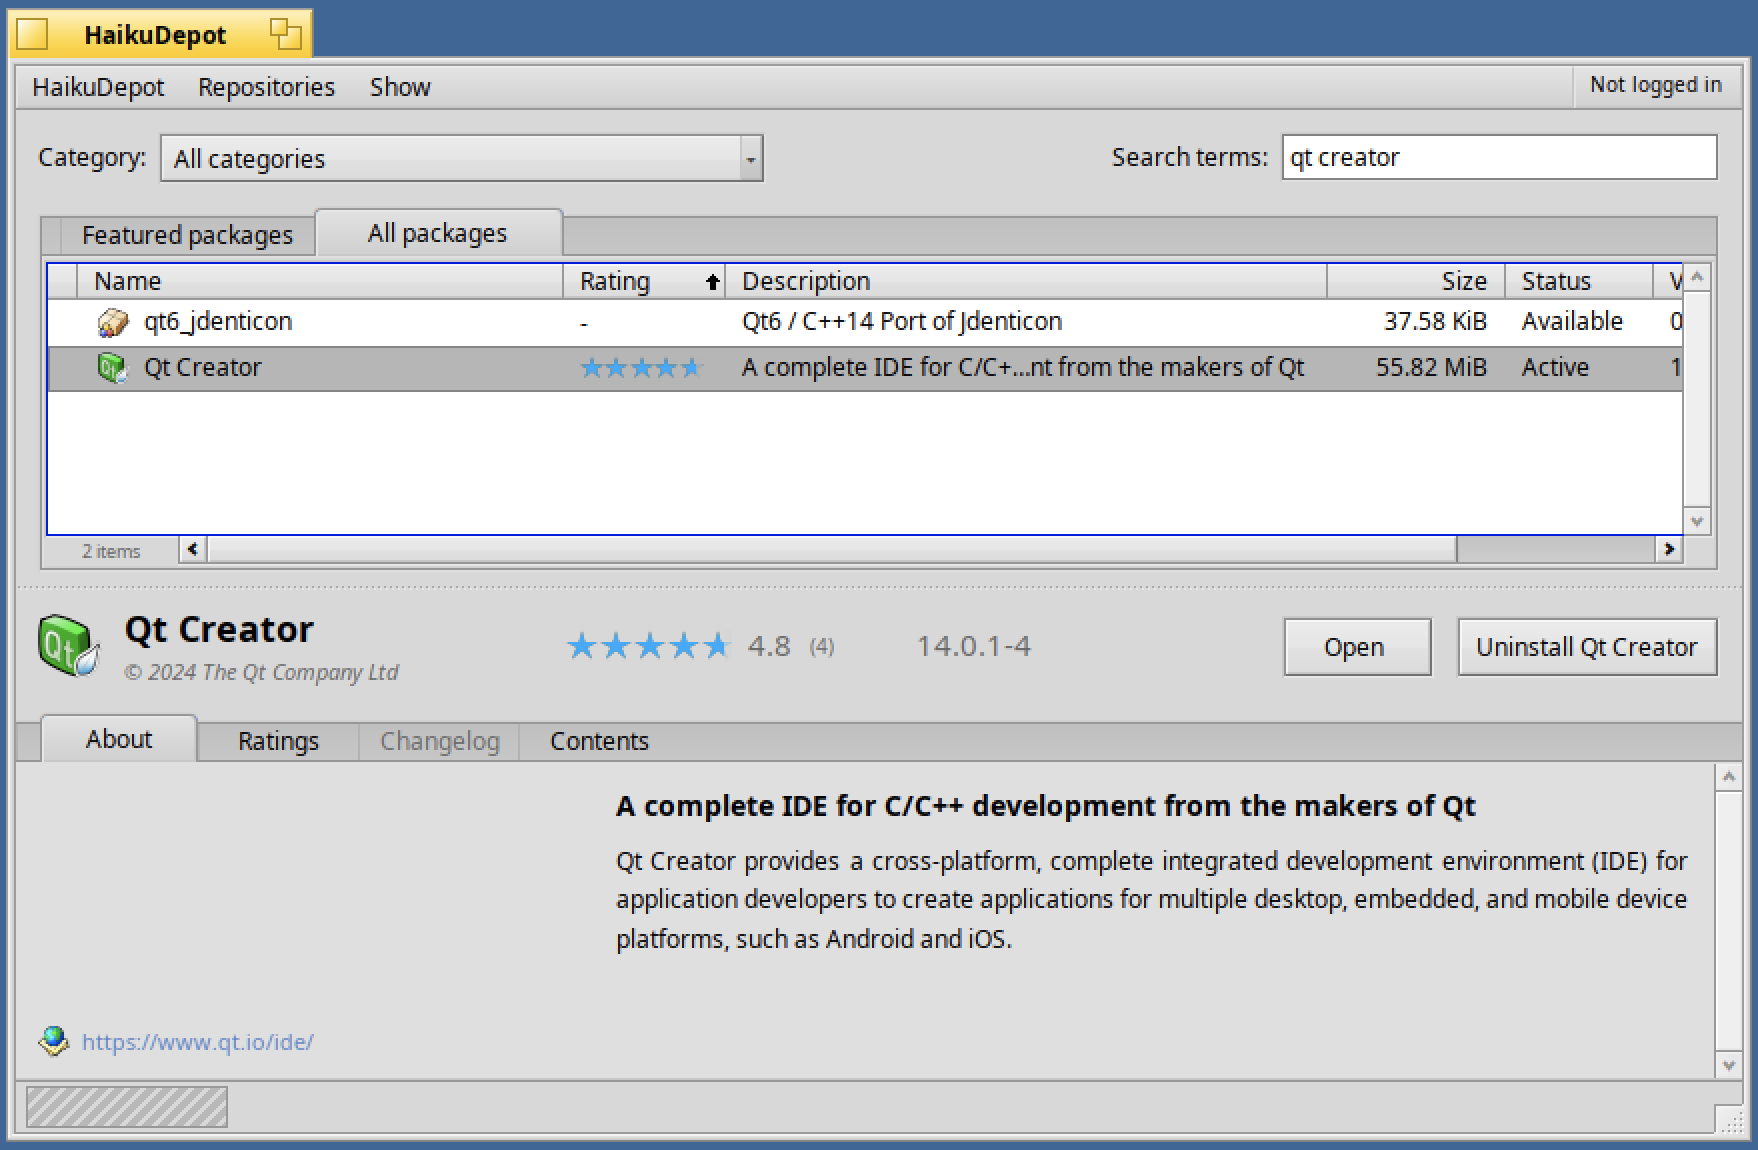
In order to install Qt Creator, go into HaikuDepot and in the "All packages" tab, search for "qt creator" :
Once installed, Qt Creator will be available in the DeskBar menu under the Qt folder :
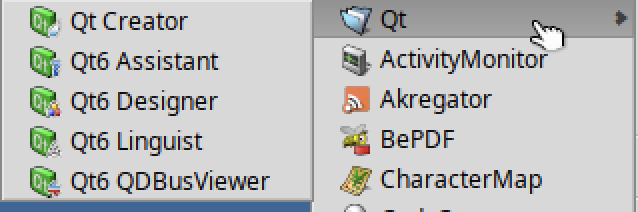
Several applications are installed including Qt Creator. Launch the application. The below window is displayed :

The first time you launch Qt Creator, if you click on "Take UI Tour", the below tutorial will be launched :
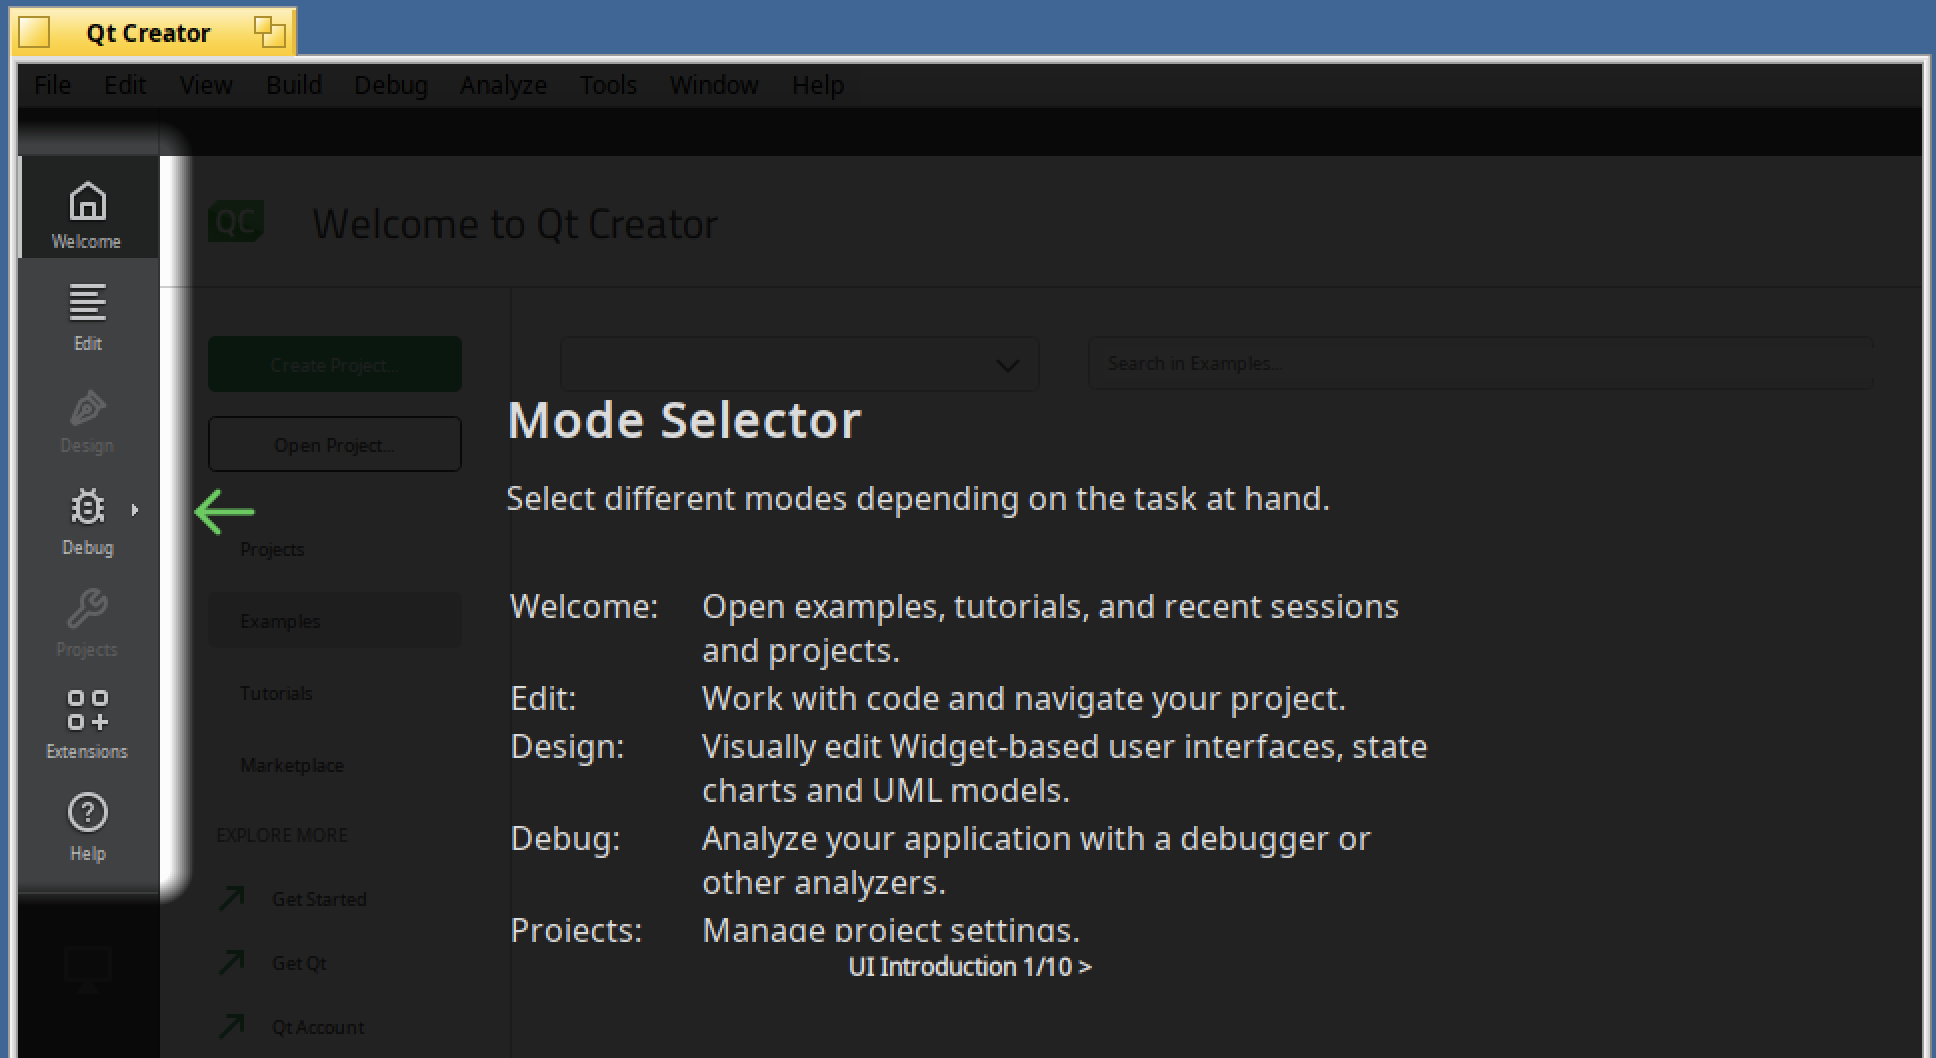
To launch an application, the "Run" icon must be used :

But before you need to select the "Build" icon :
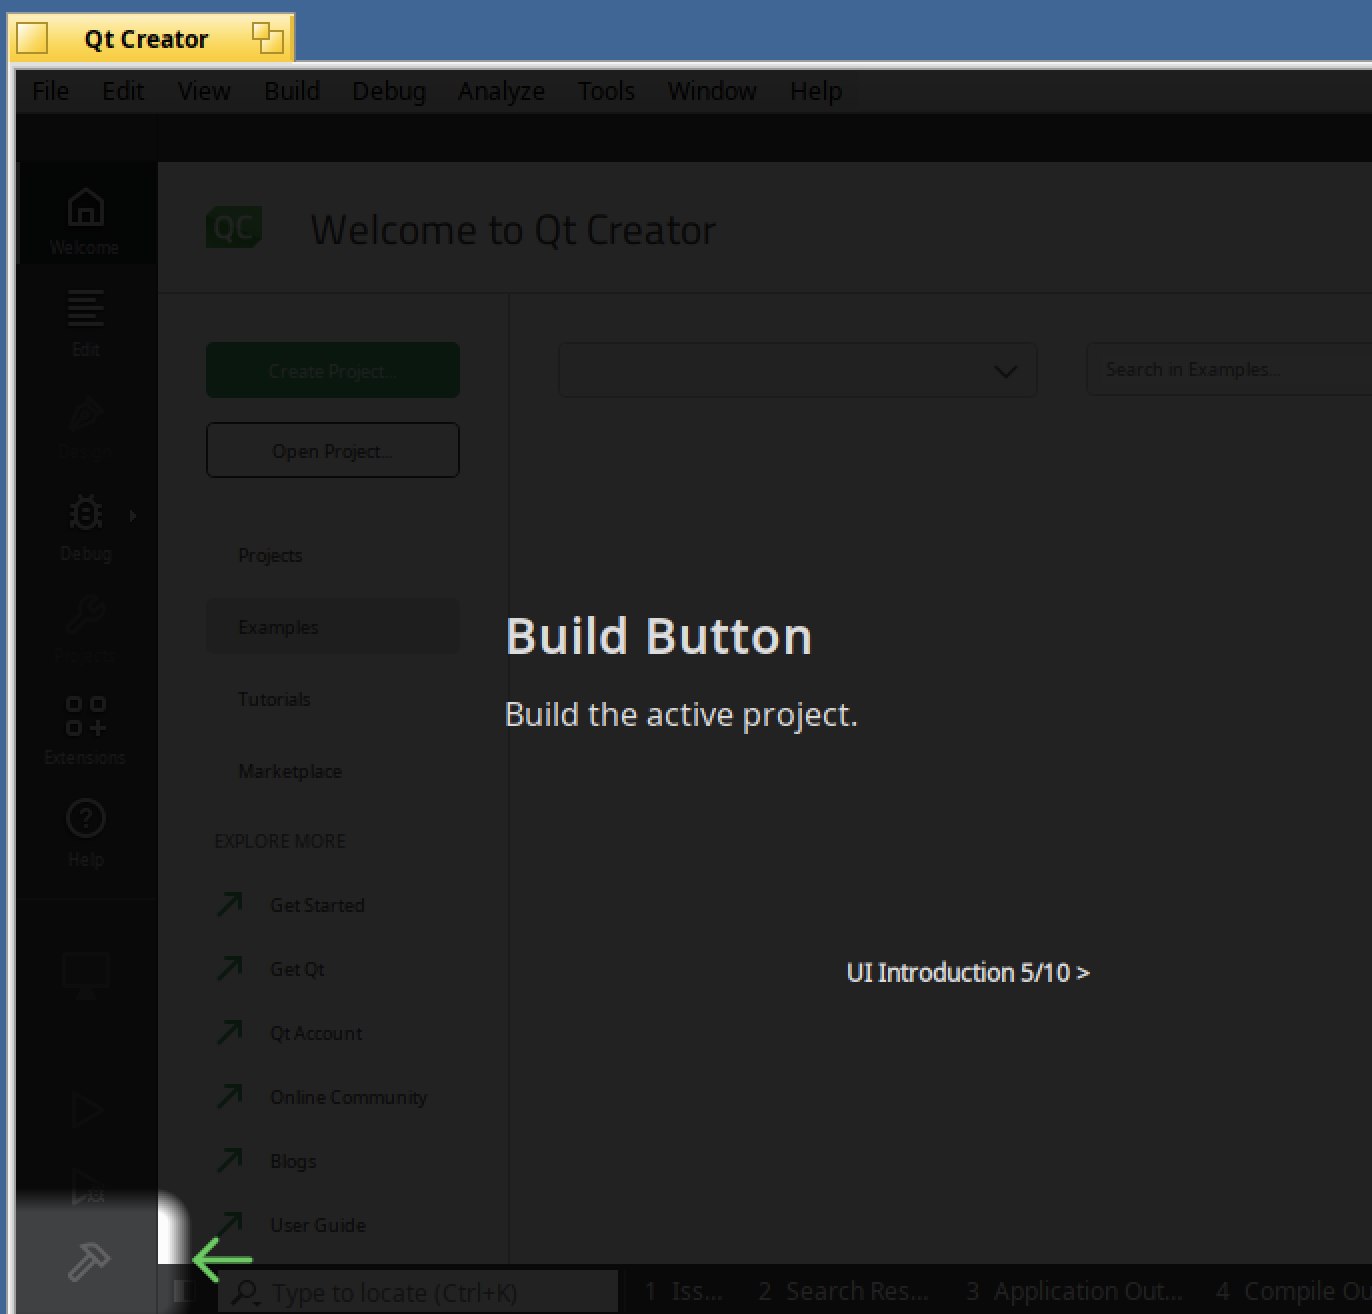
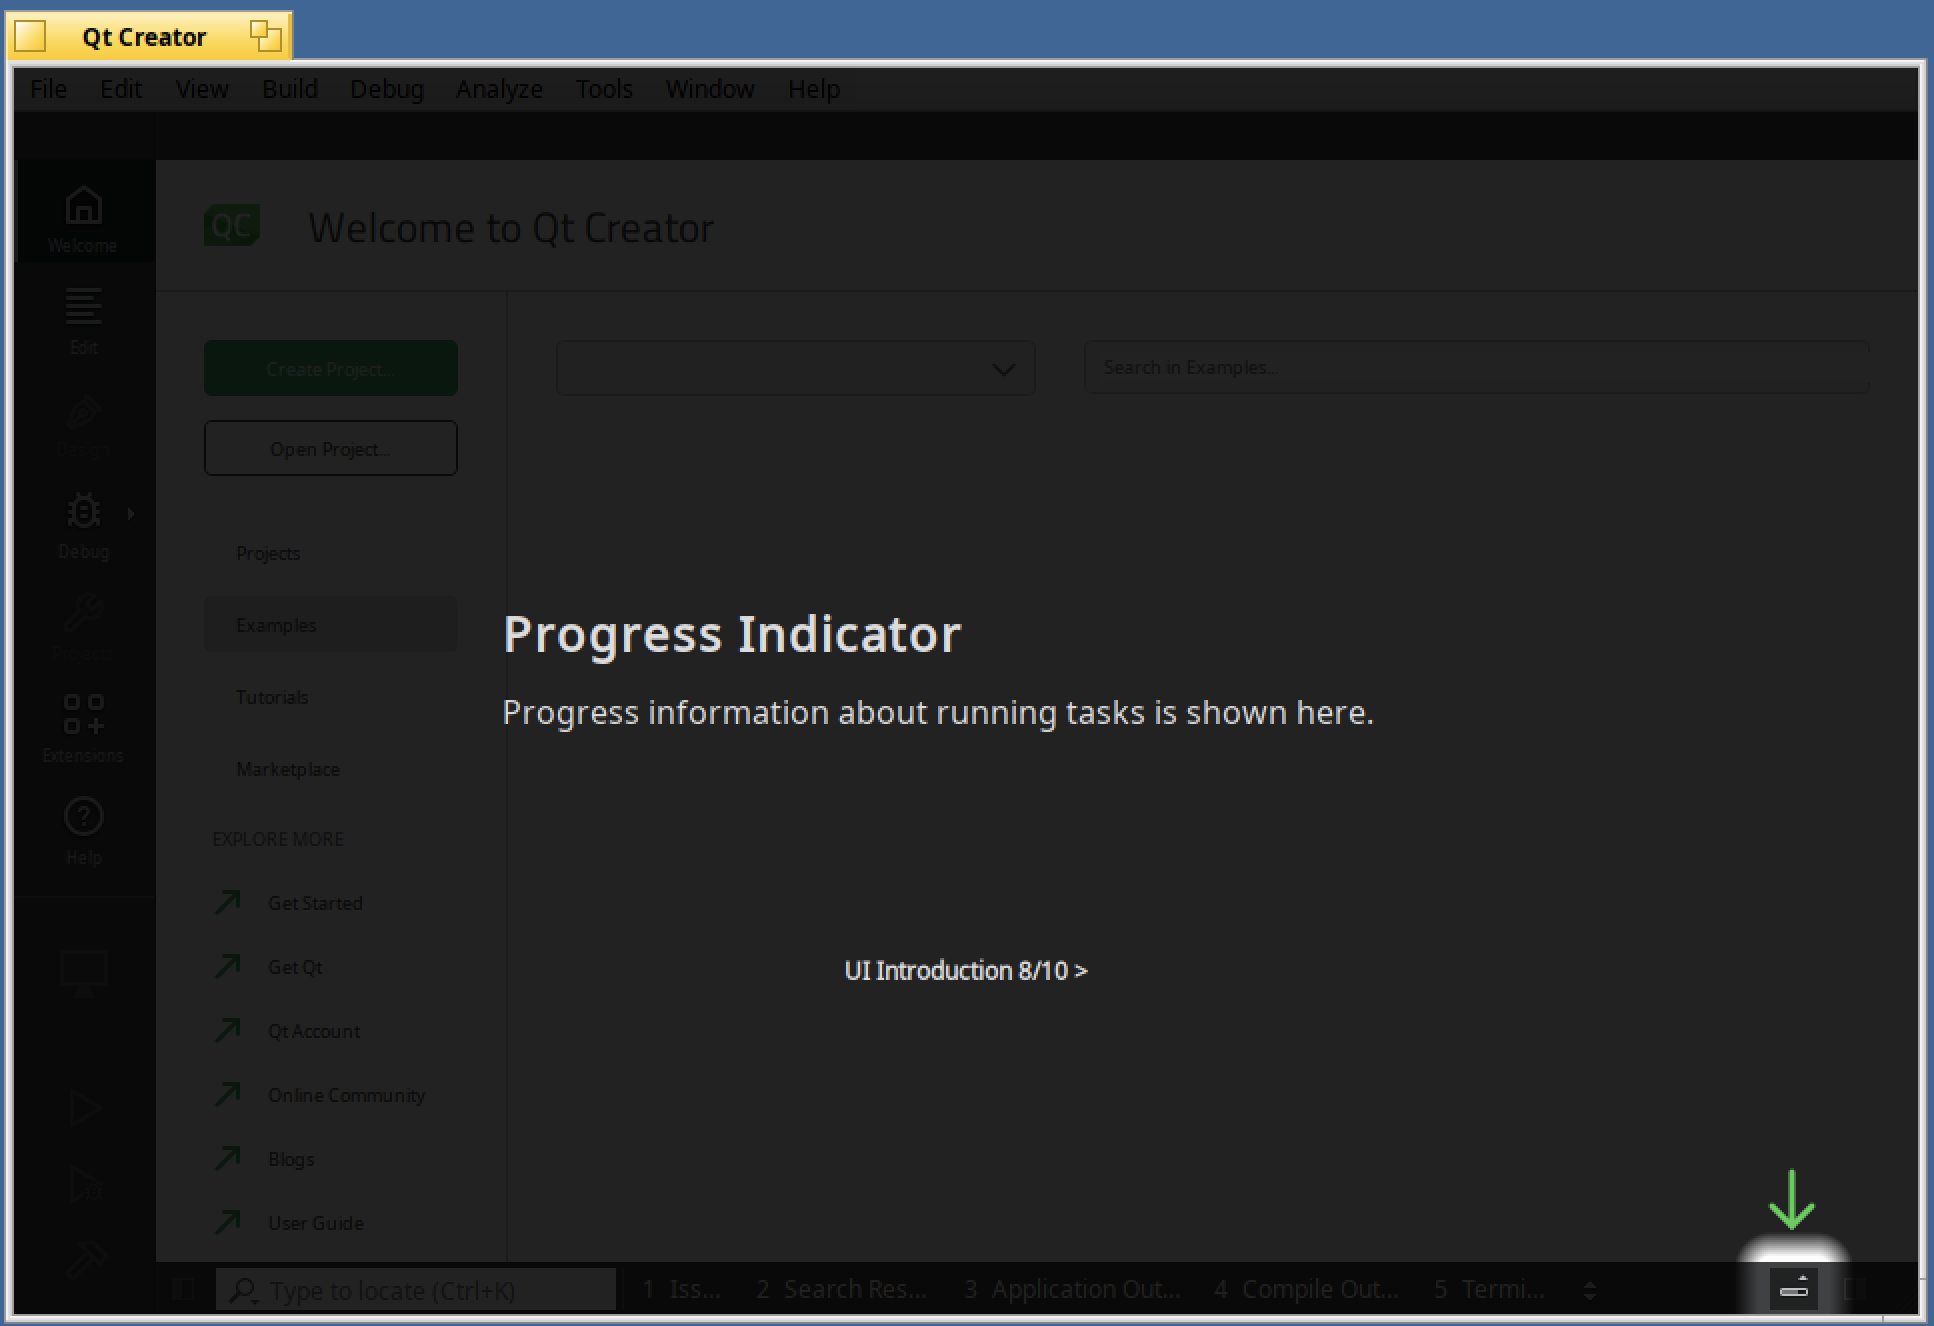
In case of build or other tasks, the progress indicator will be used :
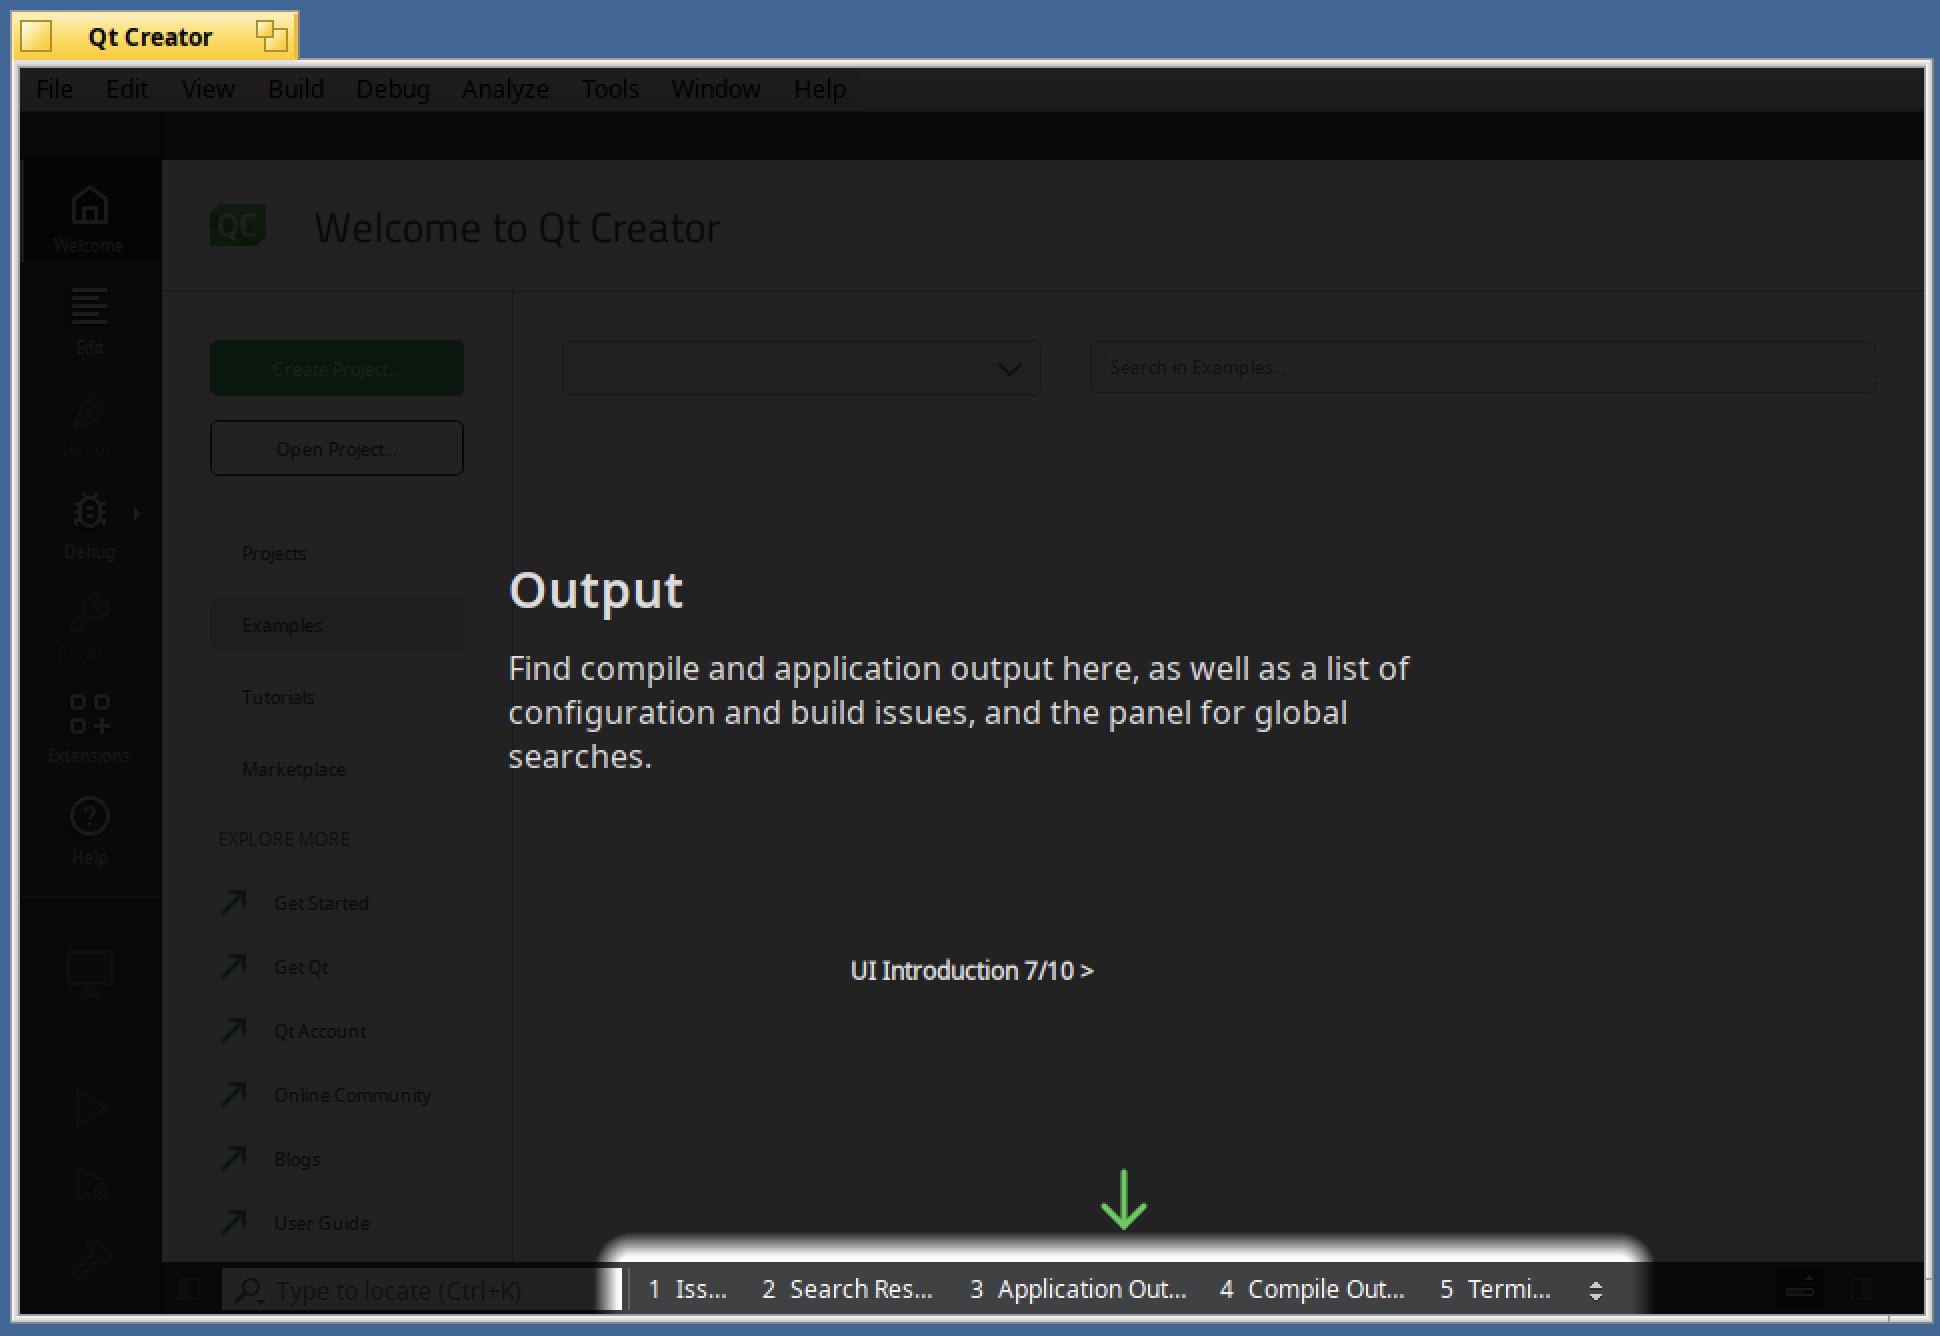
The Application Output is used to provide compile information or application output :
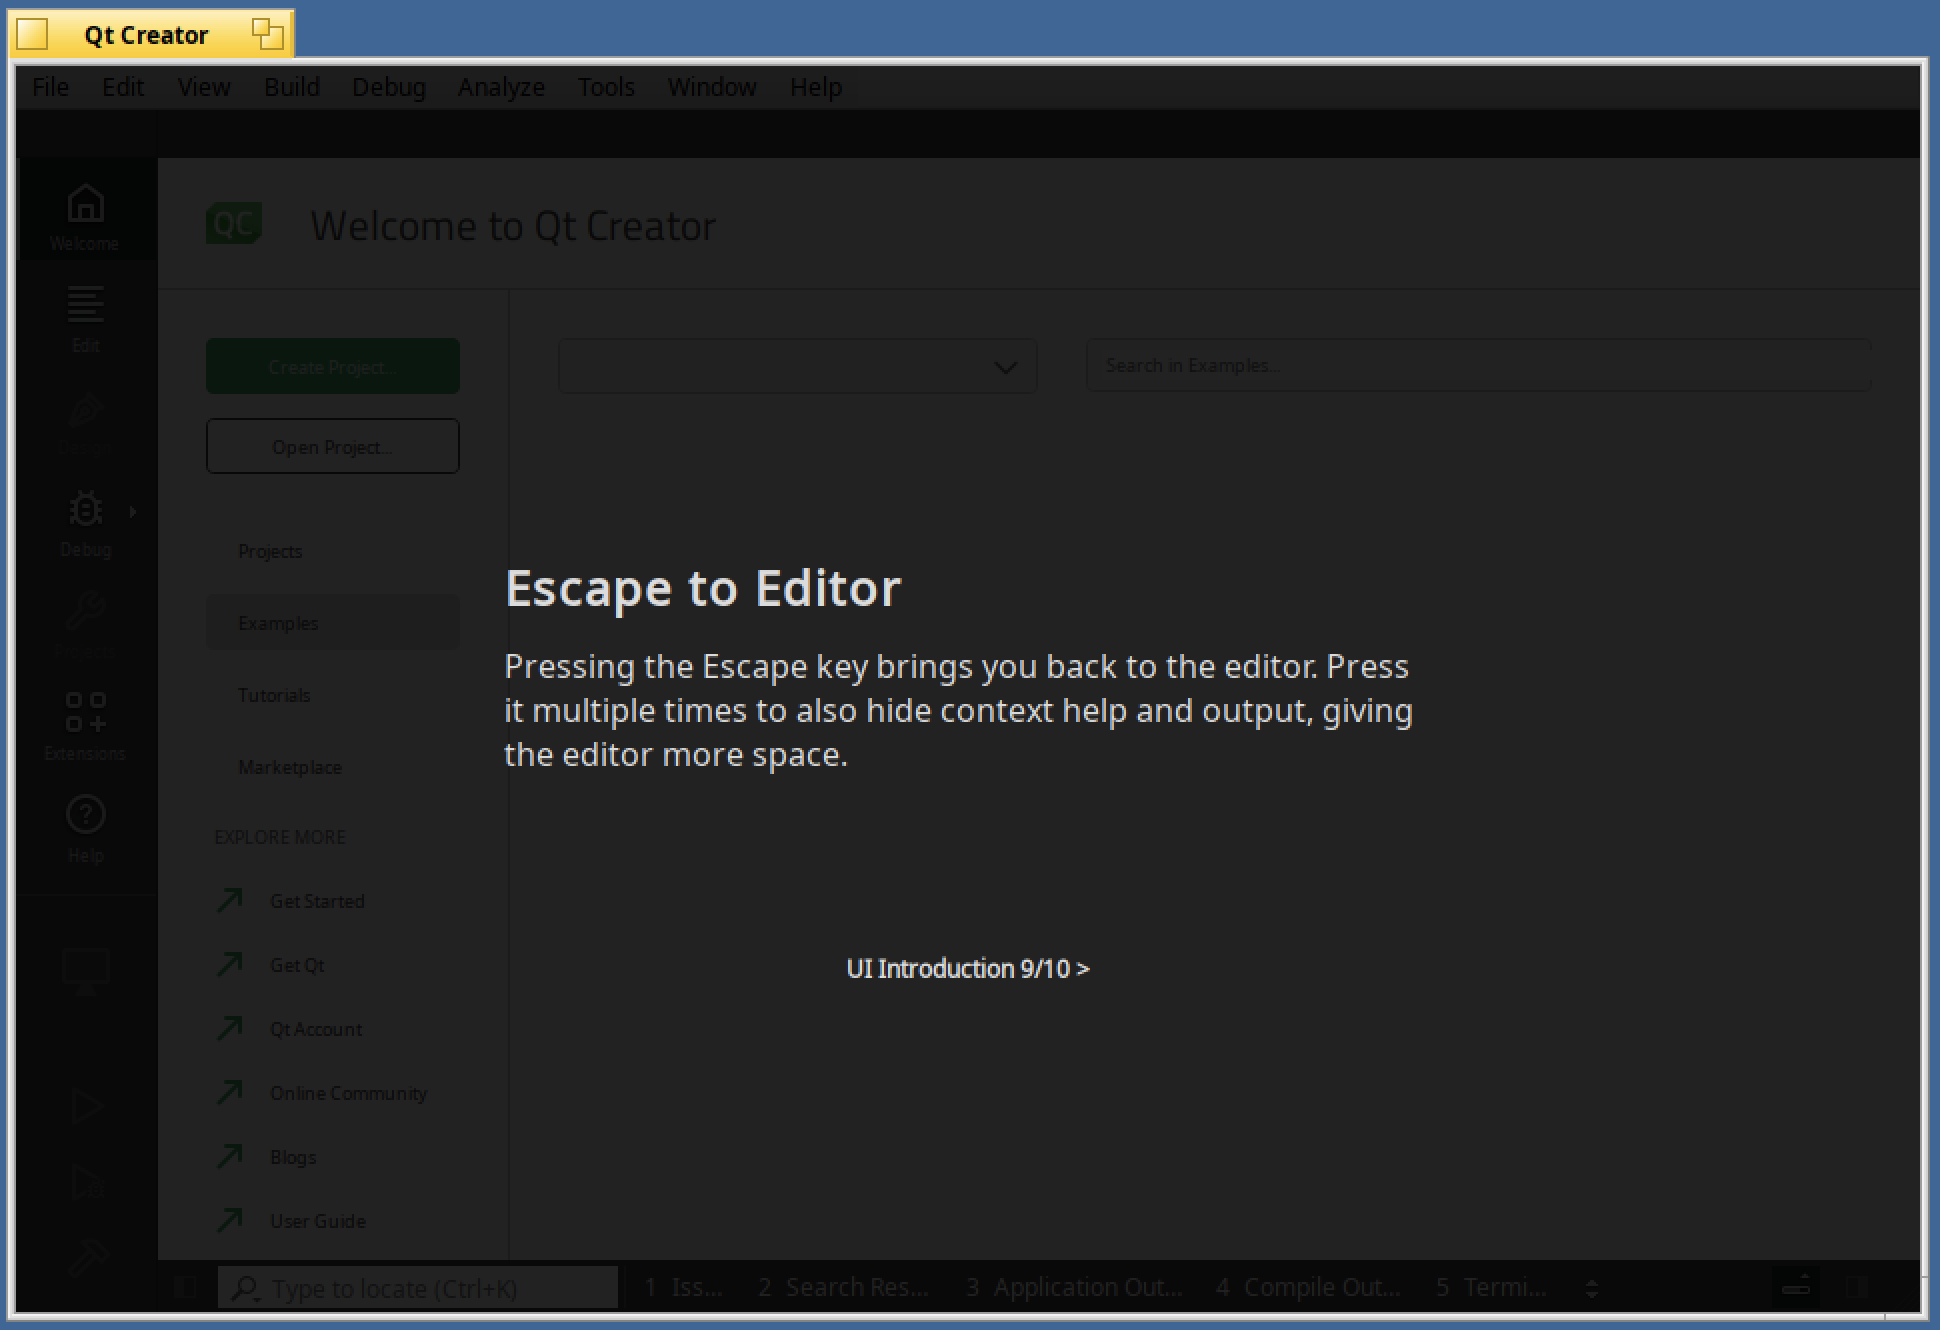
And "Esc" key is used to go back to the editor :
Great ! Now check that "qt6_base" is installed on your system :
pkgman search -a | grep qt6_base

If it's not the case, install qt6 :
pkgman install qt6_base
pkgman install qt6_base_devel
First Qt Application
In Qt Creator select "File>New Project" :

We will create our first Qt Widget application. Select Application (Qt)>Qt Widgets Application :

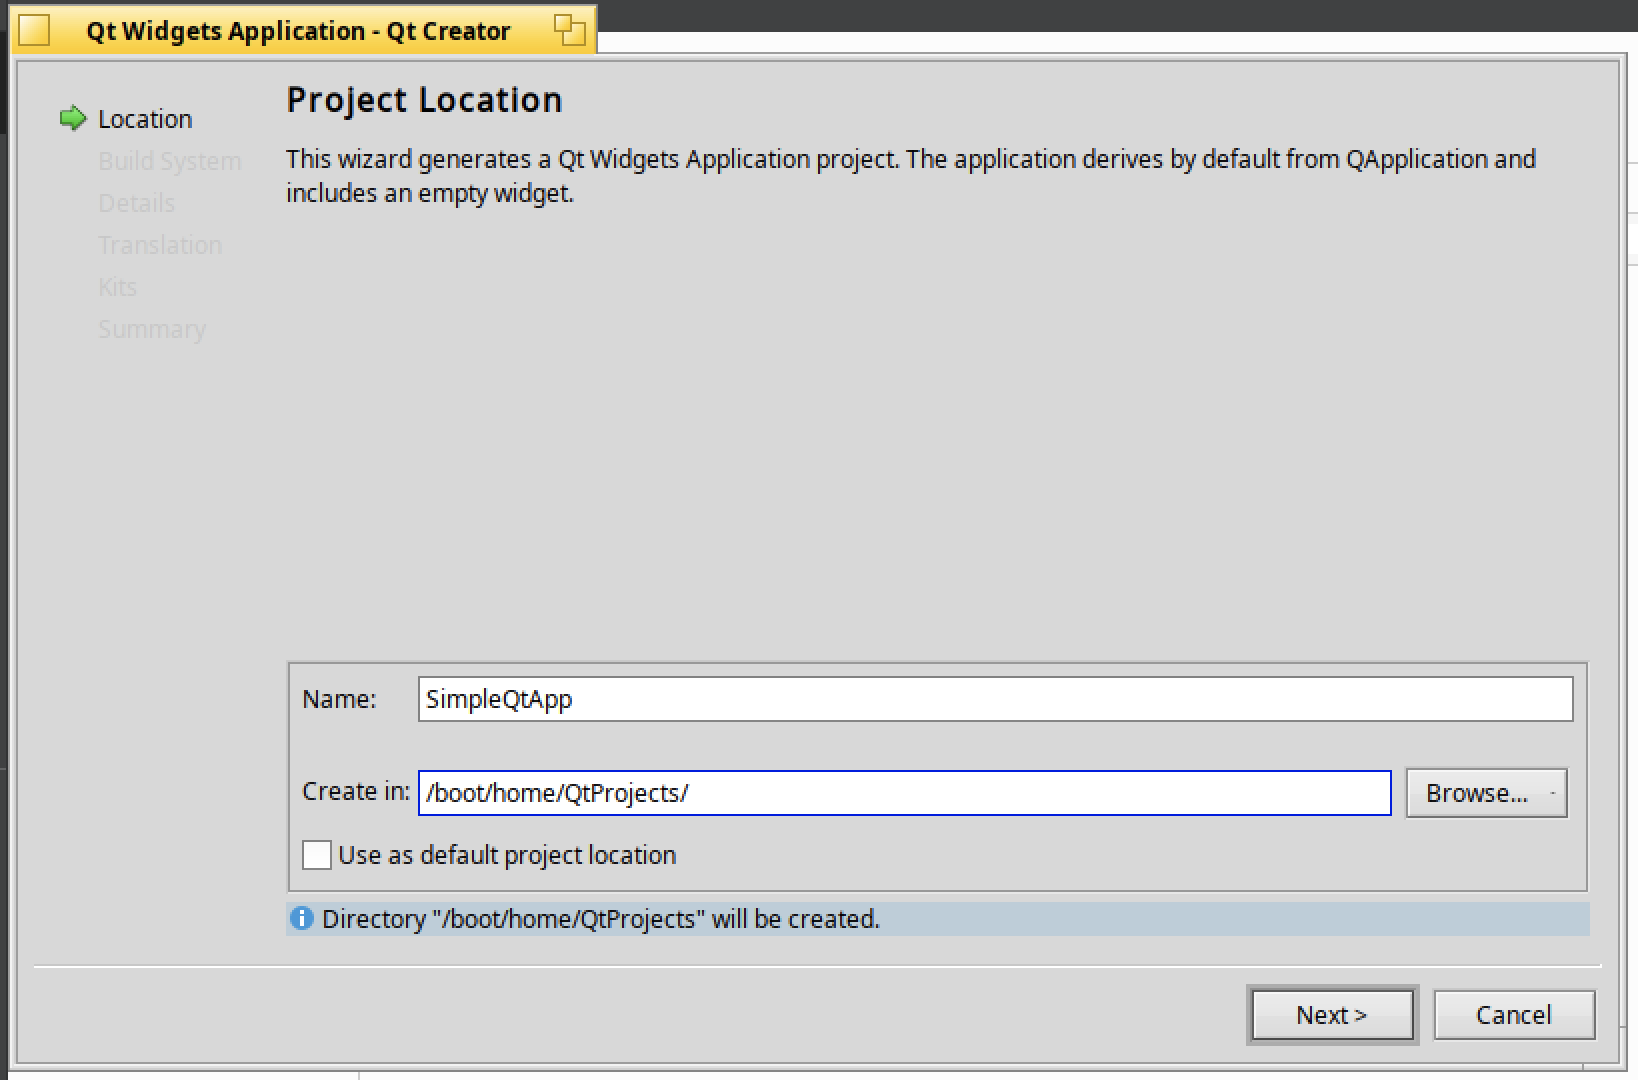
Select the project name and folder location :
Select "qmake" as the build system :

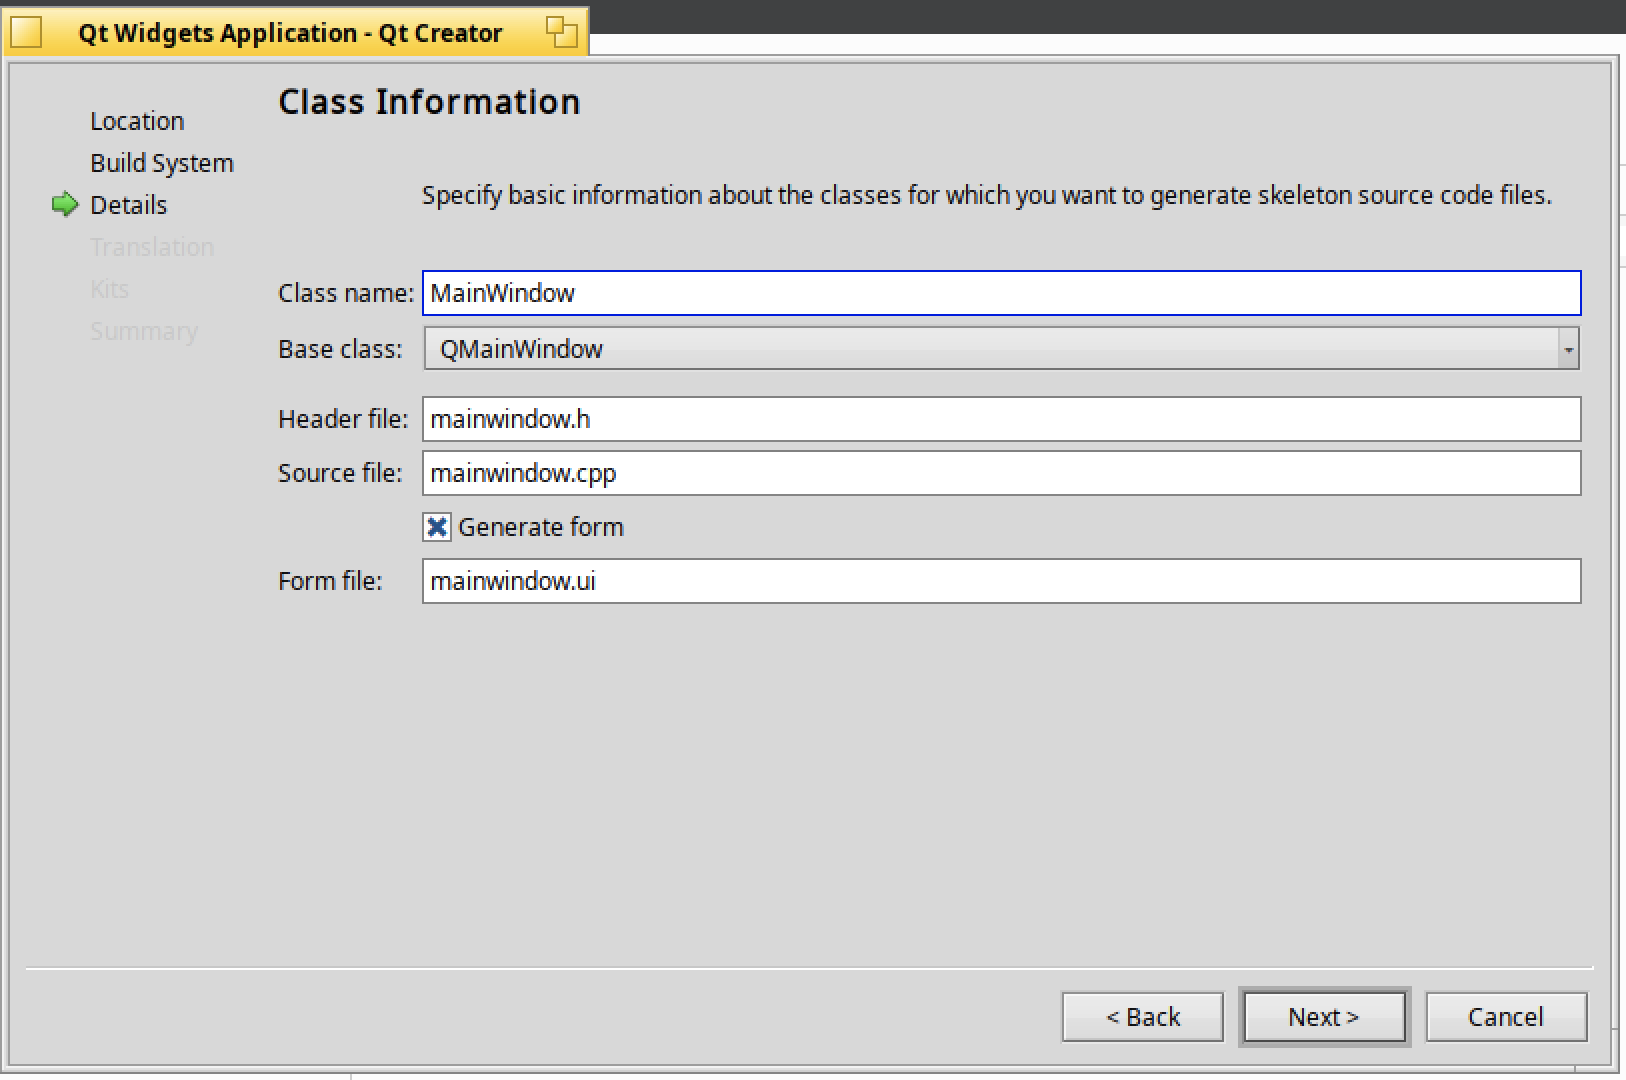
Keep the default class information and select "Next" :
No translation file is needed, continue to the next step :

Now we need to define a kit because the message "No suitable kits found" is visible :

Click on "options" to add a kit :

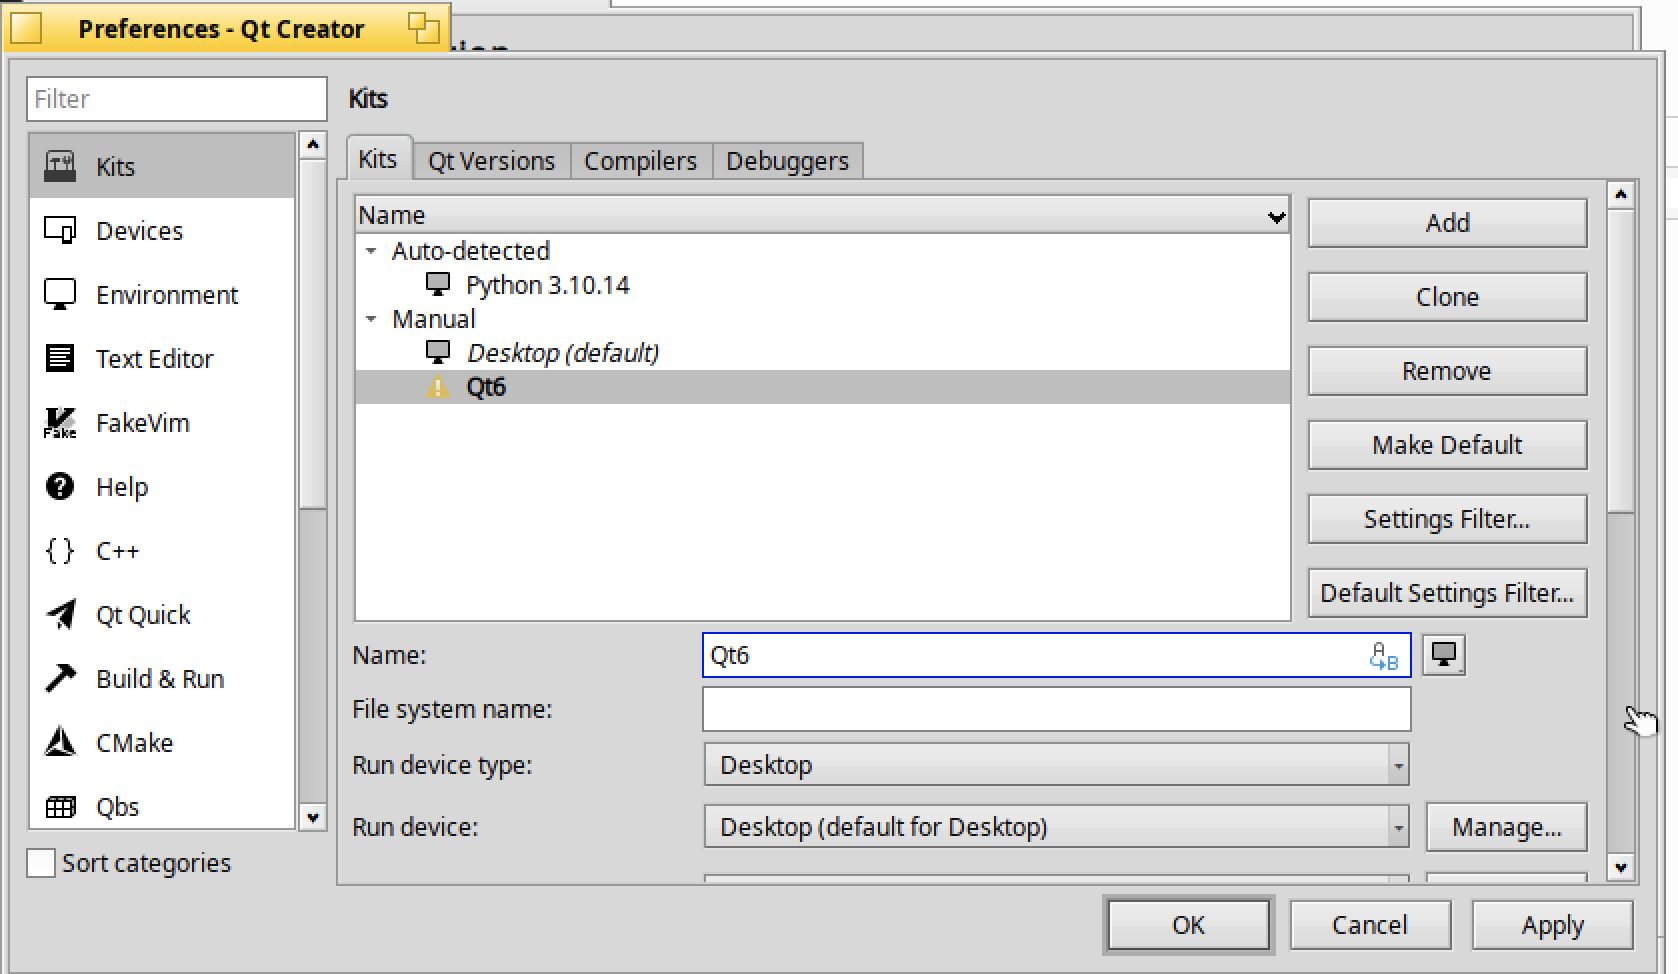
In the kits tab, click on "Add" :

Enter the name "Qt6" :
As you will see there's no C or C++ compiler defined :
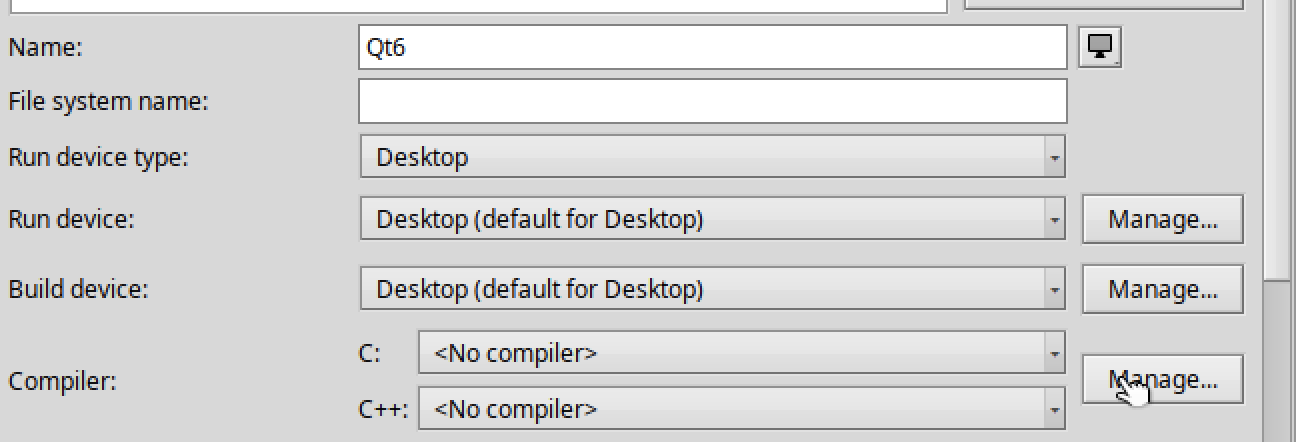
Select "gcc" as the C compiler and "g++" as the C++ compiler :

In the "Qt versions", click on browse and select the "/bin/qmake6" binary :

Now you can select "Qt6" as the kit to use for the project :
Finalize the project's configuration by clicking "Finish" :

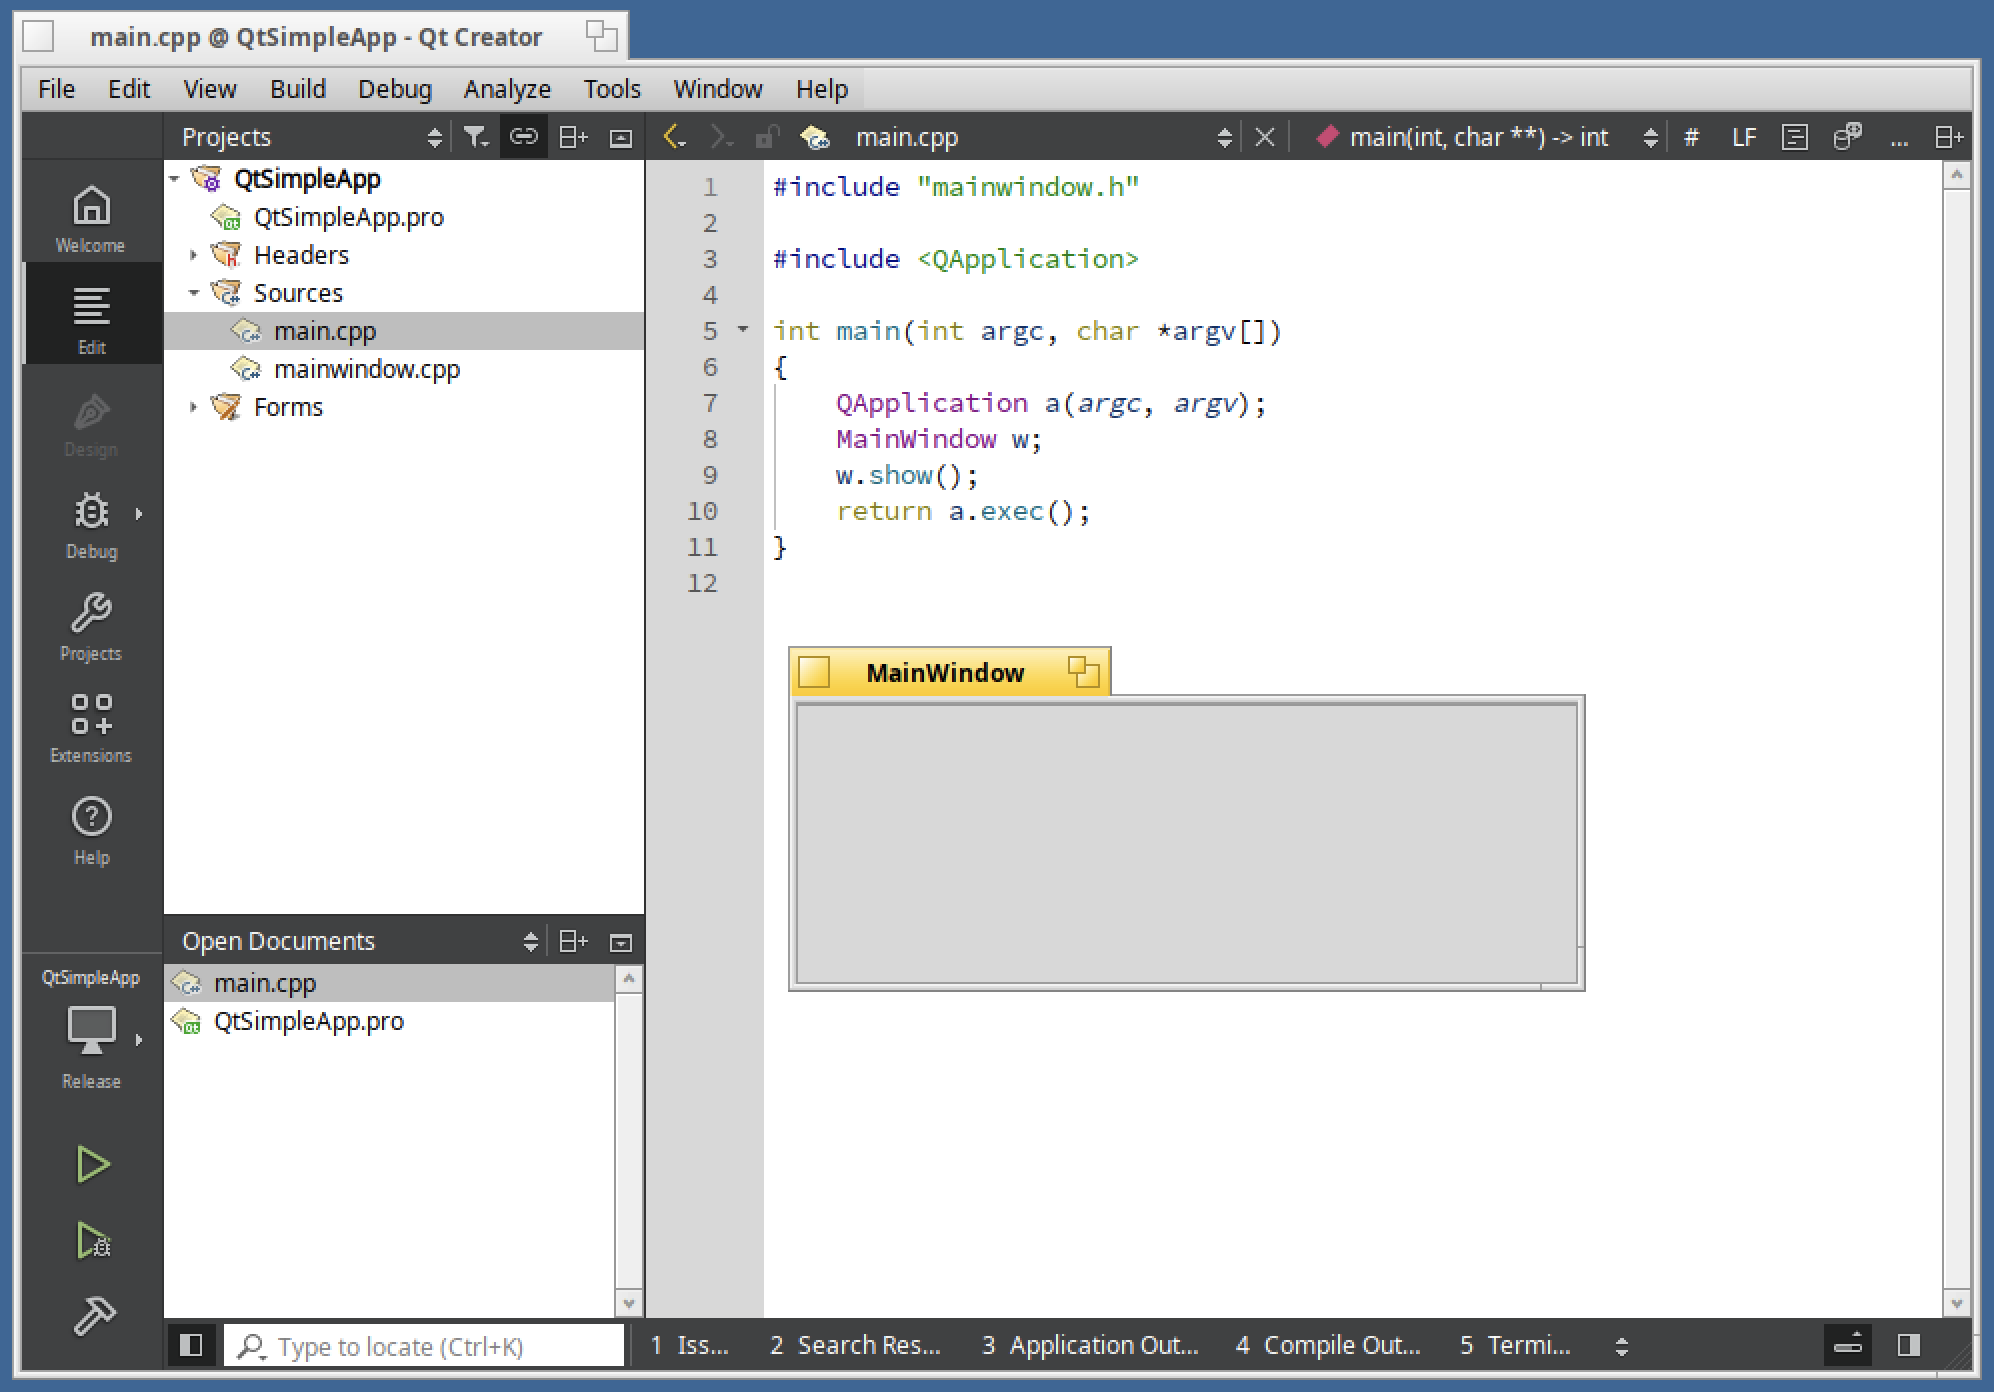
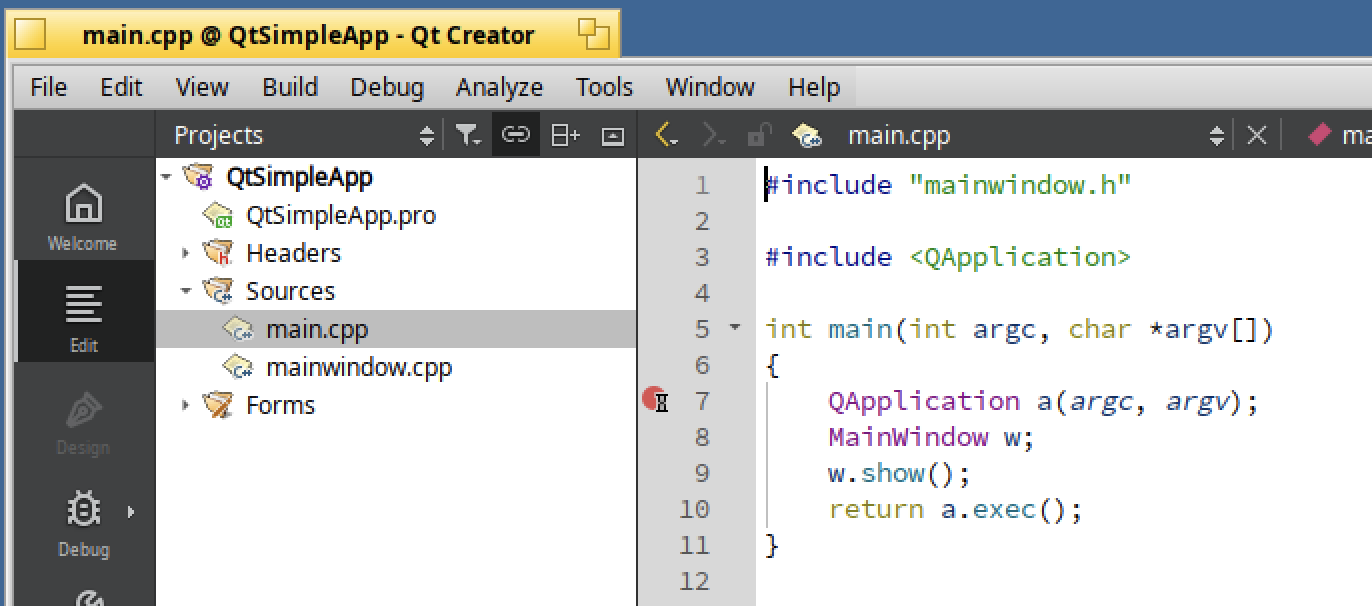
The main window should be displayed and you can for instance open the "main.cpp" program :
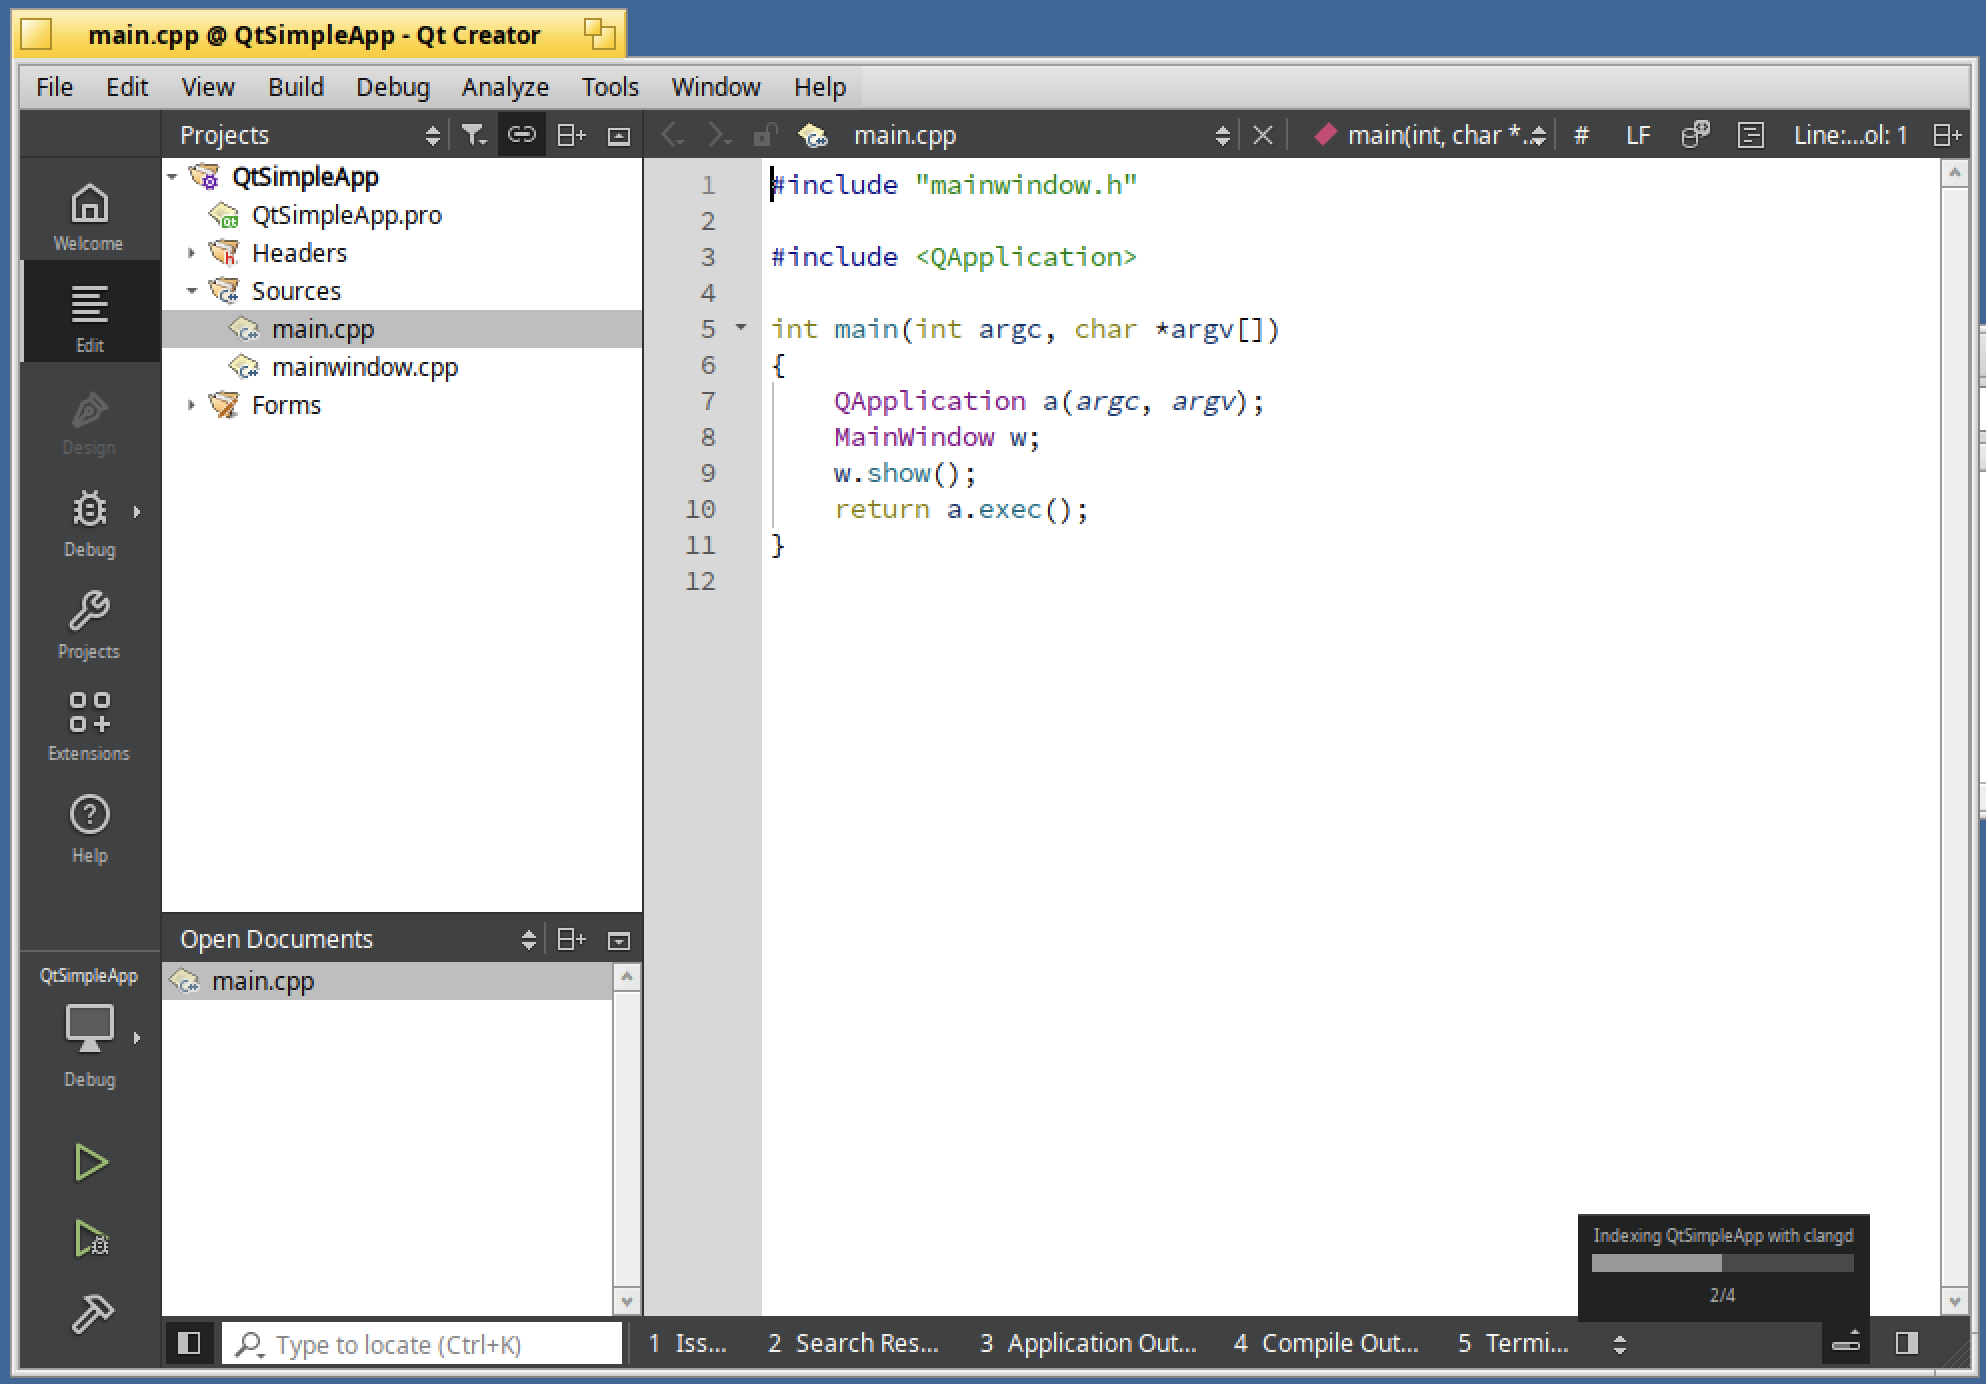
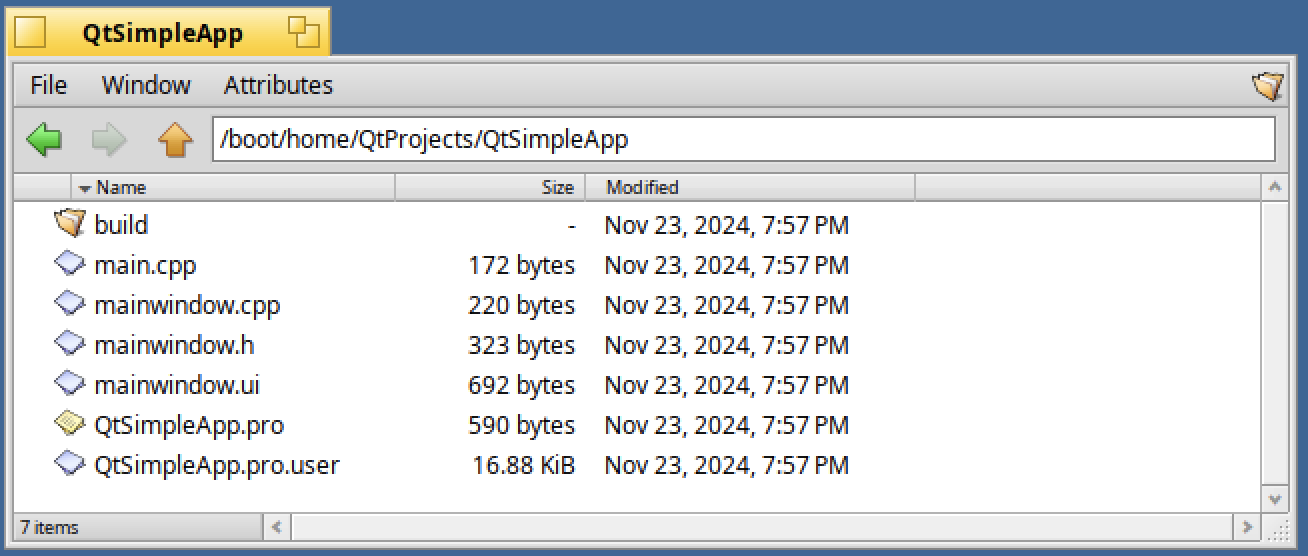
If you open the folder of the project, you will see the below files available, including "QtSimpleApp.pro" which is the project file and "mainwindow.ui" which is used to define the application GUI :
Great !
Now let's build the application. In a Terminal, go into the project's folder :
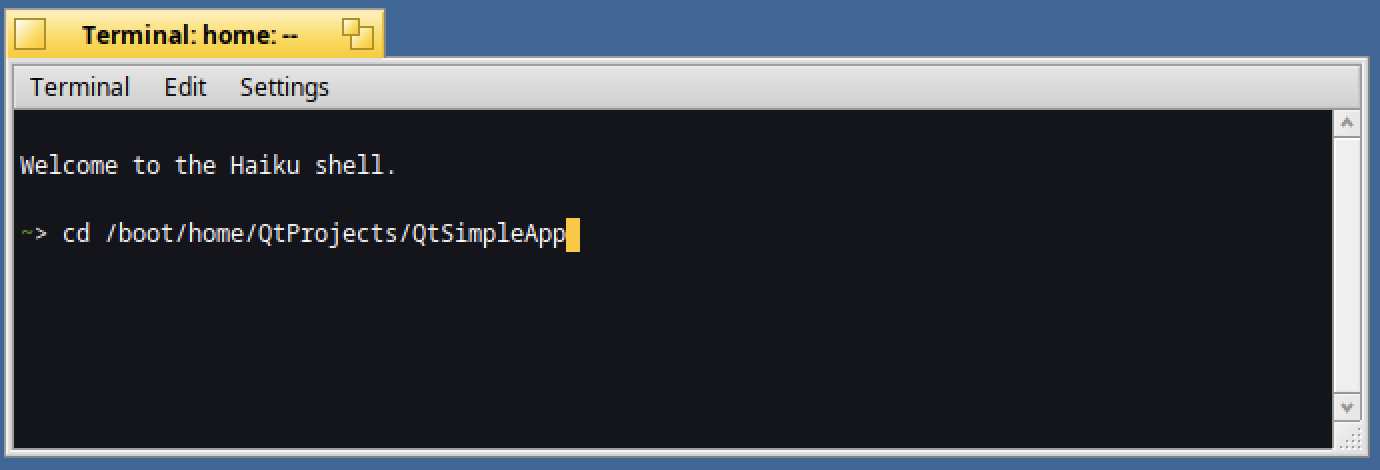
Then type :
qmake6
make
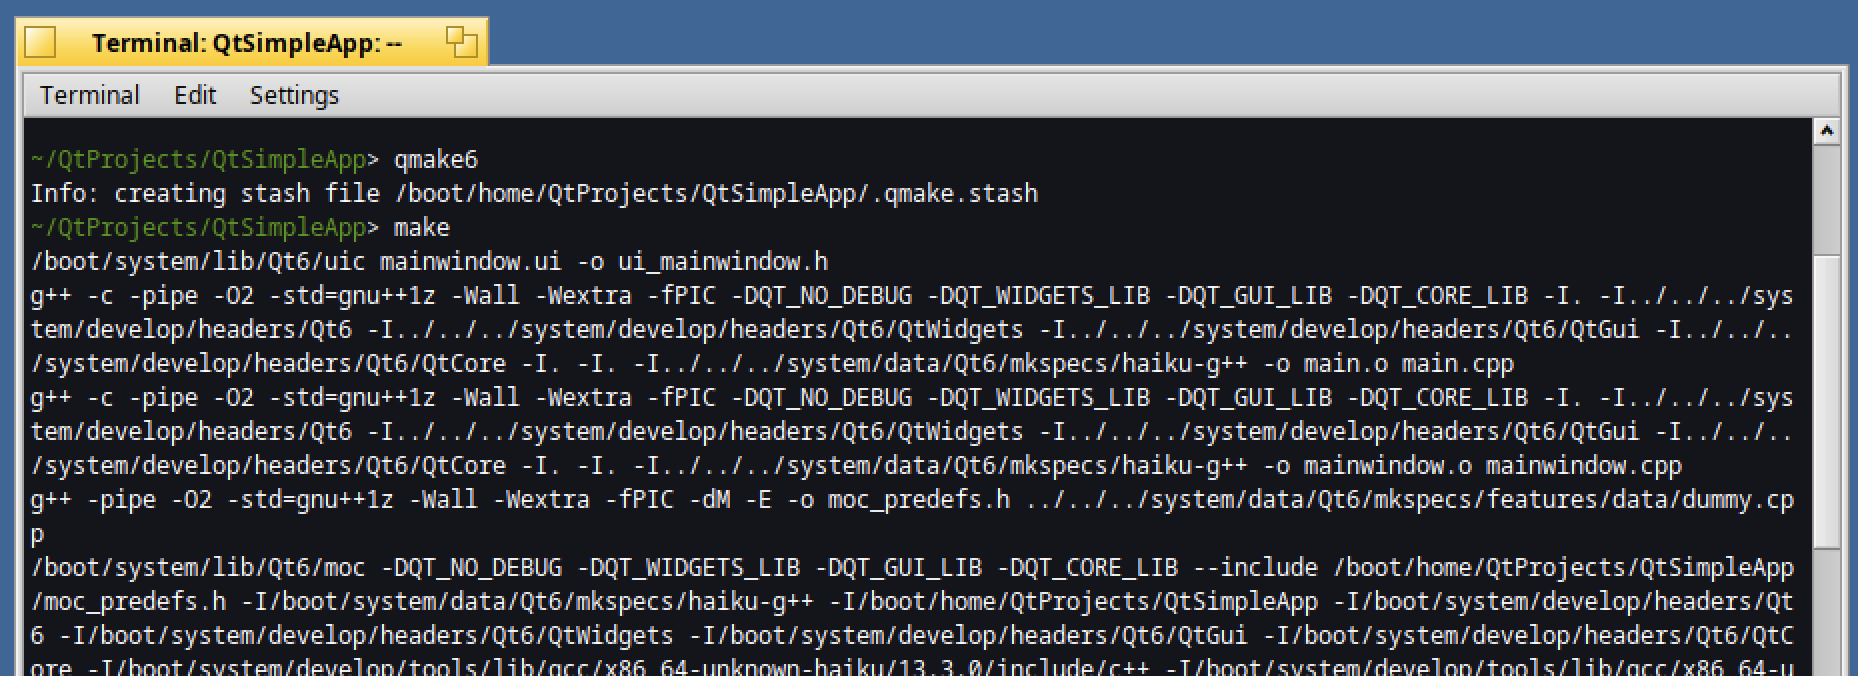
The application "QtSimpleApp" should be built :
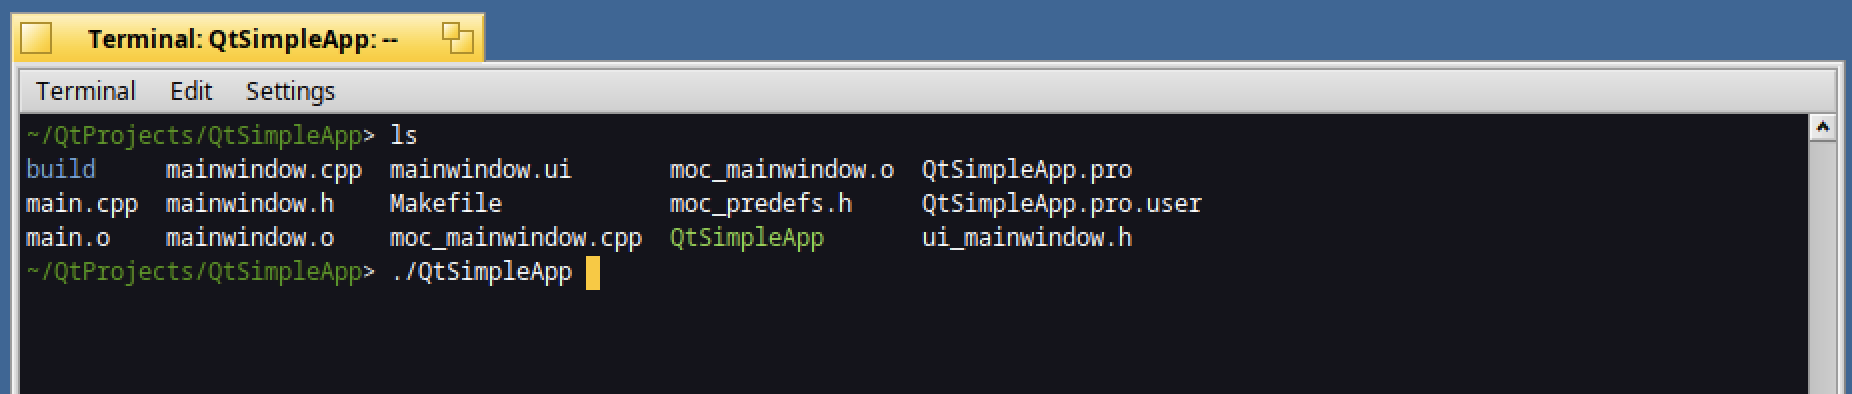
You can launch it by running the command :
./QtSimpleApp
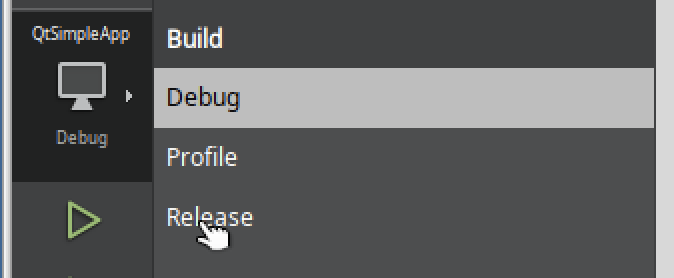
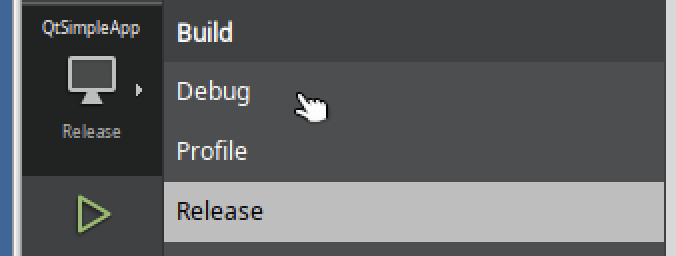
Now if you return under Qt Creator, select the "Release" profile :
And click on "Run" :

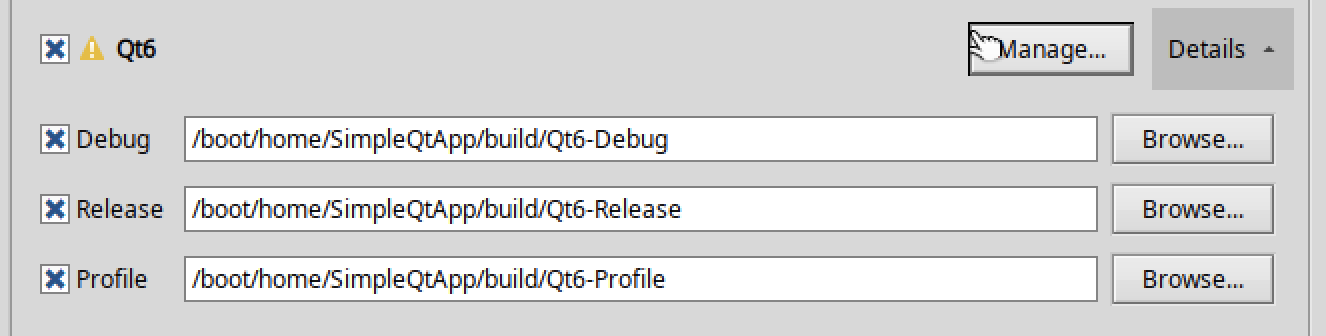
Compared to the previous build, the application is available in the "Qt6-Release" folder as below :

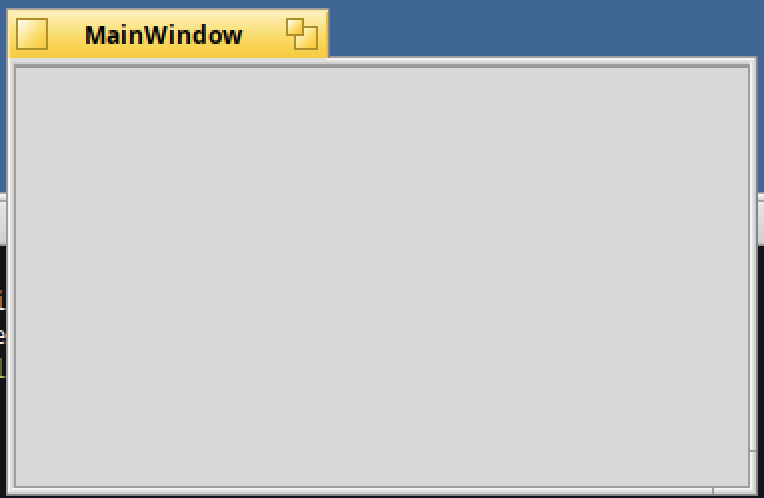
And once run, the below window named "MainWindow" is displayed :
Debug Qt Application
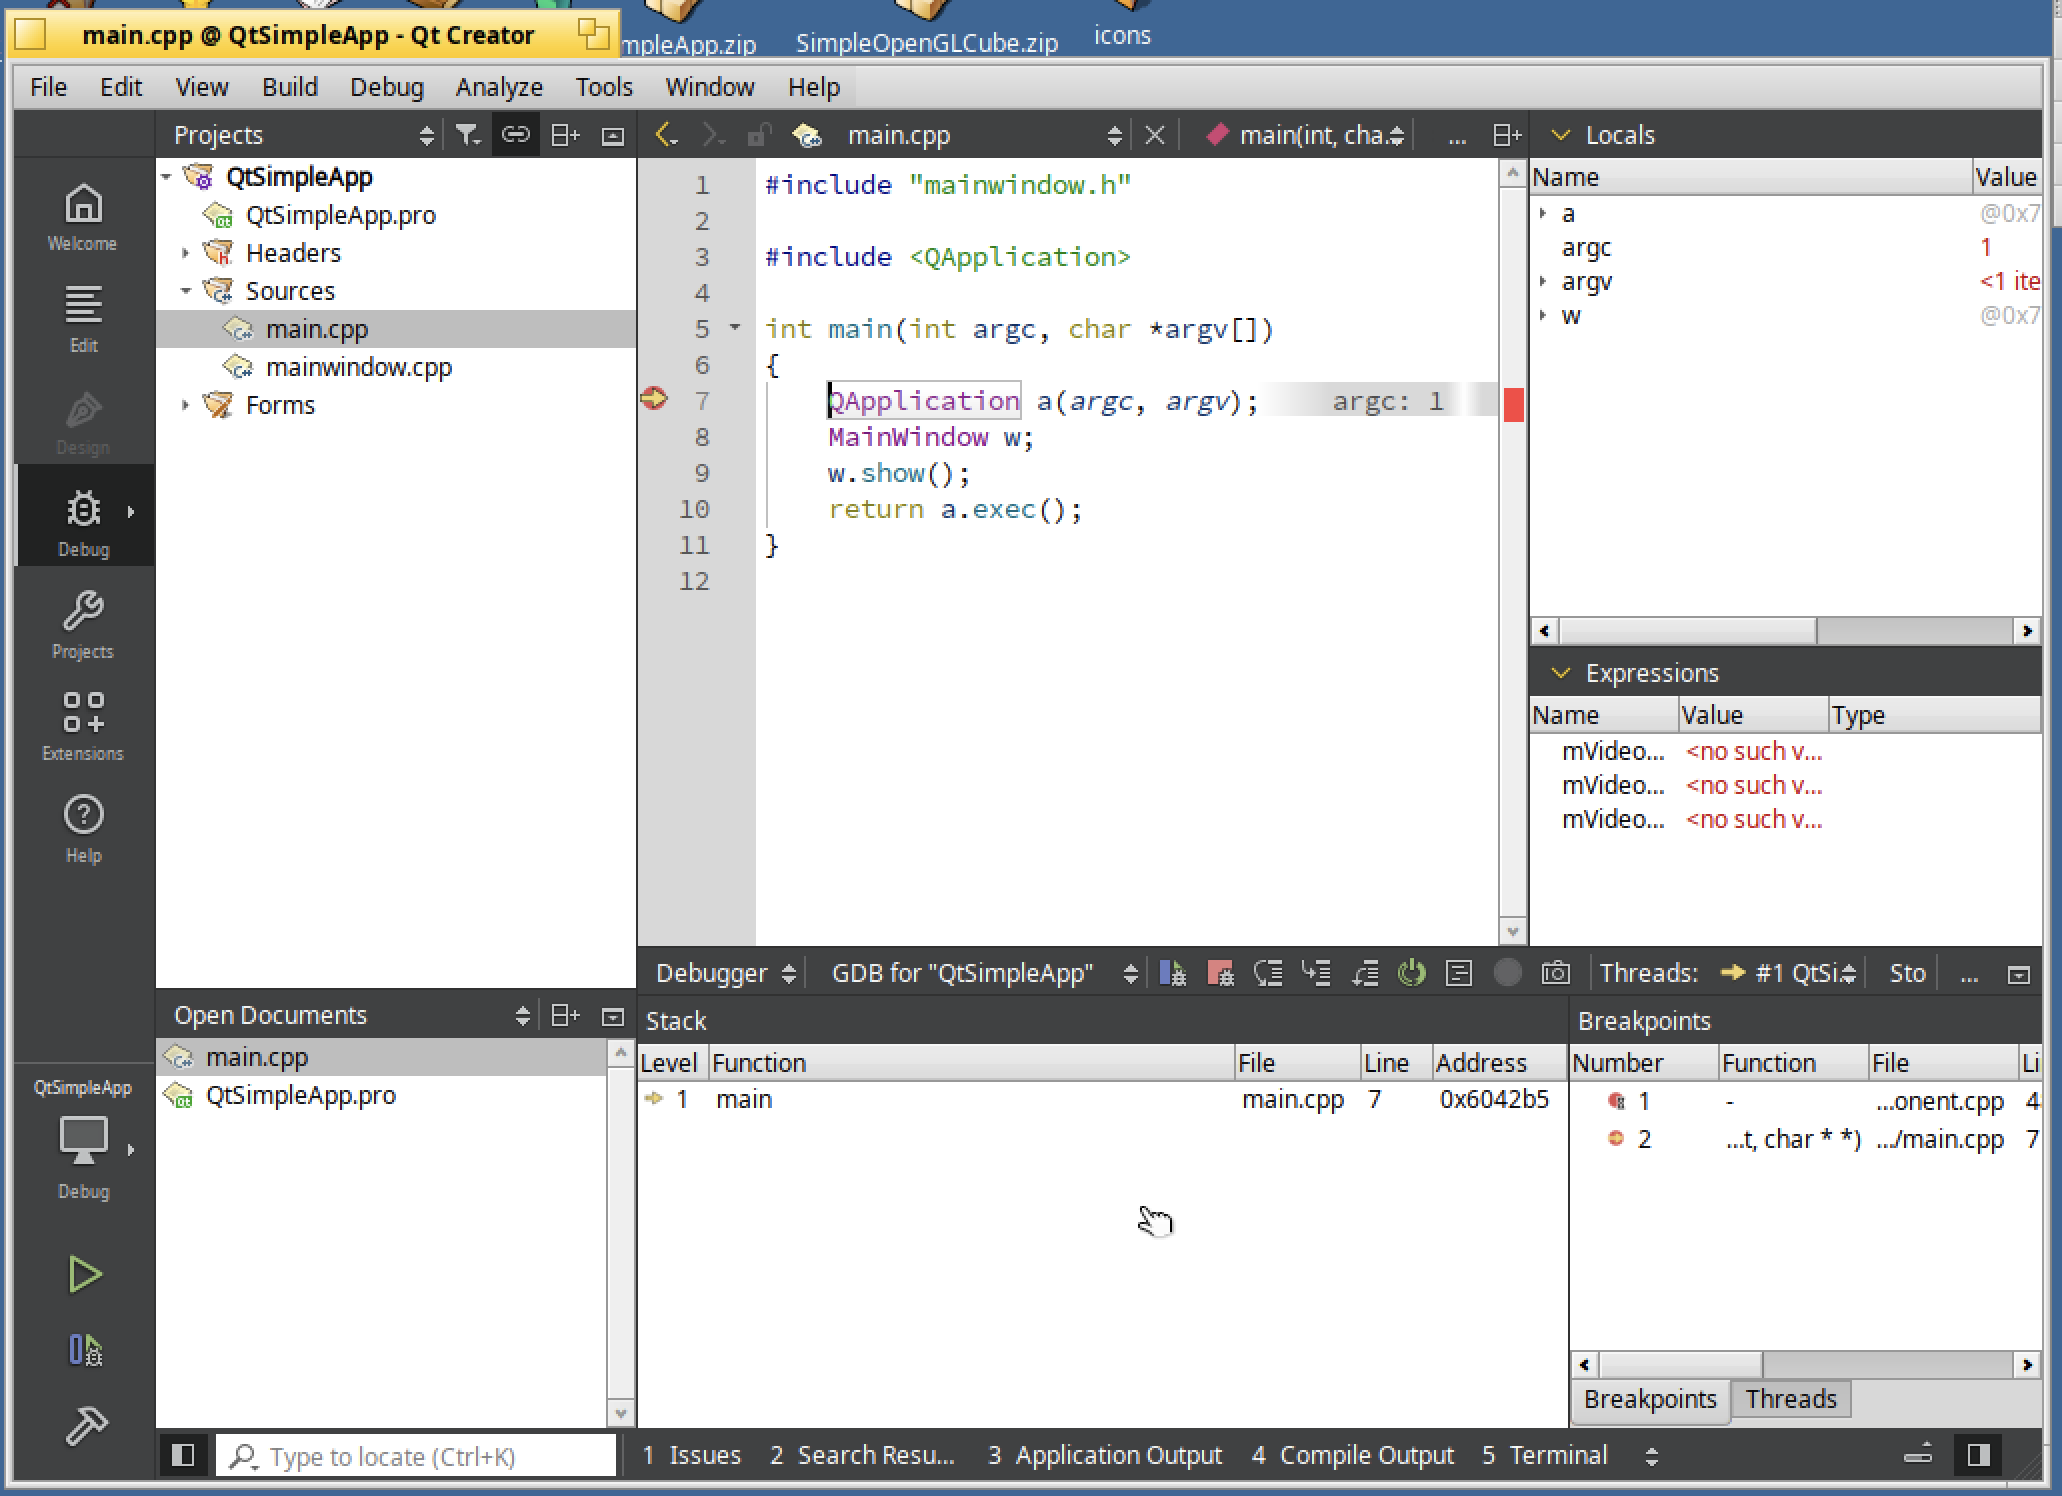
If you would like to debug this application, let's put a breakpoint in the main.cpp program :
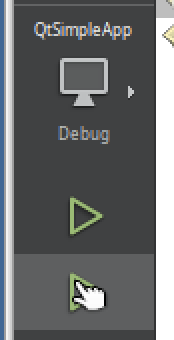
And select the "Debug" profile :
Sometimes, it can take some times in some file parsing/indexing : 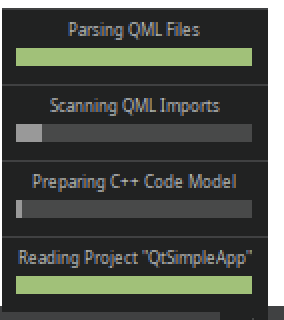
Now click on the "Debug" button :
You should see the program starting and stopped at the line 7 as below :
Click on "Step Over" :

And you should see the execution to be on the next line :

Continue to run the program with the "Continue GDB" button :

And the main window of the sample program below will be displayed :
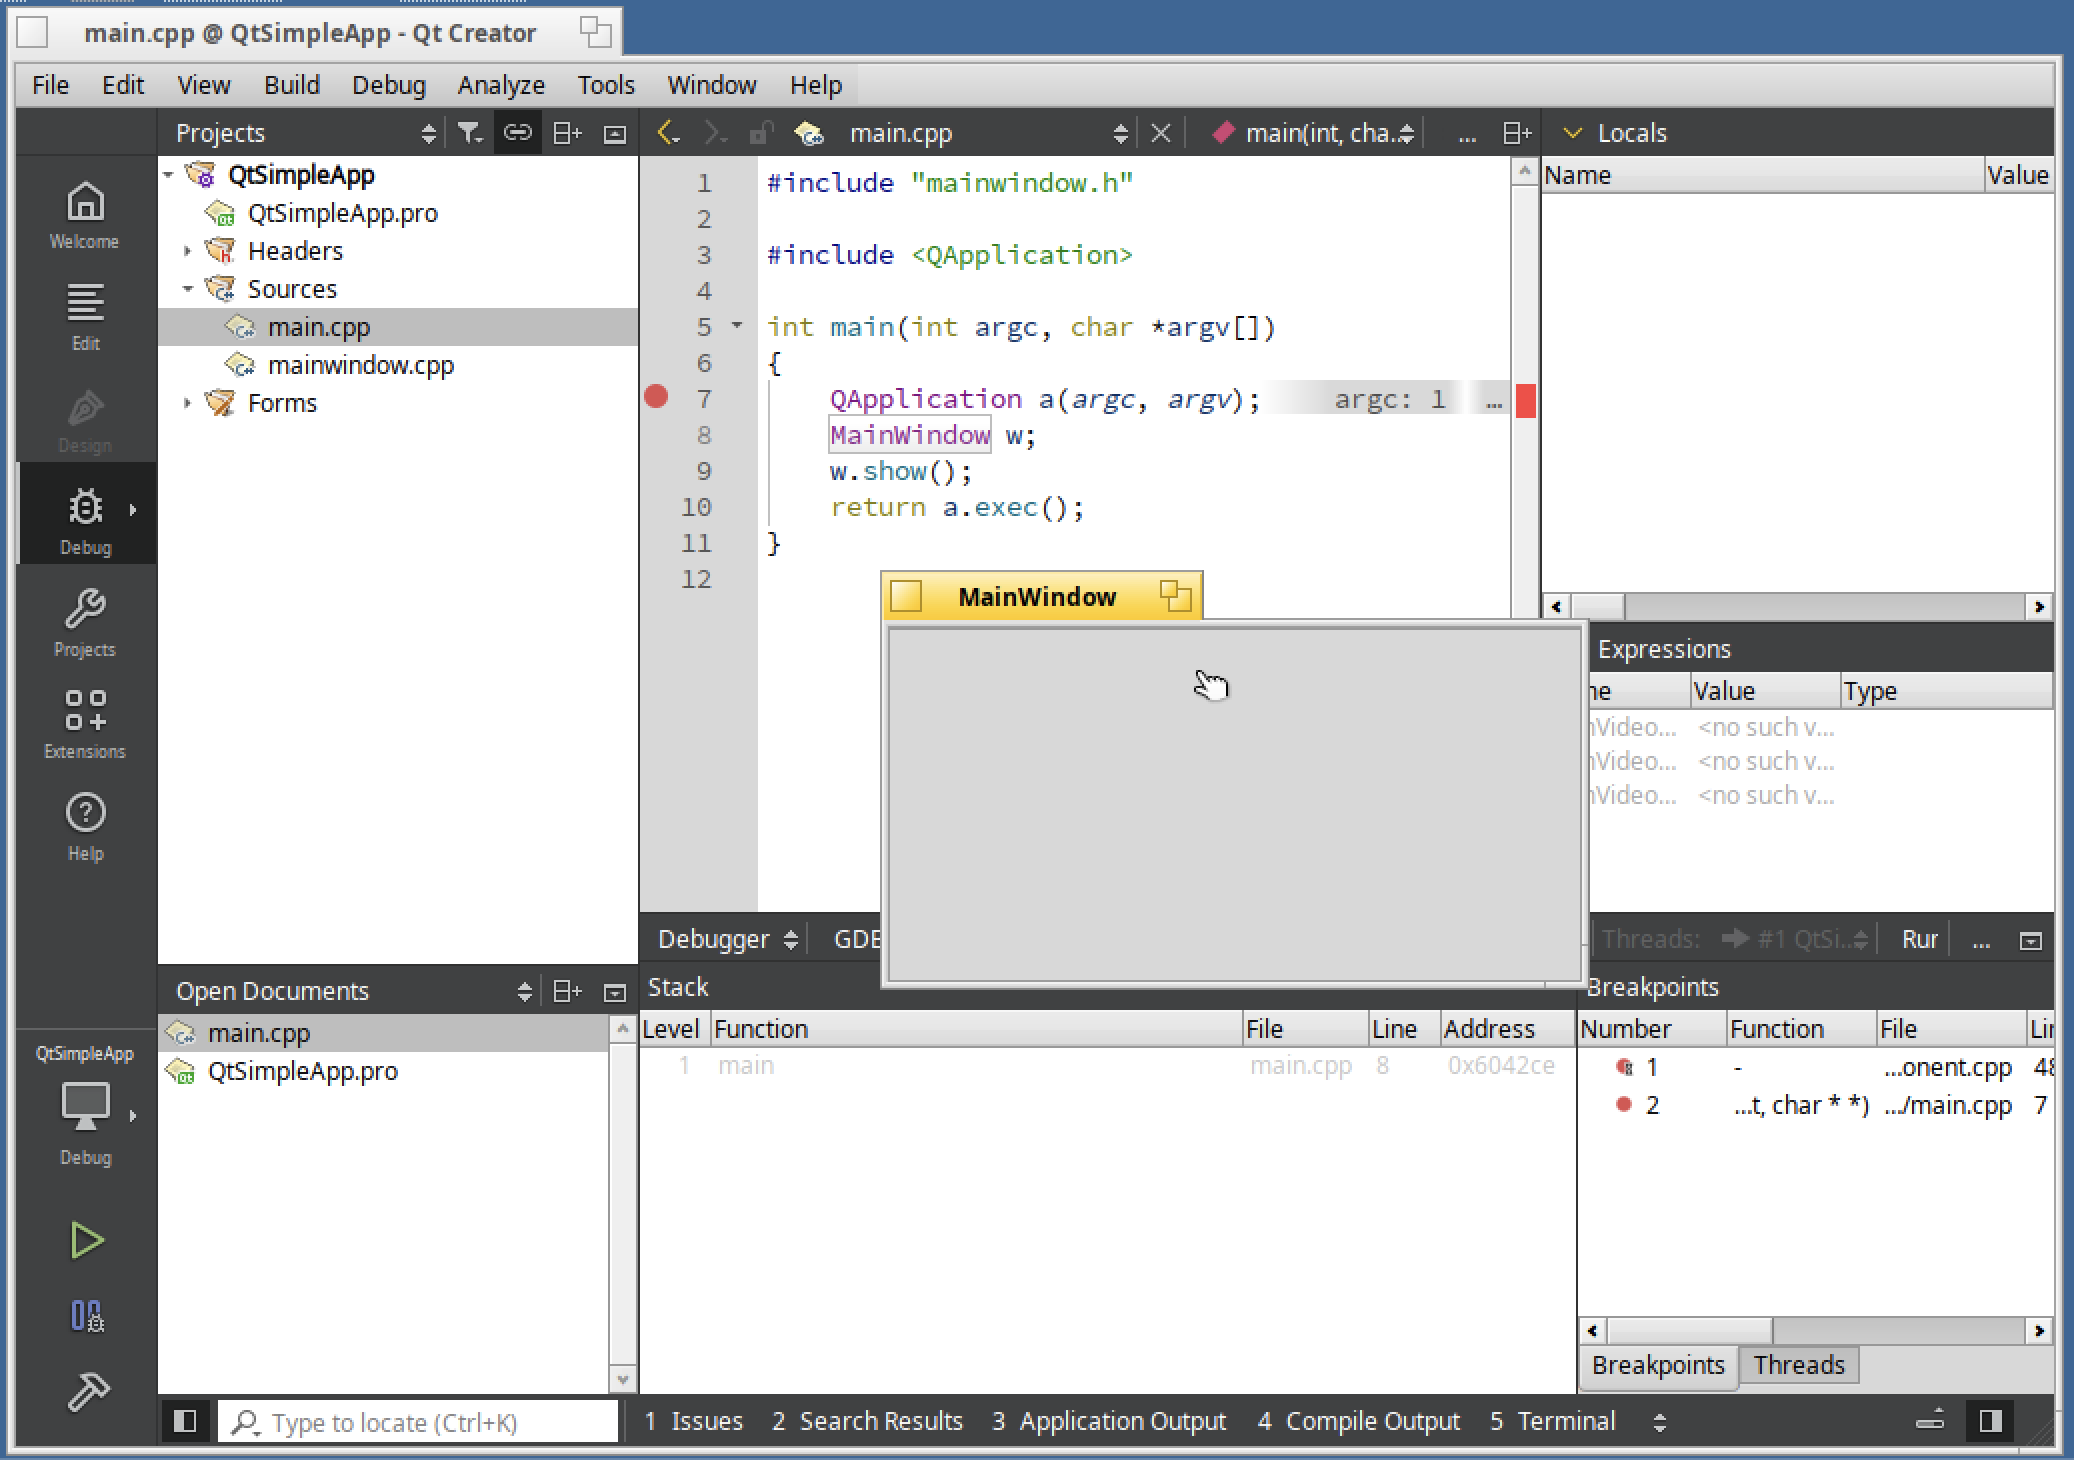
Nice :)
First Haiku application
What about creating a program under Qt Creator which is using the Haiku API ?
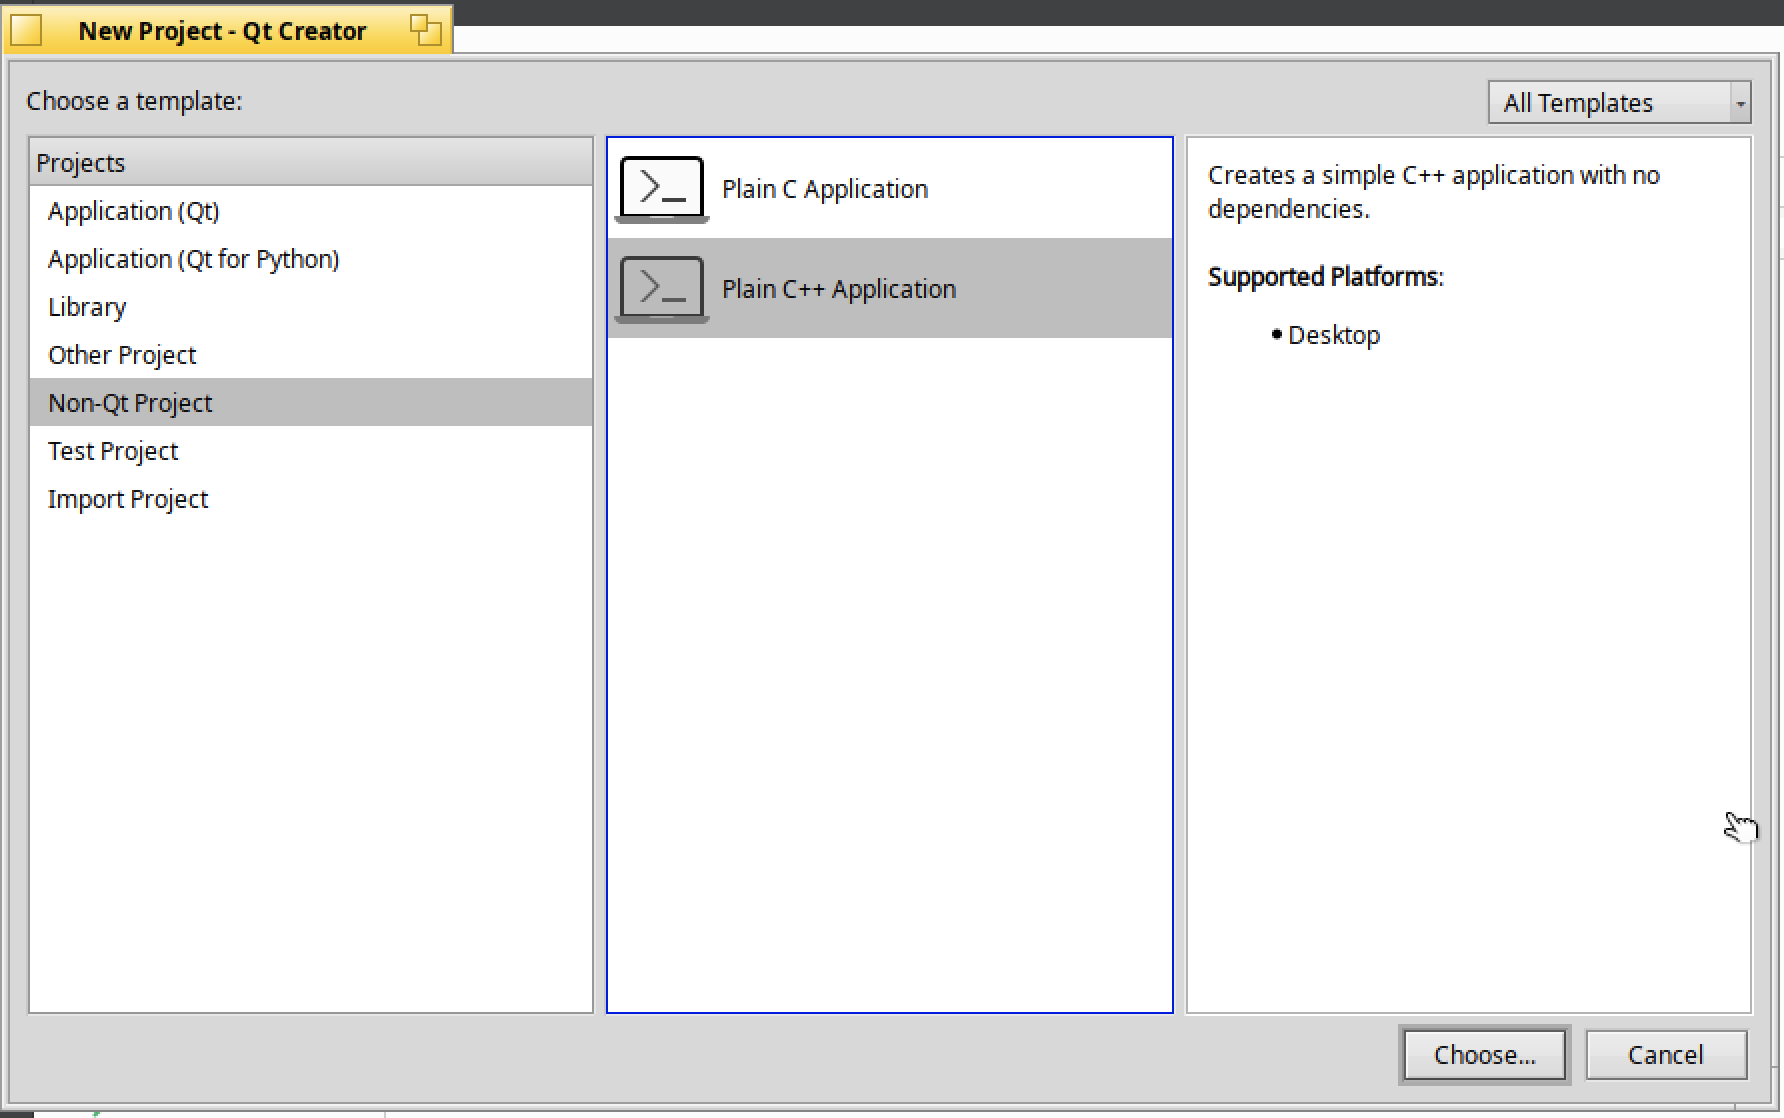
For that we will create a new project from scratch. In Qt Creator select "Create Project" :

The project will not use Qt library, so select "Non-Qt Project>Plain C++ Application" :
Select the name of the project and its location :

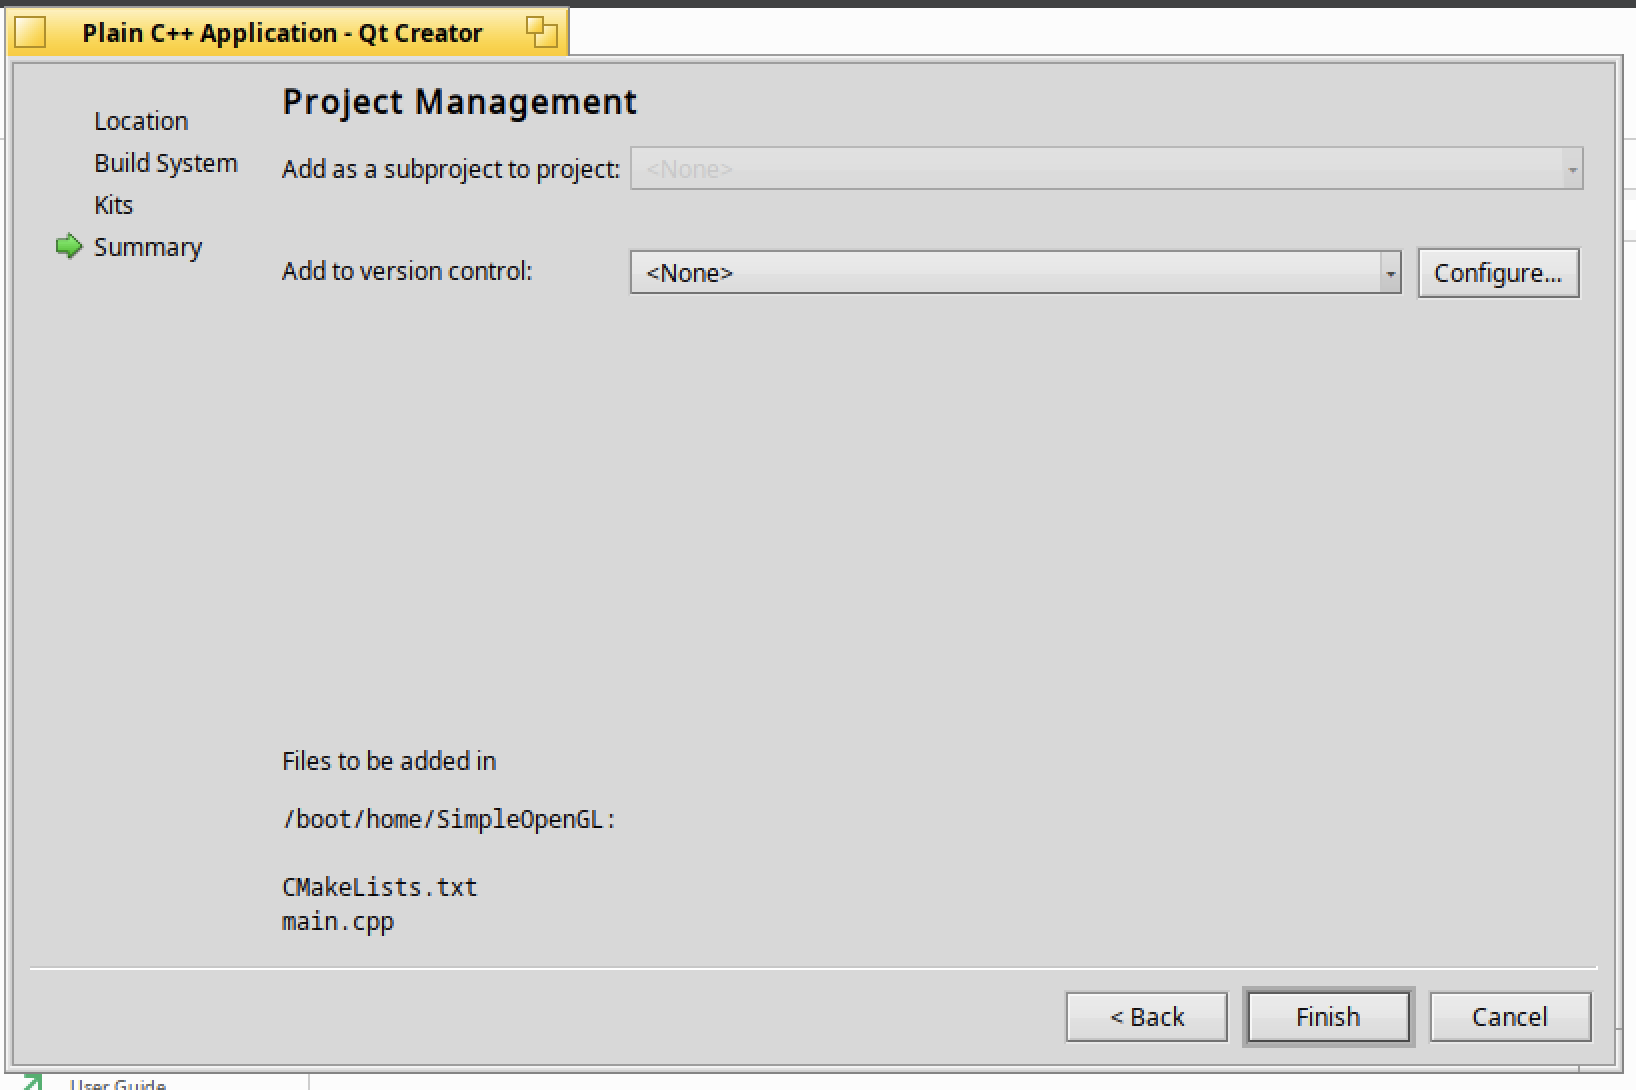
Next step is important : instead of using "qmake" as the build system, select "CMake" :

Select the "Qt6" kit previously defined :

Confirm the setup with "Finish" :
Great, we now have a simple "Hello world" program under Haiku :

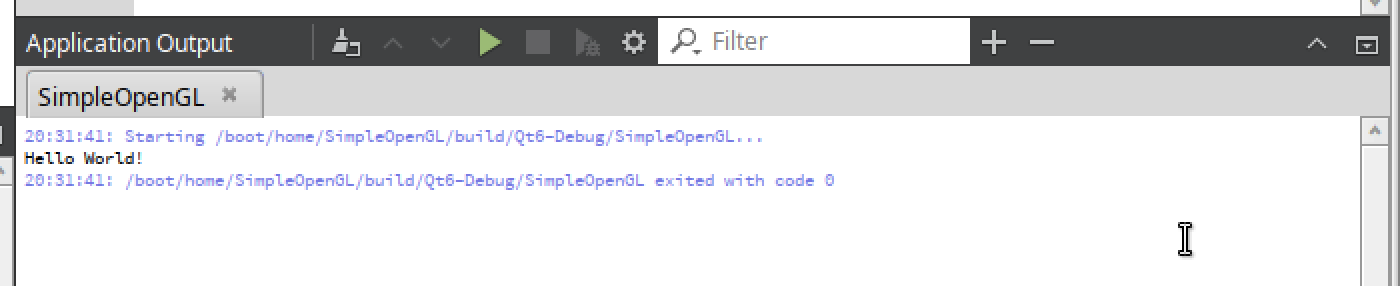
If you run it, it will display the "Hello world!" message in the application output :
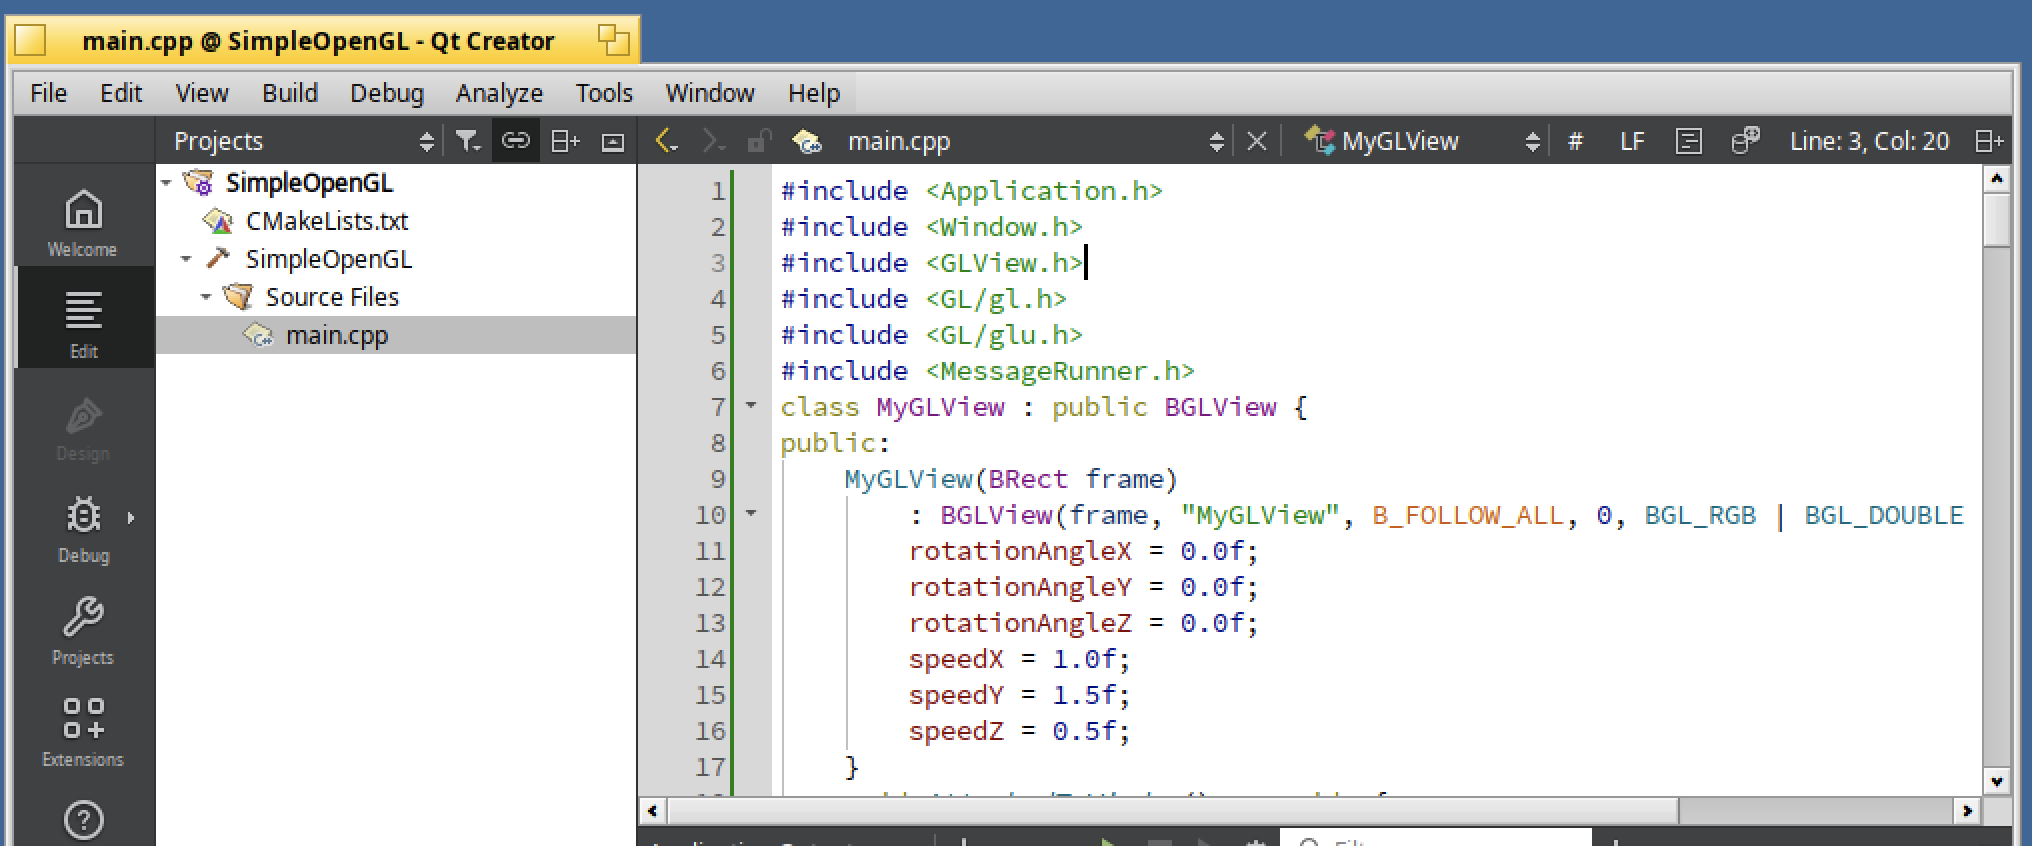
Now we will replace the "main.cpp" source code, by the SimpleOpenGLCube.cpp which was already given in the article named "Setup a C++ dev environment".
Copy and paste it in the window as per below :
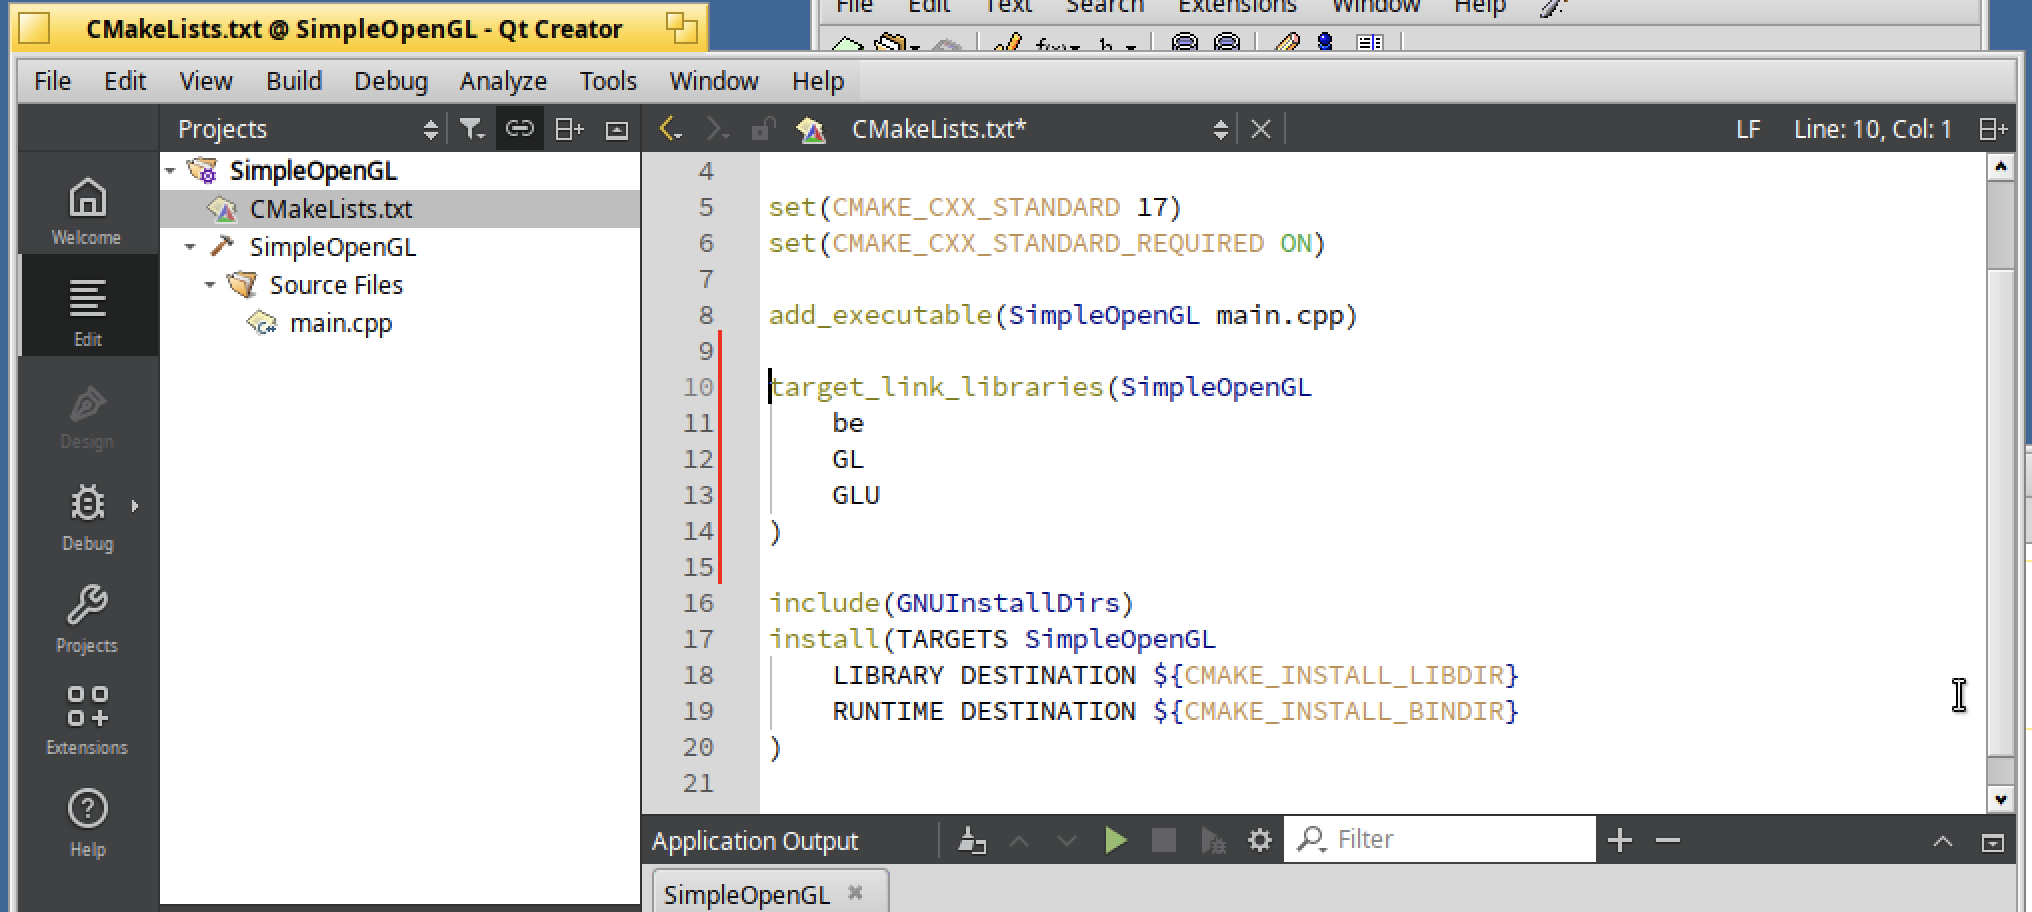
Now in the CMakeLists.txt, in order to use the be, GL and GLU libraries add the below lines :
target_link_libraries(SimpleOpenGL
  be
  GL
  BLU
)
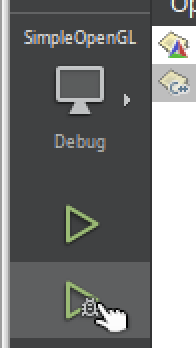
Save the file and click on the "Run" button :

Tada !
As you can see, we have built our first program using the Haiku API under Qt Creator with CMake :)
Debug Haiku application
As indicated before, be sure to build the program under Qt Creator with the Debug profile.
You can then add a breakpoint in the RotateCube() function :

Then click on "Debug" :
The program will run and stop in the RotateCube() method at the breakpoint level :

You just have to click on breakpoint again to remove it and to click on the "Continue" button to make the program run :

Building Haiku app from command line
Another way to build the program is to go into the project's folder in a Terminal and type :
make
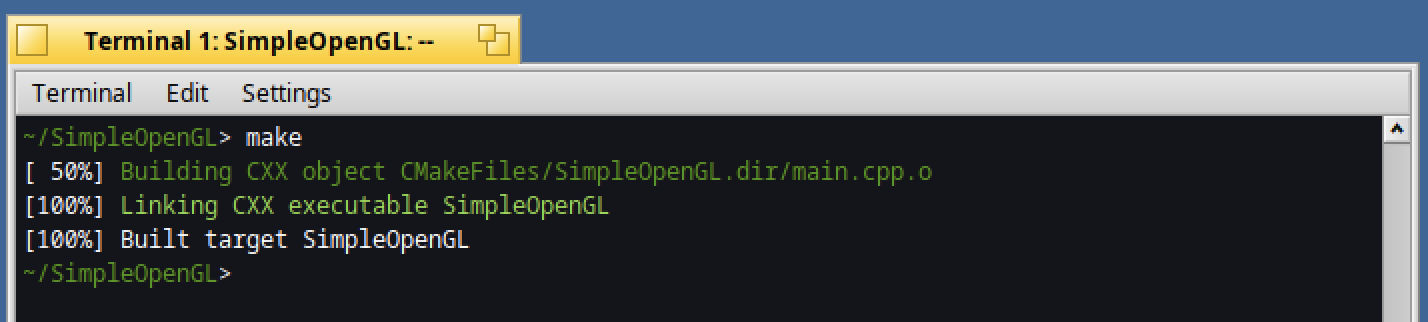
If you list the files inside this folder, you should see the application "SimpleOpenGL" built :
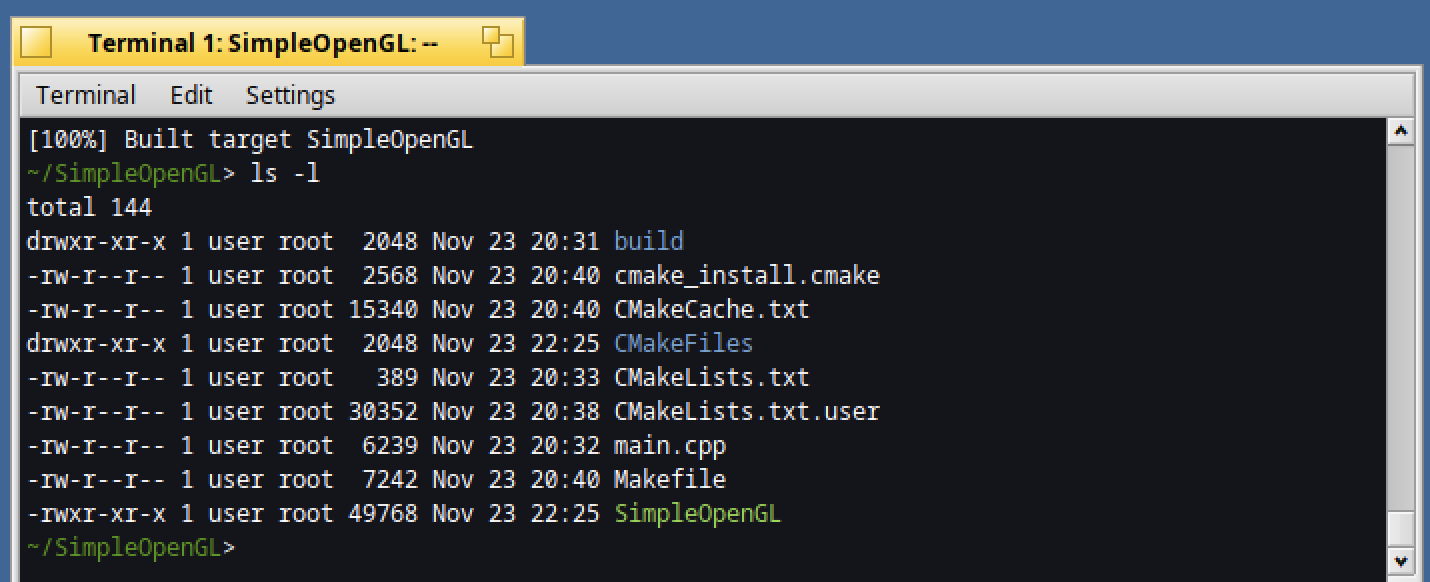
Launch it by typing :
./SimpleOpenGL

Nice !
Final thoughts
What we have learnt so far with Qt Creator is :
- To build with qmake and debug a sample Qt program
- To build with cmake and debug a sample Haiku program
In case of Haiku programming, I prefer to use the Genio IDE.
However you will notice that in case of more complex programs requiring to do some debugging, Qt Creator with GDB can be really helpful.